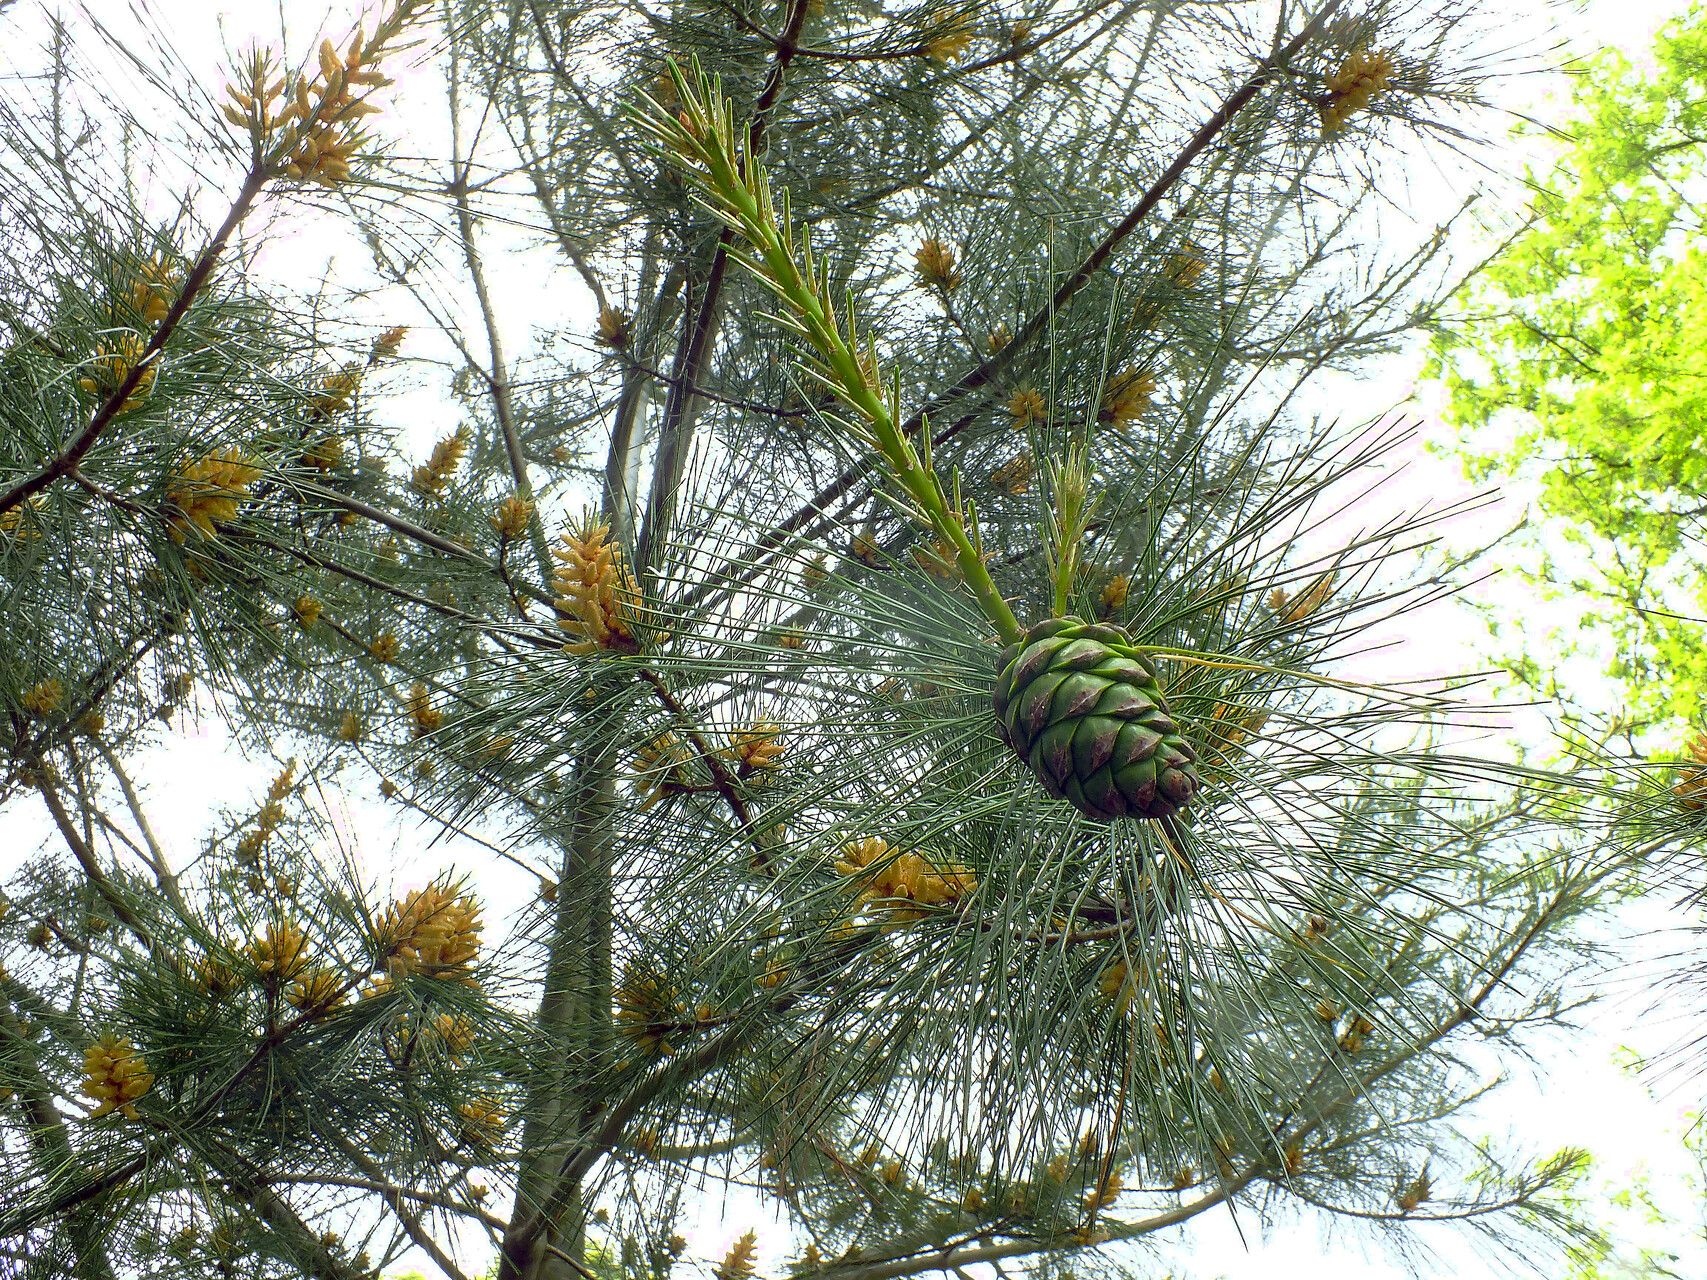
Oh, hello there! It’s so lovely to have you join me today. I’m always thrilled when someone wants to dive into the wonderful world of propagating plants, and Pinus armandi, the Armand Pine, is a truly special one. Its graceful branches and soft, blue-green needles lend a touch of elegance to any garden, and watching your own little pine seedling emerge is a joy I can’t quite put into words. Now, as for getting started, I’ll be honest with you – propagating pines, especially from seed or cuttings, isn’t typically a beginner’s first project if they’re looking for instant gratification. It requires a bit more patience and understanding, but the reward is absolutely worth the effort. Think of it as a slightly more advanced adventure in your gardening journey.
The Best Time to Start
For Pinus armandi, the season you choose makes a big difference. I find the absolute best time to collect cuttings or sow seed is early spring, just as the plant is waking up from its winter slumber. You’re looking for new growth that’s not too soft and floppy, but also hasn’t hardened off completely. Think of it as the perfect “bendability” – it should snap cleanly without being brittle. If you’re working with seeds, sowing them in late winter or early spring and giving them a cool period can really help with germination.
Supplies You’ll Need
Gathering your tools beforehand makes the whole process smooth sailing. Here’s a little checklist for you:
- Sharp, sterile pruning shears or a sharp knife: Cleanliness is key to preventing disease.
- Rooting hormone (powder or gel): This is a big help, especially for cuttings. Look for one formulated for woody plants.
- Well-draining propagation mix: I usually mix equal parts perlite and coco coir or fine peat moss. Regular potting soil holds too much moisture.
- Small pots or trays: Clean, with drainage holes, naturally!
- Plastic bags or a propagator: To create a humid environment for cuttings.
- A mister or spray bottle: For gently moistening your cuttings.
- Small labels and a waterproof pen: To keep track of what you’ve planted and when.
Propagation Methods
While Pinus armandi can be a bit stubborn, stem cuttings are often the most successful route for home gardeners.
Let’s talk stem cuttings:
- Take Your Cuttings: In early spring, select healthy, vigorous shoots that are about 4-6 inches long. Make a clean cut just below a leaf node (where the needles emerge).
- Prepare the Cuttings: Gently strip off the needles from the bottom 1-2 inches of the cutting. This part will be going into the soil. If the needles are very dense, you can carefully trim some of them to reduce moisture loss, but don’t remove too many.
- Apply Rooting Hormone: Dip the cut end of the cutting into your rooting hormone, tapping off any excess. This creates a sticky surface for the hormone to adhere.
- Plant Your Cuttings: Fill your pots with the propagation mix. Make a small hole with a pencil or your finger, deep enough to accommodate the hormone-coated end. Gently insert the cutting into the hole and firm the mix around it.
- Create Humidity: Water the mix thoroughly but gently. Then, place the pots inside a plastic bag, creating a mini-greenhouse. You can also use a clear plastic dome over a tray. Make sure the leaves don’t touch the sides of the bag too much, or they might rot.
The “Secret Sauce” (Pro Tips)
Here are a few things I’ve learned over the years that seem to make a world of difference for woody cuttings:
- Bottom Heat is Your Friend: Pines are slow to root. Placing your propagation tray on a gentle heating mat can significantly speed up root development. It mimics the warmth of spring soil. Just ensure the mat isn’t too hot; you want it warm to the touch, not hot.
- The “Scrape” Technique: For those really stubborn cuttings, you can try a little trick. With your sterile knife, gently scrape away a thin sliver of bark from one side of the bottom inch of the cutting, exposing the cambium layer. This can sometimes encourage more vigorous rooting. Dip this scraped section in the rooting hormone too.
- Patience, My Friend… and Observation: Don’t be tempted to pull on your cuttings to check for roots! Instead, look for tiny new needle growth at the tips. That’s a sure sign things are happening below the surface. Also, keep those bags slightly open if you see excessive condensation to prevent fungal issues.
Aftercare & Troubleshooting
Once your cuttings have started showing signs of life – new growth is your indicator! – it’s time to start weaning them off the high humidity. Gradually open the plastic bags a bit more each day over a week or two. Continue to keep the soil consistently moist but not waterlogged.
The most common problem you’ll encounter is rot. If your cuttings start to turn black and mushy, it’s usually a sign of too much moisture or poor air circulation. Unfortunately, once rot sets in, it’s very difficult to save them. That’s why good drainage and not overwatering are so crucial. Yellowing needles that aren’t related to rot might indicate they need a little more light or that they’re still adjusting.
A Little Encouraging Word
Propagating Pinus armandi can feel like a gardening marathon, not a sprint. There will be moments of doubt, and not every cutting will make it. But the feeling of success when you see those first tiny roots emerge, or when your seedling begins to grow, is truly unparalleled. So be patient, enjoy the process of learning and observing your plants, and celebrate every little victory. Happy propagating!
Resource:
https://identify.plantnet.org/k-world-flora/species/Pinus%20armandi%20Franch./data