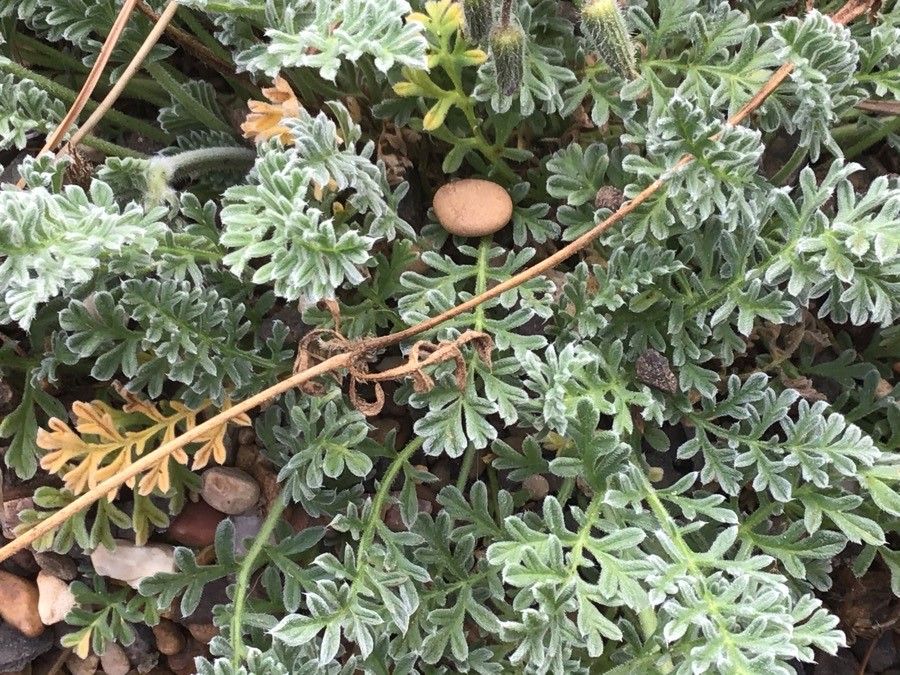
Oh, Erodium sibthorpianum! What a delightful plant. I’ve always loved its delicate, often intricately patterned leaves and charming little flowers. They remind me of miniature wildflowers, adding such a lovely, understated beauty to the garden. Propagating them is a wonderfully rewarding pursuit, and honestly, a pretty accessible one for most gardeners, even if you’re just starting out. It’s a great way to spread that charm around!
The Best Time to Start
When it comes to getting your Erodium cuttings or divisions going, spring is your best friend. Think late spring, after the risk of frost has well and truly passed. The plant is bursting with new growth, and that vigorous energy translates beautifully into successful rooting. You can often get away with starting later in the summer too, but spring gives you the longest growing season for your new babies to establish themselves.
Supplies You’ll Need
Gathering your tools beforehand makes the whole process so much smoother. Here’s what I keep handy:
- Sharp bypass pruners or a clean knife: For taking clean cuts and avoiding damage. Sterilize them with rubbing alcohol between uses, it’s a good habit!
- Potting mix: A light, well-draining mix is crucial. I usually go with a blend of equal parts peat moss (or coco coir for a more sustainable choice) and perlite or coarse sand. Some people add a bit of compost, which is fine, but keep it lean to prevent waterlogging.
- Small pots or trays: For starting your cuttings. Ensure they have drainage holes!
- Rooting hormone (optional but helpful): A powdered or liquid hormone can speed up root development, especially with trickier cuttings.
- Watering can or spray bottle: For gentle watering.
- Labels: To remind yourself what you planted and when!
Propagation Methods
Erodium sibthorpianum is quite happy to be propagated by a couple of methods. Let’s dive into my favorites:
1. Stem Cuttings:
This is my go-to for increasing my stock relatively quickly.
- Find a healthy stem: Look for a piece of new growth that’s not too woody, but has also finished flowering. Aim for pieces about 3-4 inches long.
- Take your cutting: Using your clean pruners or knife, make a clean cut just below a leaf node. The node is where a leaf attaches to the stem – this is where the magic happens, as roots tend to form there.
- Prepare the cutting: Gently remove the lower leaves, leaving just a few at the top. This reduces water loss and prevents leaves from rotting once planted.
- Dip in rooting hormone (if using): Lightly dip the cut end into your rooting hormone, tapping off any excess.
- Plant your cutting: Make a small hole in your prepared potting mix with a pencil or your finger. Insert the cut end of the stem into the hole, and gently firm the soil around it. Don’t plant too deeply; just enough to keep it upright.
- Water gently: Water from the bottom if possible, or gently mist the soil surface. The soil should be moist but not soggy.
- Provide humidity: Cover the pot or tray loosely with a plastic bag or place it in a propagation dome. This creates a humid environment, which cuttings love.
2. Division:
If you have a mature Erodium plant that’s gotten a bit crowded, division is a simple way to get more plants and give your existing one a boost.
- Excavate carefully: In the spring is best for this too. Gently dig up the entire plant. Try to disturb the roots as little as possible.
- Inspect the root ball: You’ll see where the main plant has branched out. Look for distinct clumps of roots and shoots.
- Separate the divisions: Using your hands or a clean, sharp knife, gently pull or cut the root ball into sections. Each division should have a healthy set of roots and a few shoots. Don’t worry if there’s a bit of leaf damage; it will grow back.
- Replant immediately: Pot up each division into its own container with fresh potting mix or replant them directly into your garden, giving them adequate space.
- Water thoroughly: Water each newly planted division well.
The “Secret Sauce” (Pro Tips)
After years of playing with plants, I’ve picked up a few tricks that seem to make a difference:
- Bottom heat is your friend for cuttings: If you’re serious about cuttings, investing in a heated propagator or even just placing your pots on a heat mat can significantly speed up root formation. It mimics the warmth of spring soil and gives those little root cells a real nudge.
- Don’t let the leaves touch the water: This is especially important if you’re trying a water propagation method (though I find cuttings in soil more reliable for Erodium). Any leaves submerged in water are a prime invitation for rot. Keep them elevated!
- Patience with watering: It’s a fine line between too wet and too dry. I always tell people to feel the soil about an inch down. If it feels dry, it’s time to water. If it still feels moist, hold off. Overwatering is the quickest way to lose a young plant.
Aftercare & Troubleshooting
Once you see signs of new growth on your cuttings (tiny leaves unfurling!), it’s a good indicator that roots are forming.
- Acclimate them slowly: Once they look established, gradually introduce them to less humid conditions. Start by lifting the plastic bag for an hour or two each day, or open the vents on your propagator.
- Transplant with care: When they have a good root system (you can often tell by gently tugging, or if roots are peeking out the drainage holes), it’s time to move them into slightly larger pots with their own growing mix.
- Watch for rot: The most common issue is rot, especially if the soil stays too wet. You’ll see stems turning mushy or black, or leaves wilting and looking unhealthy despite consistent watering. If this happens, check your watering habits. Sometimes, you can even save a cutting by trimming off the rotted part and trying to re-root the healthy bit, but prevention is always easier!
A Encouraging Closing
Embarking on plant propagation is such a joyful journey. Don’t be discouraged if your first few attempts aren’t perfect. Each plant, and each prop attempt, is a learning experience. Embrace the process, enjoy the quiet satisfaction of watching something new grow from a tiny piece, and soon you’ll have a garden brimming with your own Erodium sibthorpianum treasures! Happy gardening!
Resource:
https://identify.plantnet.org/k-world-flora/species/Erodium%20sibthorpianum%20Boiss./data