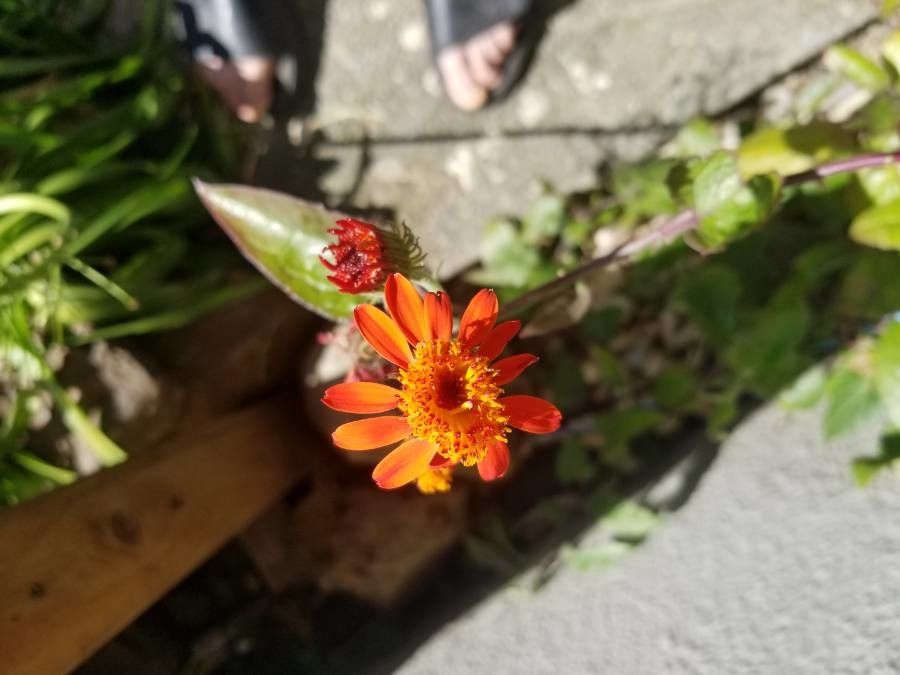
Hello there, fellow plant enthusiasts! I’m thrilled to share my passion for Raillardella pringlei, a stunning desert daisy that really brings a pop of sunshine to any garden. Its cheerful yellow blooms are a true delight, and truthfully, propagating it is a wonderfully rewarding experience. Now, I’ll be honest, Raillardella pringlei isn’t the absolute easiest plant to get started with if you’re a complete beginner, but don’t let that deter you! With a little patience and the right approach, you’ll be creating lots of new little babies in no time.
The Best Time to Start
For the highest chance of success with Raillardella pringlei, I always recommend starting in the late spring or early summer. This is when the plant is actively growing and has plenty of energy to put into rooting. Look for new, vigorous growth on your mature plant. Avoid taking cuttings from older, woody stems; you want lively, green pieces to work with.
Supplies You’ll Need
Gathering your tools beforehand makes the whole process smoother. Here’s what I typically have on hand:
- Sharp pruning shears or a clean craft knife: For precise cuts on your plant material.
- Rooting hormone powder or gel: While not strictly mandatory for Raillardella pringlei, it can give your cuttings a helpful boost.
- A well-draining potting mix: I like to use a cactus or succulent mix, or create my own by combining equal parts perlite, coarse sand, and standard potting soil.
- Small pots or seed trays: Ensure they have drainage holes! This is crucial.
- Watering can or spray bottle: For gentle irrigation.
- Clear plastic bags or a propagation dome: To create a humid environment for your cuttings.
- Labels: To keep track of what you’ve planted.
Propagation Methods
Raillardella pringlei is most successfully propagated through stem cuttings. It’s straightforward, and I’ve had fantastic results this way.
- Take Your Cuttings: On a healthy, non-flowering stem, locate a piece of new growth that is about 3-5 inches long. Make a clean cut just below a leaf node (where a leaf attaches to the stem). Remove the lower leaves from this cutting, leaving just a few at the very top.
- Prepare the Cutting: If you’re using rooting hormone, dip the cut end of the stem into it, tapping off any excess.
- Plant Your Cuttings: Fill your small pots or seed trays with your prepared well-draining potting mix. Moisten the soil lightly. Then, carefully insert the cut end of each Raillardella pringlei cutting about an inch deep into the soil. Gently firm the soil around the base of the cutting. I usually plant 2-3 cuttings per small pot to increase my chances.
- Create Humidity: Water the soil gently again. Then, cover the pots with a clear plastic bag or place them under a propagation dome. This traps moisture and creates the humid environment the cuttings need to develop roots. Ensure the plastic doesn’t directly touch the leaves of your cuttings.
The “Secret Sauce”
Here are a few little tricks that I’ve learned over the years that really seem to help:
- Don’t Overwater From the Start: While humidity is key, soggy soil is the enemy of cuttings. Let the top inch of soil dry out slightly between waterings. Overwatering can lead to rot before roots even have a chance to form.
- Light, Not Direct Sun: Place your cuttings in a location that receives bright, indirect light. Avoid harsh, direct sunlight, which can scorch the young cuttings and dry out the humidity dome too quickly.
- Gentle Bottom Heat (Optional but Beneficial): If you have it, placing your pots on a gentle heating mat can significantly speed up the rooting process. It mimics the warmth of spring soil and encourages root development from below.
Aftercare & Troubleshooting
Once your Raillardella pringlei cuttings have developed a good root system (you’ll know when you see new leaf growth and feel some resistance when you gently tug on the cutting), it’s time to start transitioning them.
- Acclimatization: Gradually remove the plastic bag or propagation dome over a week or so, allowing the young plants to adjust to normal humidity levels.
- Regular Watering: Continue to water when the top inch of soil feels dry. They’ll still appreciate a bit of careful attention.
- Repotting: Once they are well-established and show consistent growth, you can transplant them into slightly larger pots.
- Watch for Rot: The most common sign of failure is rot. If your cuttings are turning mushy or black at the base, it’s usually a sign of too much moisture or poor drainage. Unfortunately, rot is often irreversible, so discard any affected cuttings and try again, ensuring better airflow and less water. Another sign of distress is wilting or yellowing leaves that aren’t due to lack of water; this might indicate the cutting is struggling.
Don’t be discouraged if every single cutting doesn’t make it. Gardening is a journey, and learning from each attempt is part of the fun! Be patient, keep them happy, and soon you’ll have your own beautiful Raillardella pringlei babies to share or admire. Happy growing!
Resource:
https://identify.plantnet.org/k-world-flora/species/Raillardella%20pringlei%20Greene/data