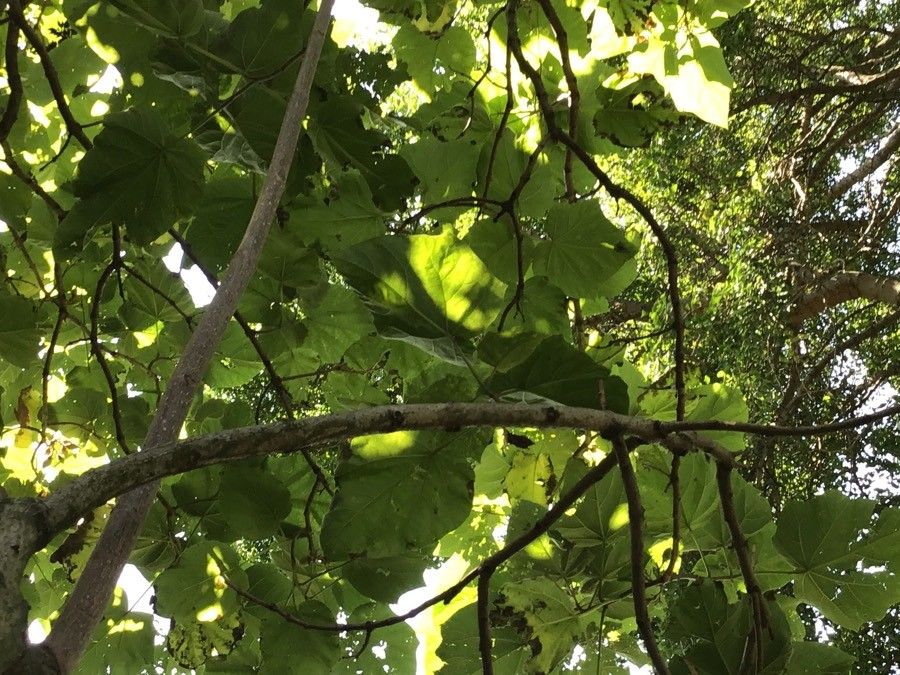
Hello fellow garden enthusiasts! I’m so delighted you’re thinking about delving into the wonderful world of Paulownia kawakamii. It’s a tree that truly captures the imagination, with its stunning, ephemeral blossoms that look like delicate lavender bells against the sky. Growing one from scratch is a deeply rewarding experience, creating a connection to nature that’s hard to beat. Now, is it tricky for beginners? I’d say Paulownia kawakamii can be a bit of a thoughtful process. It’s not quite as foolproof as a pothos, but with a little patience and the right approach, you’ll be well on your way to success.
The Best Time to Start
Timing is everything in the garden, and for Paulownia kawakamii, springtime is your golden ticket. Aim to take your cuttings when the plant is actively growing, usually late spring or early summer. You want to be working with semi-hardwood cuttings. This means the new growth from the current year has started to firm up a bit, but it’s not as woody and mature as older stems. This stage offers a fantastic balance of pliability and the ability to root.
Supplies You’ll Need
Having your tools ready makes the whole process much smoother. Here’s what I always have on hand:
- Sharp pruning shears or a clean, sharp knife: To make clean cuts that heal faster. Sterilize them with rubbing alcohol before you begin!
- Rooting hormone: This is a game-changer, especially for woody cuttings. Look for one containing IBA (indole-3-butyric acid).
- Well-draining potting mix: A specialized cutting mix is ideal, or you can create your own by combining perlite, peat moss (or coco coir), and a bit of coarse sand. The key is excellent aeration.
- Small pots or seed trays: With drainage holes, of course!
- A plastic bag or propagation dome: To create a humid microclimate.
- Water: For misting and, in some cases, for the propagation medium.
Propagation Methods
We’ll focus on the most reliable methods for Paulownia kawakamii.
Stem Cuttings
This is my go-to method for Paulownia kawakamii.
- Take Your Cuttings: In late spring or early summer, select healthy, vigorous stems that are semi-hardwood. Look for stems that are about pencil-thick and have started to turn a light brown at the base but are still green towards the tip. Using your sterilized shears, take cuttings that are 6-8 inches long. Make a clean cut just below a leaf node. A leaf node is where a leaf attaches to the stem.
- Prepare the Cuttings: Remove the lower leaves, leaving just one or two at the very top. This prevents them from rotting in the soil. If the remaining leaves are very large, you can cut them in half horizontally to reduce water loss through transpiration.
- Apply Rooting Hormone: Dip the cut end of each stem into your rooting hormone. Gently tap off any excess.
- Plant the Cuttings: Fill your small pots with your well-draining potting mix. Make a hole in the center with a pencil or your finger. Insert the cut end of the stem into the hole, ensuring at least one leaf node is below the soil surface. Firm the soil gently around the stem.
- Water Gently: Water the soil thoroughly but be careful not to disturb the cuttings.
- Create Humidity: Cover the pots with a clear plastic bag, secured with a rubber band, or place them under a propagation dome. This traps moisture and creates that vital humid environment.
Water Propagation (with a caveat!)
While many plants root easily in water, Paulownia kawakamii can be a little more prone to rot if left in water for too long without developing true root structures. If you choose this method, be very watchful.
- Take Cuttings: Follow the same steps as above for taking semi-hardwood cuttings.
- Remove Lower Leaves: Just like with soil propagation.
- Place in Water: Place the cuttings in a clean jar or vase of room-temperature water. Make sure no leaves are submerged. Any leaf below the water line will rot and contaminate the water, potentially killing your cutting.
- Change Water Regularly: Change the water every 2-3 days to keep it fresh and oxygenated.
- Watch for Roots: You might see tiny white nubs appear at the nodes. Once these rootlets are about an inch long, it’s time to transplant them into soil to encourage more robust root development. This is the critical stage.
The “Secret Sauce” (Pro Tips)
Here are a few things I’ve learned over the years that really make a difference:
- Bottom Heat is Your Friend: Paulownia kawakamii loves warmth to encourage root development. Placing your pots on a heated propagation mat can significantly speed up the rooting process. It mimics the warmer soil temperatures of spring and summer, telling the plant it’s time to get growing below ground.
- Sterile Blade, Happy Plant: I can’t stress this enough, but always use a clean, sharp tool for your cuttings. A dull blade will tear the plant tissue, leaving it vulnerable to disease. A quick wipe with rubbing alcohol between each cut is a simple step with a massive impact on success rates.
- Don’t Rush the Transplant: Especially with water propagation, it’s tempting to leave those cuttings in water to grow long roots. However, Paulownias develop much stronger, more adaptable root systems when transitioned to soil earlier. Wait until you have a decent cluster of healthy white root hairs, then pot them up.
Aftercare & Troubleshooting
Once you see those little roots developing (you might even see new leaf growth!), it’s time for a change in care.
- Gradual Acclimatization: If your cuttings were under a dome or in a plastic bag, gradually remove the cover over a few days. This helps them adjust to the lower humidity of your home.
- Watering: Water your new cuttings when the top inch of soil feels dry. Avoid overwatering, as this is a common cause of root rot. Ensure good drainage is still a priority.
- Light: Place your newfound babies in bright, indirect light. Direct sunlight can scorch delicate new growth.
- Troubleshooting: The most common issue you’ll face is rot. If a cutting turns black and mushy at the base, it’s likely rotted. This is usually due to too much moisture and not enough airflow. If you see signs of wilting and the soil is damp, check if the cutting is soft and mushy. Unfortunately, a rotted cutting is usually a goner. Another sign of failure is if the cutting simply shrivels and dries out – this often means it didn’t establish enough root to support itself, or the humidity wasn’t sufficient.
So there you have it! Propagating Paulownia kawakamii is a journey, not a race. Don’t get discouraged if your first few attempts aren’t perfect. Every gardener has stories of failures that led to future successes. Enjoy the process, get your hands dirty, and soon you’ll be admiring your very own blooming Paulownia! Happy gardening!
Resource:
https://identify.plantnet.org/k-world-flora/species/Paulownia%20kawakamii%20T.Itô/data