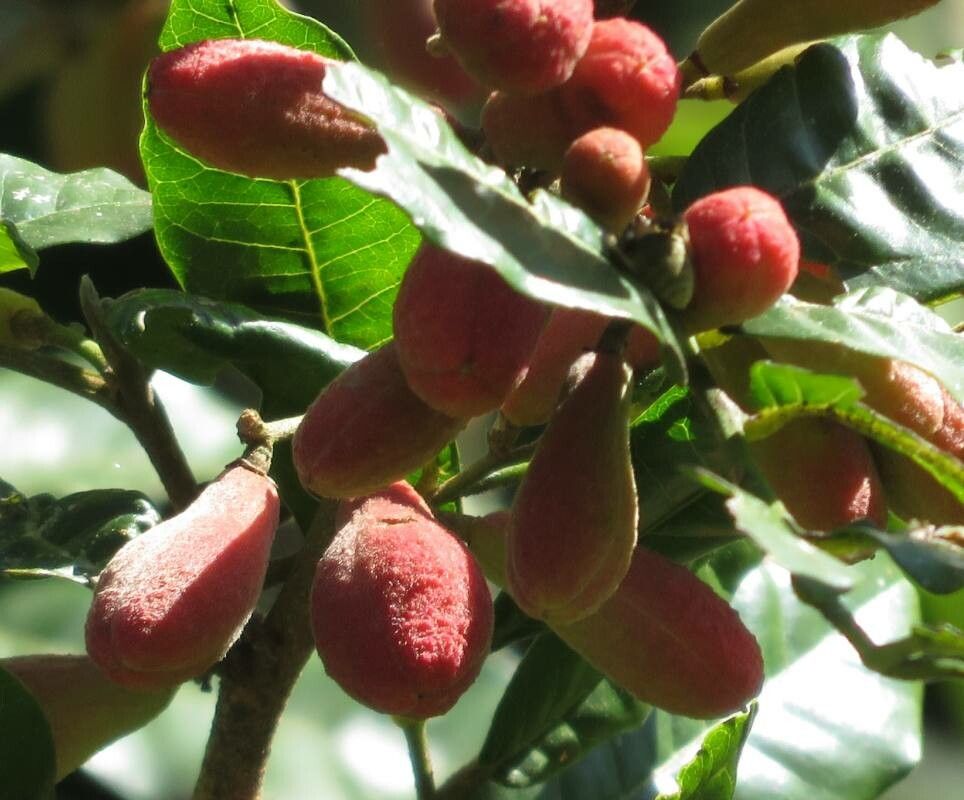
Hey there, fellow garden enthusiasts! I’m so excited to chat with you today about a truly special plant: Trichilia catigua. You might know it by its common name, Catuaba, a fascinating tree native to the Amazon. Its allure lies not just in its beautiful foliage but also its historical and cultural significance. Propagating this beauty is a journey that brings immense satisfaction, a true reward for your gardening efforts. Now, for beginners, I’d say Trichilia catigua can be a bit of a learning curve, but with a bit of patience and following these steps, you’ll be well on your way.
The Best Time to Start
Timing is everything, right? For Trichilia catigua, the late spring or early summer is your golden window. This is when the plant is in its active growth phase, meaning it’s got plenty of energy to put into developing new roots. Look for stems that are semi-hardwood – not too soft and green, but not old and woody either. They should have a slight bend to them without snapping.
Supplies You’ll Need
Gathering your supplies beforehand makes the whole process smoother. Here’s what you’ll want to have on hand:
- Clean, sharp pruning shears or a knife: For making clean cuts.
- Rooting hormone: I prefer a gel or powder that contains IBA (Indole-3-butyric acid).
- Well-draining potting mix: A good starter mix is usually a 50/50 blend of perlite and peat moss, or vermiculite and coco coir. You can also find commercially available seed starting or cutting mixes.
- Small pots or seedling trays: With drainage holes, of course!
- Plastic bags or a propagation dome: To create a humid environment.
- Watering can or spray bottle: For gentle watering.
- Optional: A heat mat: This can really speed things up!
Propagation Methods
Let’s get our hands dirty! I’ve found the most reliable way to propagate Trichilia catigua is through stem cuttings.
Stem Cuttings:
- Take Your Cuttings: Using your clean pruners, take a cutting from a healthy, mature Trichilia catigua plant. Aim for pieces that are about 4-6 inches long. Make the cut just below a leaf node, which is where the roots will likely emerge. Remove any flower buds or developing fruit.
- Prepare the Cuttings: Gently strip off the lower leaves, leaving about 2-3 leaves at the top. This helps prevent rot and directs the plant’s energy towards root development.
- Apply Rooting Hormone: Dip the cut end of the stem into your rooting hormone. Swirl it around to ensure a good coating. Tap off any excess.
- Plant the Cuttings: Fill your small pots with your prepared potting mix. Make a planting hole with a pencil or your finger, deep enough to accommodate the bottom leaves. Insert the cutting, firming the soil gently around it.
- Create a Humid Environment: Water the soil lightly. Then, cover each pot with a clear plastic bag, creating a mini-greenhouse. You can prop the bag up with sticks so it doesn’t touch the leaves. If you’re using a propagation dome, just place it over the tray.
The “Secret Sauce” (Pro Tips)
Here are a couple of things I’ve learned over the years that really make a difference:
- Don’t let leaves touch the water: If you’re doing water propagation (which is less common for Trichilia catigua but can sometimes work), make sure the leaves aren’t submerged. Any part of the stem below the water is prone to rotting before it can root.
- Bottom heat is your friend: Especially if your indoor temperatures are on the cooler side, a heat mat placed under your pots will significantly speed up root formation. Think of it as giving the roots a cozy little warm bed to grow into. My own experience shows that cuttings on a heat mat root in about half the time, sometimes even less!
Aftercare & Troubleshooting
Once your cuttings are planted, keep them in a bright, indirect light location. Avoid direct sun, which can scorch them. Water them only when the top inch of soil feels dry. The plastic bag or dome will help maintain humidity, so you won’t need to water too often initially.
You’ll know your cuttings have taken when you see new leaf growth. This usually happens within 4-8 weeks, but it can take longer. Gently tug on a cutting; if there’s resistance, it means roots have formed. Once you see good root development, you can gradually acclimate your new plants to normal room humidity by opening the plastic bag or dome a little more each day.
The most common issue you might encounter is rot. This usually happens if the soil stays too wet or the humidity is too high for too long without any air circulation. If you see mushy, black stems, unfortunately, that cutting is likely lost. Don’t get discouraged; just try again with a fresh cutting and ensure good drainage and some air exchange.
A Encouraging Closing
Propagating Trichilia catigua is a wonderfully rewarding experience. It’s a chance to nurture life and expand your green family. Be patient with the process, celebrate every little sign of progress, and most importantly, enjoy the journey of coaxing new life from your cuttings. Happy gardening!
Resource:
https://identify.plantnet.org/k-world-flora/species/Trichilia%20catigua%20A.Juss./data