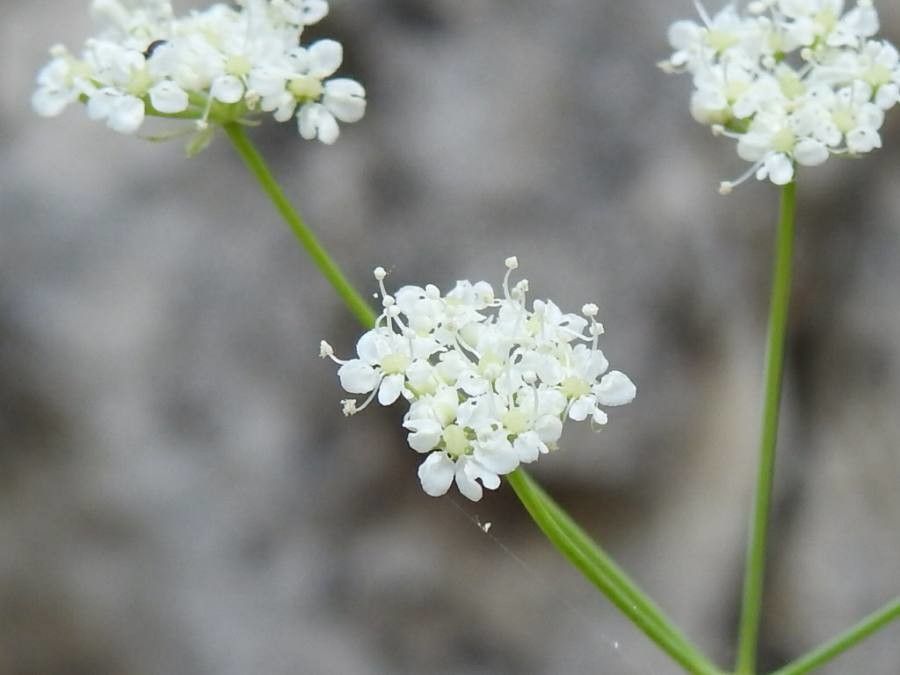
Hello, fellow garden enthusiasts! It’s so lovely to have you here. Today, we’re going to dive into the wonderful world of Carum appuanum. This herb, with its delicate, fern-like foliage and clusters of tiny white flowers, is such a charming addition to any garden. It’s got a lovely, slightly anise-like fragrance that really hints at its culinary potential, though I mostly grow it for its sheer beauty. Propagating it yourself is incredibly rewarding – imagine filling your garden with more of this loveliness, or sharing it with friends! For beginners, I’d say Carum appuanum is moderately easy. It requires a little attention, but nothing too daunting.
The Best Time to Start
The sweet spot for propagating Carum appuanum is definitely late spring to early summer. This is when the plant is in its most vigorous growth phase. You’ll find it’s much more receptive to making new roots then. Waiting until you see active, healthy new shoots is your cue.
Supplies You’ll Need
To set yourself up for success, gather these items:
- Sharp pruners or a clean knife: For taking clean cuttings.
- Potting mix: A well-draining mix is crucial. I like to use a blend of peat moss or coco coir with perlite or coarse sand. About a 50/50 ratio works wonders.
- Small pots or seed trays: Clean ones, of course!
- Rooting hormone (optional but helpful): A powdered or liquid form can speed things up.
- Plastic bags or a propagation dome: To create a humid environment.
- Watering can with a fine rose attachment: To water gently.
- Labels: So you don’t forget what you planted!
Propagation Methods
Carum appuanum is quite amenable to propagation by stem cuttings. This is my preferred method as it’s usually very successful.
- Select Your Cuttings: Look for healthy, non-flowering stems, about 4-6 inches long. Make your cut just below a leaf node (the point where a leaf attaches to the stem). This is where the magic of root formation often happens.
- Prepare the Cuttings: Gently remove the lower leaves from the stem, leaving just a few at the top. This helps the cutting focus its energy on rooting rather than leaf production. If your cuttings are long, you can even cut them in half at the node to create more pieces!
- Apply Rooting Hormone (Optional): If you’re using rooting hormone, dip the cut end of each stem into the powder or liquid. Tap off any excess.
- Plant Your Cuttings: Fill your pots or trays with your well-draining potting mix. Make a small hole with your finger or a pencil. Gently insert the prepared cuttings into the holes, ensuring the leaf nodes are below the soil surface. Firm the soil gently around the base of each cutting.
- Create Humidity: Water the cuttings gently. Then, place the pots inside a plastic bag or cover them with a propagation dome. This traps moisture and creates that humid microclimate they love. Ensure the leaves don’t touch the sides of the bag too much, as this can encourage rot.
Another method, though I find it less reliable for this particular plant, is water propagation. You can try placing a few stem cuttings in a jar of water, making sure the leaf nodes are submerged. Change the water every few days. Once tiny roots appear, you can carefully transfer them to soil.
The “Secret Sauce” (Pro Tips)
Here are a few things I’ve learned over the years that can really make a difference:
- Bottom Heat is Your Friend: If you have a heat mat, place your propagation pots on it. This gentle warmth from below stimulates root development incredibly well, especially if your room is a little on the cooler side.
- Don’t Fuss Too Much: Resist the urge to constantly check on your cuttings. Once they’re set up in their humid environment, leave them be for a few weeks. They’ll tell you when they’re ready.
- Sharpen Up: Always use the sharpest tool you have. A clean cut heals better and is less prone to infection, which is a win for new propagations.
Aftercare & Troubleshooting
Once you start to see signs of new growth peeking out, that’s your signal that roots are forming! This usually takes 3-6 weeks. Gently tug on a cutting – if there’s resistance, you’ve got roots.
Once they’re well-rooted, it’s time to gradually acclimatize them to normal conditions. Open the plastic bag or dome a little bit each day for a week before removing it entirely. Continue to water them as you would a mature plant, but be mindful not to overwater, as this is the most common problem.
The biggest thing to watch out for is rot. If your cuttings look mushy, dark, or suddenly wilt and die off, it’s likely due to too much moisture and poor air circulation. If you see this happening, try to improve drainage and ensure less saturated soil. Sometimes, a little bit of rot is just part of the learning process.
A Little Patience Goes a Long Way
Propagating plants is a journey, and like any good journey, it requires a bit of patience and a lot of love. Don’t be discouraged if every single cutting doesn’t make it. Each attempt teaches you something new. Enjoy the process, and soon you’ll have a whole legion of beautiful Carum appuanum plants to admire and share! Happy growing!
Resource:
https://identify.plantnet.org/k-world-flora/species/Carum%20appuanum%20(Viv.)%20Grande/data