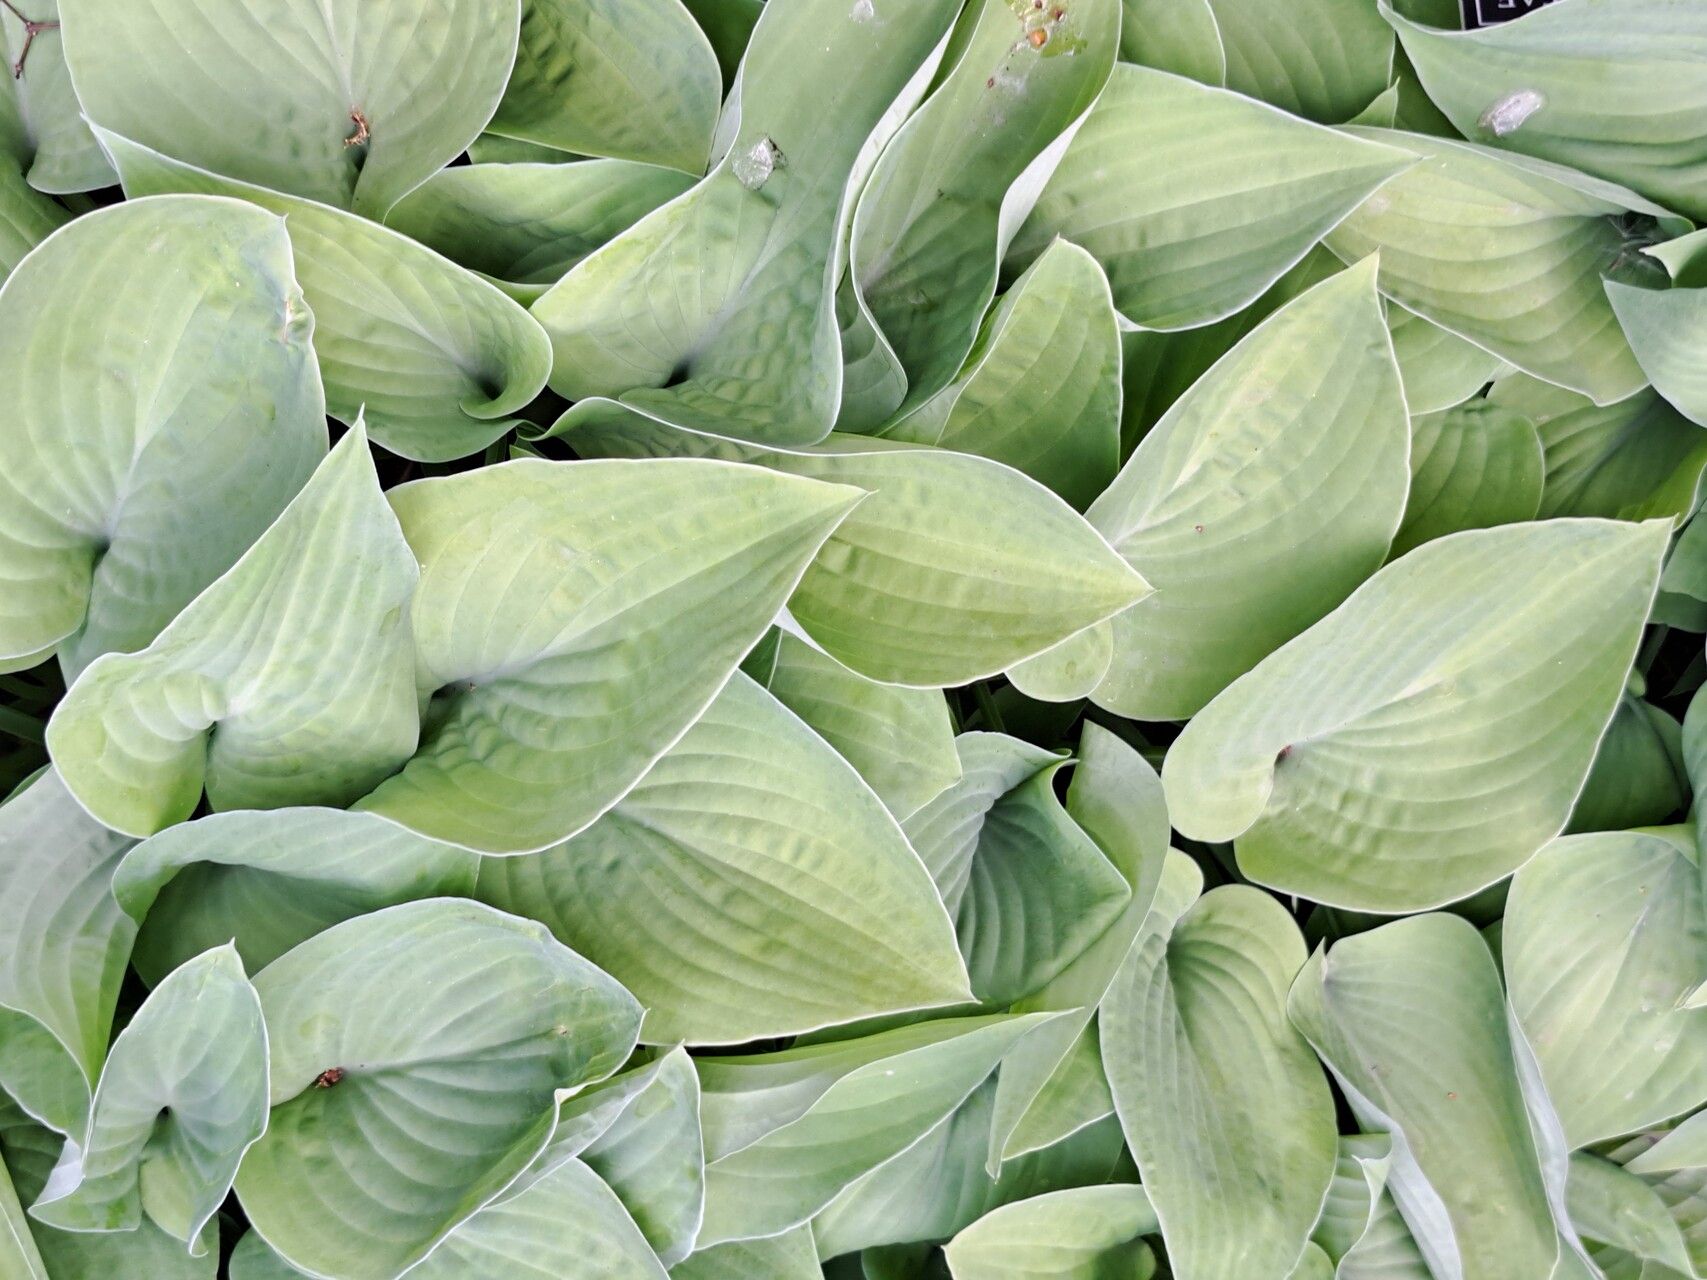
Hello fellow garden lovers! Today, I want to talk about a little charmer that holds a special place in my heart: Hosta minor. If you’re looking for a delightful miniature hosta, this is it. Its delicate leaves and compact size make it perfect for edging, rock gardens, or even containers. And the best part? Propagating it is incredibly rewarding, and I’m happy to share that Hosta minor is quite beginner-friendly in the propagation department. You’ll be multiplying your green treasures before you know it!
The Best Time to Start
For the highest success rate when propagating Hosta minor, spring or early summer is your golden ticket. This is when the plant is actively growing and has plenty of energy to put into recovery and root development. Look for new shoots emerging from the crown or consider dividing established clumps just as the new leaves begin to unfurl.
Supplies You’ll Need
Gathering your tools beforehand makes everything run smoothly. Here’s what I recommend:
- Sharp, clean pruning shears or a sturdy knife: For making clean cuts.
- Well-draining potting mix: A mix of peat moss, perlite, and compost works wonders. You can also find specific hosta soil mixes.
- Small pots or containers: For your new cuttings or divisions.
- Rooting hormone (optional but helpful): A powder or gel to encourage quicker root development.
- Watering can with a fine rose: For gentle watering.
- Labels and a marker: To keep track of your different projects!
- Plastic bags or domes (optional): To maintain humidity for cuttings.
Propagation Methods
Hosta minor is a trooper and can be propagated in a couple of straightforward ways.
Division
This is, by far, the easiest and most common method for Hosta minor.
- Dig up the clump: In spring, gently dig up your established Hosta minor clump using your spade. Try to get as much of the root ball as possible.
- Clean off excess soil: Gently rinse or brush away some of the soil from the roots. This makes it easier to see the growth points.
- Identify natural divisions: Look for natural breaks in the crown where stems are emerging. You should be able to see distinct sections with their own roots.
- Separate the divisions: Using your hands, carefully pull apart the sections. If they are stubborn, use your sharp knife or shears to make a clean cut through the root ball and crown. Ensure each division has at least one or two healthy shoots and a good portion of roots.
- Replant immediately: Plant each division in your prepared pots or directly into their new garden spot. Water thoroughly.
Stem Cuttings (Less common for minor, but possible!)
While division is king for Hosta minor, you can try stem cuttings from new, soft shoots.
- Take cuttings: In late spring or early summer, select a young, tender shoot that is about 3-4 inches long. Using your clean shears, make a cut just below a leaf node (where a leaf attaches to the stem).
- Prepare the cutting: Remove the lower leaves, leaving only 1-2 at the top. If you’re using rooting hormone, dip the cut end into the powder or gel.
- Plant the cutting: Stick the prepared cutting about an inch deep into a pot filled with your well-draining potting mix. Gently firm the soil around it.
- Provide humidity: You can cover the pot with a plastic bag or a clear dome to create a mini-greenhouse effect. Make sure the leaves aren’t touching the plastic.
- Place in bright, indirect light: Keep the pot in a warm spot with bright, but not direct, sunlight. Water gently when the soil surface feels dry.
The “Secret Sauce” (Pro Tips)
Here are a couple of things I’ve learned over the years that really make a difference:
- Don’t be afraid to get your hands dirty with division! Hostas are remarkably forgiving. When separating divisions, aim to keep as many intact roots as possible on each piece. It might look a bit rough, but a healthy root system is key.
- For cuttings, think of it as a spa day for your plant. They need consistent moisture and high humidity to encourage root formation. If the leaves start to wilt, it’s a sign they’re drying out. A light misting or ensuring the humidity is high will perk them right up.
Aftercare & Troubleshooting
Once your divisions or cuttings have successfully rooted, it’s time for a little extra TLC.
Watering: Keep the soil consistently moist but not waterlogged. Overwatering is the quickest way to invite trouble. As your new plant establishes, you’ll be able to water a bit less frequently.
Light: Continue to provide bright, indirect light. Avoid direct, scorching sun, especially for young plants.
Troubleshooting: The most common issue you might encounter is rot. This is almost always due to overwatering or poor drainage. If you see mushy stems or roots, or a foul smell, it’s a sign of rot. Unfortunately, damaged plants are hard to save, so prevention is key. Ensuring good airflow around your cuttings and not overwatering your divisions are your best defenses. If you see a bit of wilting on cuttings, it’s usually just a sign they’re adjusting – don’t panic unless it’s accompanied by mushiness.
A Encouraging Closing
Propagating Hosta minor is a wonderful way to expand your garden or share your love of these beautiful plants with friends. Be patient with the process. Some divisions might take a little longer to bounce back, and cuttings will need time to develop a robust root system. Enjoy the journey, celebrate each new sprout and root, and happy gardening!
Resource:
https://identify.plantnet.org/k-world-flora/species/Hosta%20minor%20(Baker)%20Nakai/data