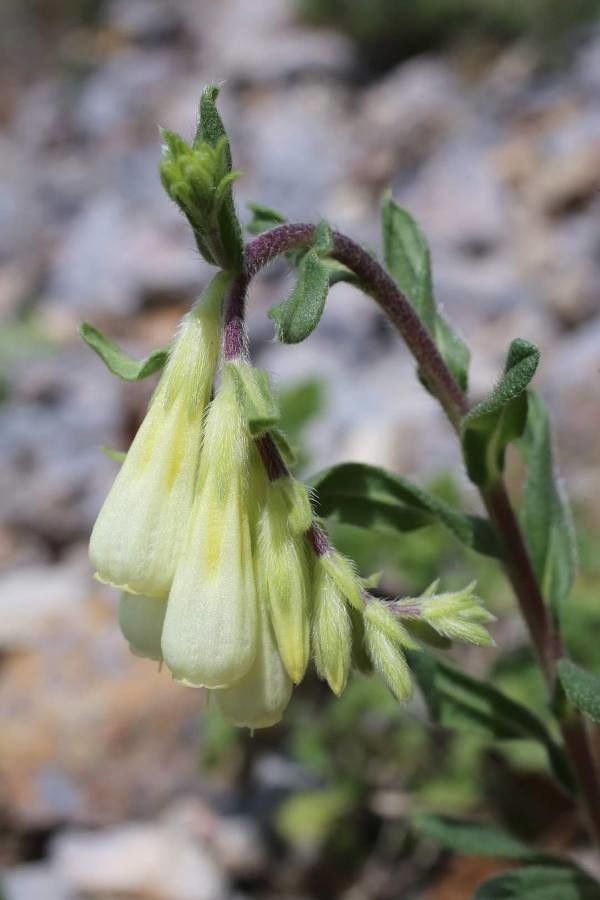
Hey there, fellow plant lover! Today, we’re diving into something truly special: propagating Onosma thracica. If you’ve ever seen this beauty gracing a garden, you know its charm. Those delicate, tubular, usually pink or purple flowers cascading like tiny bells are just gorgeous. They have this lovely, almost ethereal presence, and I’ve always found them incredibly rewarding to grow. And the best part? You can absolutely bring more of them into your life!
Now, I won’t sugarcoat it entirely. Onosma thracica can be a tiny bit finicky, a bit of a diva sometimes. It’s not quite a beginner’s “throw it in the ground and forget it” kind of plant. But with a little care and attention, you’ll be a pro in no time. The satisfaction of nurturing a new plant from a tiny snippet is truly unparalleled, don’t you think?
The Best Time to Start
For Onosma thracica, early to mid-summer is your golden ticket. This is when the plant is actively growing, and the stem cuttings will have the most energy to dedicate to rooting. You’re looking for stems that are developing but not yet woody. Think of it as catching them at their peak vigor. Waiting until this time gives you the best chance of success, rather than trying to push it when the plant is resting or struggling.
Supplies You’ll Need
Gathering your tools before you start makes the whole process so much smoother. Here’s what I usually have on hand:
- Sharp pruning shears or a clean knife: For making precise cuts.
- A good quality propagation mix: I like a blend of perlite and peat moss, or a commercial seed-starting mix that drains well. Avoid heavy garden soil!
- Small pots or trays: Clean and with drainage holes, of course.
- Rooting hormone (optional but recommended): A powdered or gel form can give your cuttings a helpful boost.
- A clear plastic bag or dome: To create a humid environment.
- A spray bottle: For misting.
- A small trowel or dibber: For making holes in the soil.
Propagation Methods
Stem cuttings are your best bet for Onosma thracica. It’s a reliable method, and with the right approach, you’ll be seeing those roots form before you know it.
Stem Cuttings:
- Select your cuttings: Head out in the morning, after the dew has dried. Look for healthy, non-flowering stems. You want pieces that are about 3-6 inches long, with at least two sets of leaves. Make your cut just below a leaf node (where a leaf joins the stem).
- Prepare the cuttings: Gently remove the lower leaves from the bottom half of the stem. This prevents them from rotting in the soil. If your cutting has any flower buds, pinch them off; we want all the plant’s energy focused on rooting, not flowering.
- Dip in rooting hormone (if using): Lightly moisten the cut end of the stem and dip it into your rooting hormone powder or gel. Tap off any excess.
- Plant the cuttings: Fill your small pots with your propagation mix and lightly water it. Make a small hole with your trowel or finger, and gently insert the cutting, ensuring the nodes where you removed the leaves are below the soil surface. Firm the soil around the base.
- Create a humid environment: Water the soil lightly again. Then, cover the pot with a clear plastic bag, propping it up with small stakes so it doesn’t touch the leaves, or use a plastic dome. This traps moisture and creates the humid microclimate cuttings need.
- Placement: Place the pots in a bright spot, but out of direct sunlight. They like warmth, so a greenhouse or a bright windowsill is perfect.
The “Secret Sauce” (Pro Tips)
Here are a few tricks I’ve learned over the years that really make a difference:
- Don’t drown them! While humidity is key, overwatering is the quickest way to sad, rotted cuttings. Ensure your mix is damp, not waterlogged. Let the top layer dry out slightly between waterings.
- Bottom heat is your friend: If you can, place your pots on a heat mat. This gently warms the soil from below, encouraging root development much faster than ambient room temperature alone. It’s like giving them a cozy warm foot bath!
- Be patient with the “wiggle test”: Don’t be tempted to tug on your cuttings to see if they have roots. Wait until you can see new leaf growth – that’s a sure sign they’ve taken.
Aftercare & Troubleshooting
Once your cuttings have developed roots (which can take anywhere from 4 weeks to a couple of months), it’s time to think about their next steps. You’ll know they’re ready when they resist a gentle tug or you see new growth.
- Gradual acclimatization: Slowly start to introduce them to drier air. Gradually open the plastic bag or dome over a week or two, lifting it for longer periods each day.
- Potting up: Once they’ve adjusted to normal humidity, you can carefully transplant them into slightly larger individual pots with a good quality potting mix. Water them in well.
- Watch for rot: The most common problem is rot, which usually happens due to overwatering and poor drainage. If you see stems turning black and mushy, it’s usually a goner. Adjust your watering and ensure good air circulation.
- Pests: Keep an eye out for common houseplant pests like spider mites or aphids, especially once they’re in their own pots.
A Encouraging Closing
Propagating plants like Onosma thracica is a journey, and it’s one best enjoyed with a good dose of patience. Don’t get discouraged if every single cutting doesn’t make it. That’s just nature’s way of keeping us on our toes! Celebrate the successes, learn from the setbacks, and enjoy the simple magic of growing something new. You’ve got this! Happy propagating!
Resource:
https://identify.plantnet.org/k-world-flora/species/Onosma%20thracica%20Velen./data