Hello there, fellow garden enthusiasts! It’s wonderful to have you here. Today, we’re going to dive into something truly special, something that brings me so much joy: propagating Pittosporum heckelii.
Why Pittosporum Heckelii?
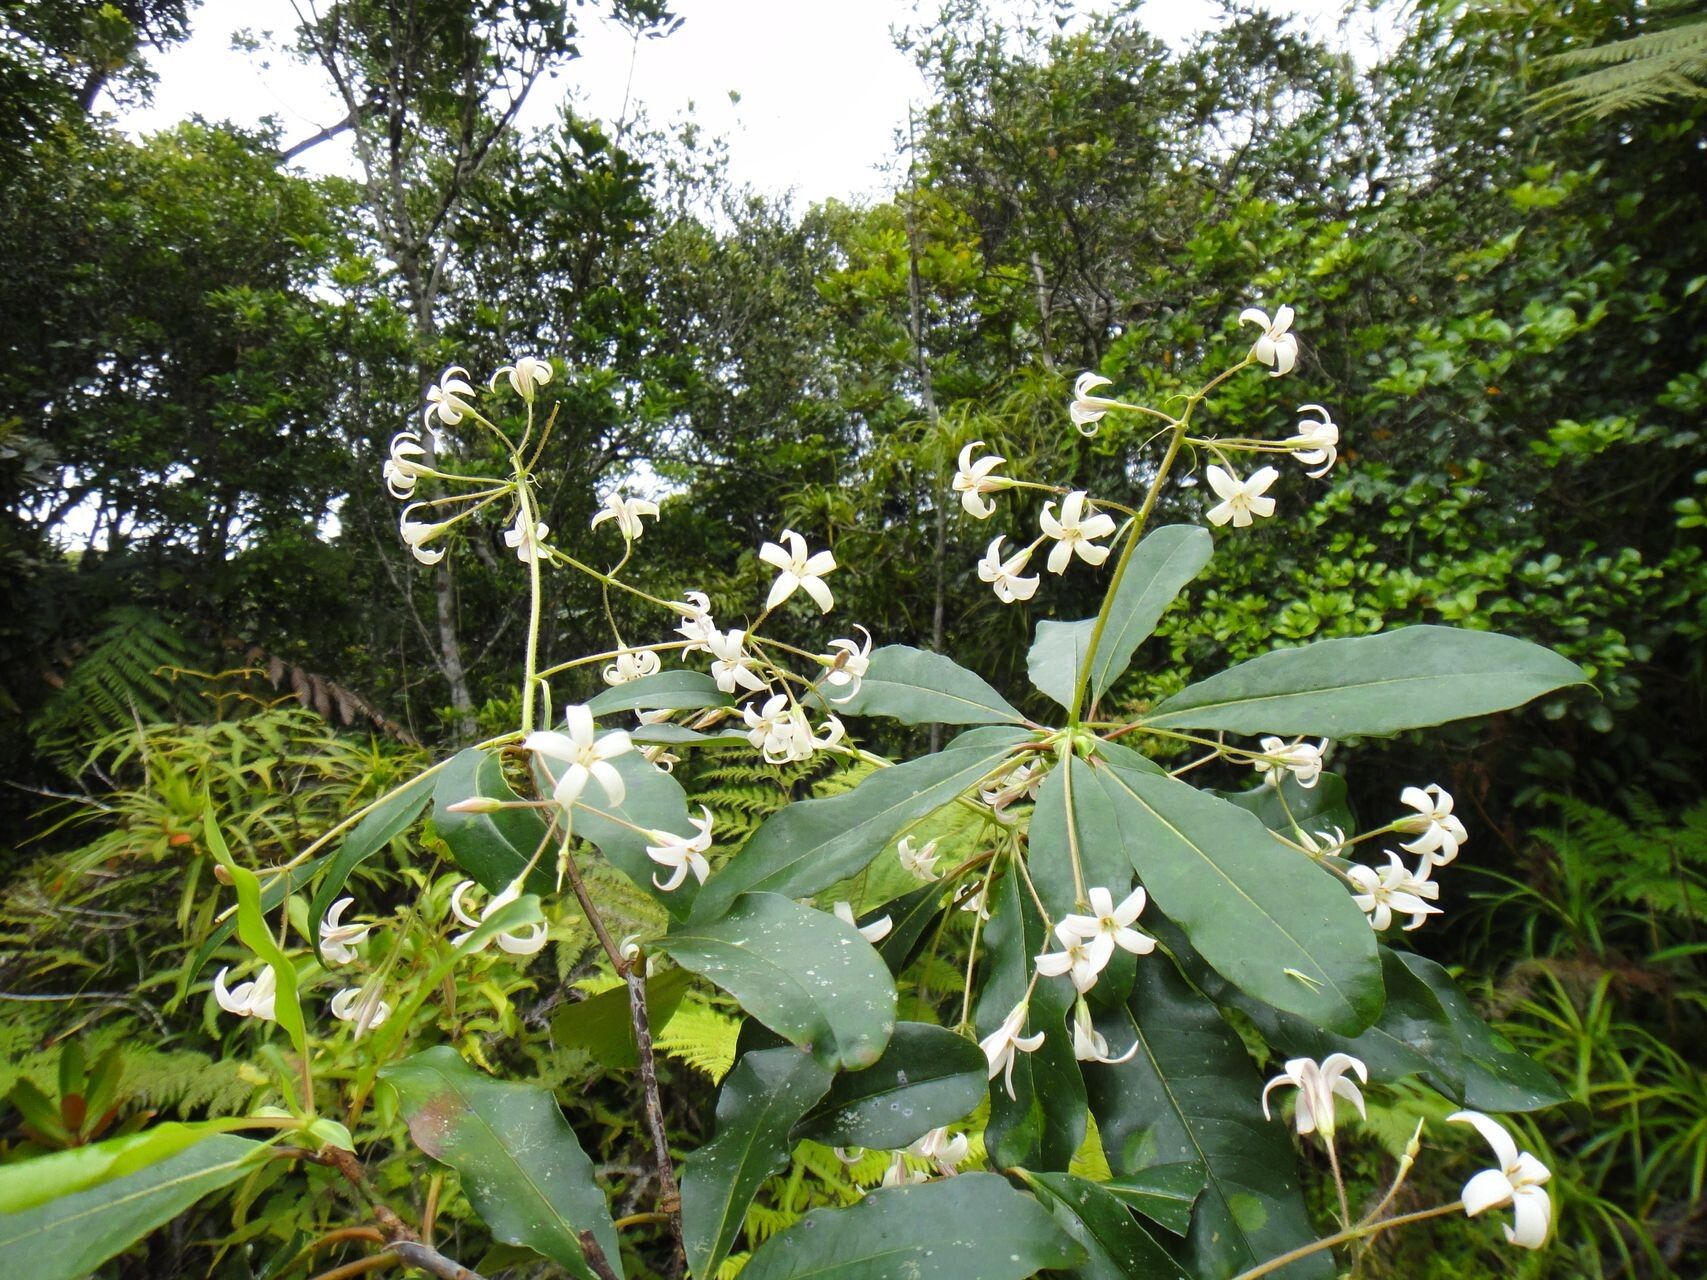
If you haven’t met Pittosporum heckelii yet, let me paint you a picture. This isn’t your run-of-the-mill shrub. It boasts beautiful, glossy, dark green leaves that provide year-round interest, and in the spring, it’s graced with clusters of wonderfully fragrant, creamy white flowers that are simply divine. And the best part? They attract all sorts of pollinators to your garden. For me, propagating it is like creating little pieces of future joy, and it’s a incredibly rewarding experience, even for those just dipping their toes into the propagation world.
When is the Magic Time?
The sweet spot for taking cuttings of Pittosporum heckelii is generally late spring to early summer. This is when the plant is actively growing, producing plenty of healthy new shoots. You want to look for semi-hardwood cuttings. These are shoots that have started to firm up but are still somewhat flexible, not completely woody yet. Think of it as the plant being in its prime – full of energy and ready to put down new roots.
What You’ll Need to Get Started:
Gathering your supplies beforehand makes the whole process so much smoother. Here’s what I always have on hand:
- Sharp, clean pruning shears or a hobby knife: This is crucial for making clean cuts, which helps prevent disease.
- Rooting hormone: While not strictly essential for Pittosporum heckelii, it can give your cuttings a significant boost. I prefer the powder form, but liquid works too.
- A good quality potting mix: A light, well-draining mix is key. I often use a blend of peat moss and perlite or a seed-starting mix. Avoid heavy garden soil.
- Small pots or containers: Clean, with drainage holes, of course.
- A plastic bag or a clear plastic dome: This will create a mini-greenhouse effect to keep humidity high.
- A spray bottle filled with water: For misting.
Let’s Get Propagating! My Favorite Method: Stem Cuttings
This is my go-to for Pittosporum heckelii, and I find it yields the best results.
- Take Your Cuttings: Head out to your plant on a mild day. Select healthy, vigorous stems that are about 4-6 inches long. Using your clean pruning shears, make a cut just below a leaf node (where a leaf attaches to the stem). Try to take multiple cuttings – not every single one will take, and that’s perfectly okay!
- Prepare the Cuttings: Gently strip off the leaves from the bottom half of each cutting. You only want to leave a couple of pairs of leaves at the very top. This reduces water loss.
- Dip in Rooting Hormone: Lightly moisten the cut end of each stem and then dip it into your rooting hormone. Tap off any excess.
- Pot Them Up: Fill your small pots with your prepared potting mix. Make a small hole in the center of the mix with your finger or a pencil. Carefully insert the cutting into the hole, ensuring the rooting hormone-coated end is in contact with the soil. Gently firm the soil around the base of the cutting.
- Create a Humid Environment: Water the soil gently. Then, cover the pot with a clear plastic bag, making sure it doesn’t touch the leaves. You can use skewers to prop it up if needed. Alternatively, use a clear plastic dome.
- Keep Them Happy: Place your pots in a spot that receives bright, indirect light. Avoid direct sun, as it can scorch those delicate new leaves.
The “Secret Sauce” – My Insider Tips:
Over the years, I’ve learned a few tricks that really seem to make a difference.
- Don’t Overcrowd: Give your cuttings a little breathing room in their pots. Too many crowded together can encourage fungal diseases. Space them out so air can circulate.
- Bottom Heat is Your Friend: If you have the option, placing your pots on a heated propagator mat can significantly speed up root development. It mimics the warmth of spring soil.
- Watch for New Growth, Not Just Roots: While we’re all eager for roots, the surest sign a cutting has taken is seeing new leafy growth emerge from the top. That tells you the plant is actively drawing nutrients and water.
Aftercare and What to Watch For:
Once your cuttings have developed a good root system – and you can often tell by gently tugging on them; if there’s resistance, they’ve rooted – it’s time for a little more attention.
Transplanting: Carefully transplant them into slightly larger pots with your regular potting mix. Keep them in bright, indirect light and continue to mist them regularly, gradually reducing the frequency as they become more established.
Troubleshooting: The most common issue you might encounter is rot. This usually happens if the soil stays too wet or if there isn’t enough air circulation. If you see a cutting turning black or mushy, it’s best to remove it immediately to prevent it from spreading. Fungal issues often arise from too much humidity without enough air flow, so ensure your “mini-greenhouse” has some ventilation. Brown or wilting leaves can sometimes mean it’s drying out too quickly, so check your watering.
Happy Propagating!
So there you have it – a journey into coaxing new life from your lovely Pittosporum heckelii. Growing plants from cuttings can feel a bit magical, and it’s a wonderfully sustainable way to fill your garden with beauty. Be patient with yourself, enjoy the process, and celebrate every little success. Happy gardening!
Resource:
https://identify.plantnet.org/k-world-flora/species/Pittosporum%20heckelii%20Dubard/data