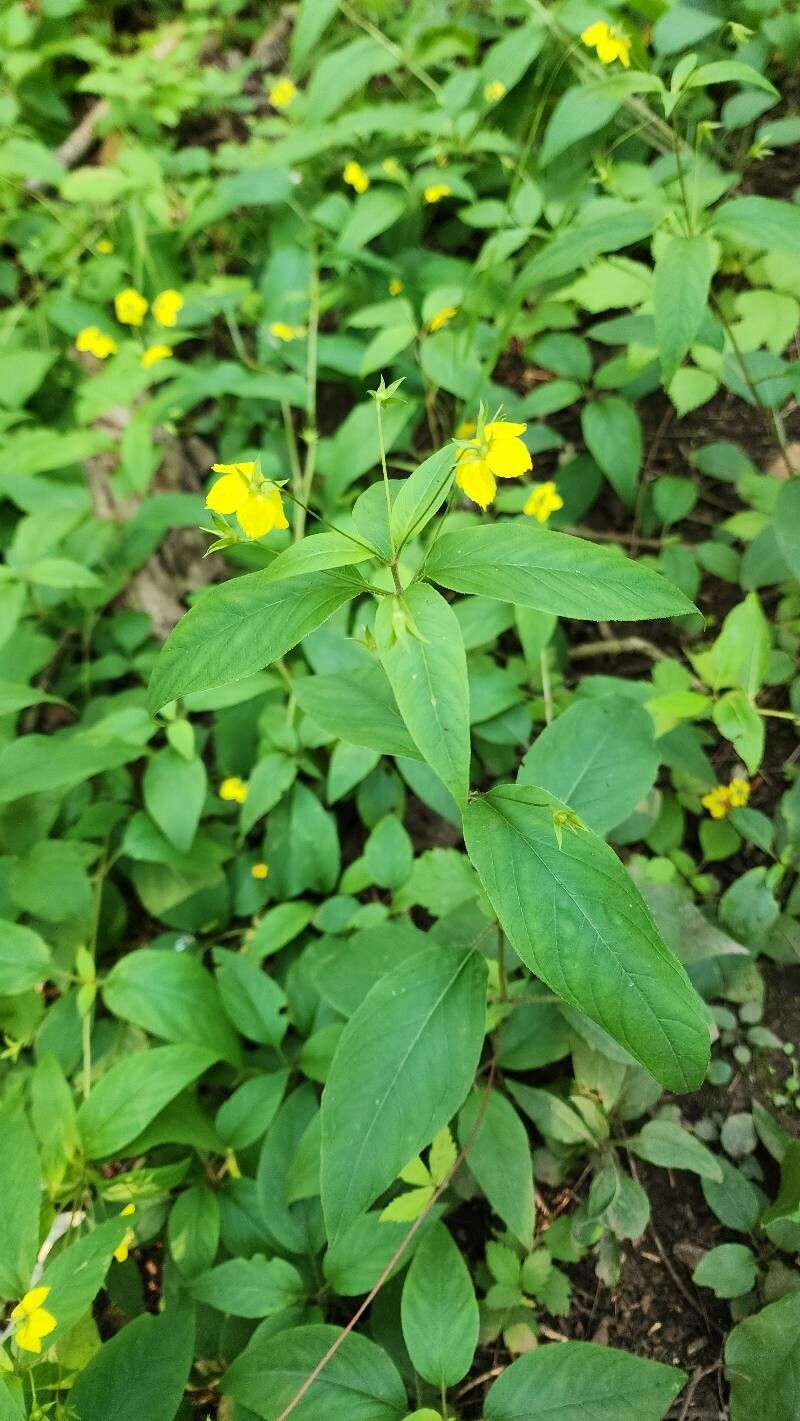
Oh, Lysimachia quadriflora! It’s such a delight to see those cheerful yellow blooms popping up, isn’t it? Often called “Four-flowered loosestrife,” this native beauty brings a lovely splash of sunshine to the garden. And the best part? You can easily fill your garden beds or share with friends by propagating it yourself! If you’re new to the gardening game, I’d say this one is quite beginner-friendly. You’ll likely have great success with a little patience.
When to Get Your Hands Dirty
The very best time to give propagation a go is late spring or early summer. This is when the plant is actively growing, and its stems are nice and pliable. We’re looking for healthy, non-flowering shoots. If you wait too long into the season, the energy starts to shift towards those lovely blooms, and our cuttings might not establish as readily.
What You’ll Need for Your Propagation Station
Gathering your supplies beforehand makes everything so much smoother. Here’s what I always have on hand:
- Sharp Pruning Shears or a Craft Knife: Cleanliness is key for preventing disease.
- Rooting Hormone (Optional but helpful): A little dip can boost your success rate. I prefer the powder form.
- Potting Mix: A well-draining mix is crucial. I like to combine equal parts peat moss or coco coir with perlite or coarse sand for good aeration.
- Small Pots or Trays: Clean ones, of course! Anything from small nursery pots to cleaned-out yogurt containers will do.
- Water: For misting and keeping things hydrated.
- Plastic Bags or a Clear Dome: To create a mini-greenhouse effect.
- Labels: Trust me, you’ll thank yourself later for labeling your efforts!
Let’s Get Growing: Propagation Methods
Lysimachia quadriflora is a trooper when it comes to propagation. Here are a couple of my go-to methods:
Stem Cuttings: My Favorite for This One!
This is where the magic really happens.
- Take Your Cuttings: In late spring or early summer, select healthy, new shoots that are about 4-6 inches long. Make a clean cut just below a leaf node (where the leaves attach to the stem). Remove the lower leaves, leaving just a couple at the very top.
- Dip in Rooting Hormone (If Using): Lightly dip the cut end of the stem into your rooting hormone powder. Tap off any excess.
- Plant Them Up: Fill your small pots with your prepared, moistened potting mix. Make a hole with your finger or a pencil, and gently insert the cutting, ensuring the leaf nodes are buried. The leaves should be above the soil line. Firm the soil gently around the stem.
- Create a Humid Environment: Water the soil lightly. Then, place the pot inside a clear plastic bag, sealing it loosely around the rim of the pot. This traps humidity, which is vital. Alternatively, use a clear propagation lid.
- Warm and Bright (But Not Direct Sun): Place your pots in a bright spot that doesn’t receive harsh, direct sunlight. A sunny windowsill is usually perfect.
Division: A Simpler Approach
If your plant is already established and a bit crowded, division is a fantastic way to get more plants without the fuss of cuttings.
- Dig Carefully: In early spring, before new growth really takes off, gently dig up a clump of your Lysimachia.
- Separate the Roots: With clean hands or a trowel, gently tease apart the root ball into sections. Each section should have roots and some healthy shoots. Don’t worry if you break a few roots; the plant is resilient.
- Replant Immediately: Find new spots in your garden or prepare pots with fresh, well-draining soil. Plant the divisions as you would a new plant, watering them in well.
My “Secret Sauce” for Success
Over the years, I’ve found a few little tricks really make a difference:
- Don’t Let Leaves Touch the Water (if water propagating): While I prefer soil cuttings for Lysimachia, if you experiment with water propagation, be absolutely sure that no leaves are submerged. Rot is the quickest way to kill a cutting in water. Only the stem should be in the water.
- Bottom Heat is Your Friend: If you have a seedling heat mat, using bottom heat can significantly speed up the rooting process. It mimics the warmth of the soil that encourages root development. Just place your pots on the mat.
- A Gentle Mist is Key: Don’t overwater! Misting the leaves every day or two, especially if they’re not in a fully sealed bag, helps keep them from drying out without waterlogging the soil.
Aftercare and What to Watch For
Once you see those tiny roots starting to emerge – which you might see peeking out of the drainage holes or feel a gentle resistance when you lightly tug – your cutting is ready to go!
- Gradual Acclimation: If your cuttings were in a plastic bag or under a dome, gradually introduce them to open air over a week. Open the bag a little more each day.
- Transplant with Care: Once they have a decent root system, you can transplant them into slightly larger pots or directly into their garden spot. Treat them like any other young plant.
- Signs of Trouble: The most common issue is rot, which usually indicates too much moisture and not enough air circulation. If you see stems turning mushy and black, sadly, that cutting is likely lost. Make sure your soil is well-draining and try to avoid overwatering.
Go Forth and Propagate!
Seeing new life emerge from a simple stem cutting or a divided clump is one of the most rewarding feelings in gardening. Be patient with your little propagations. Some will take off faster than others, and that’s perfectly okay. Just enjoy the process, get your hands a little dirty, and soon you’ll have a whole host of cheerful Lysimachia quadriflora to enjoy! Happy gardening!
Resource:
https://identify.plantnet.org/k-world-flora/species/Lysimachia%20quadriflora%20Sims/data