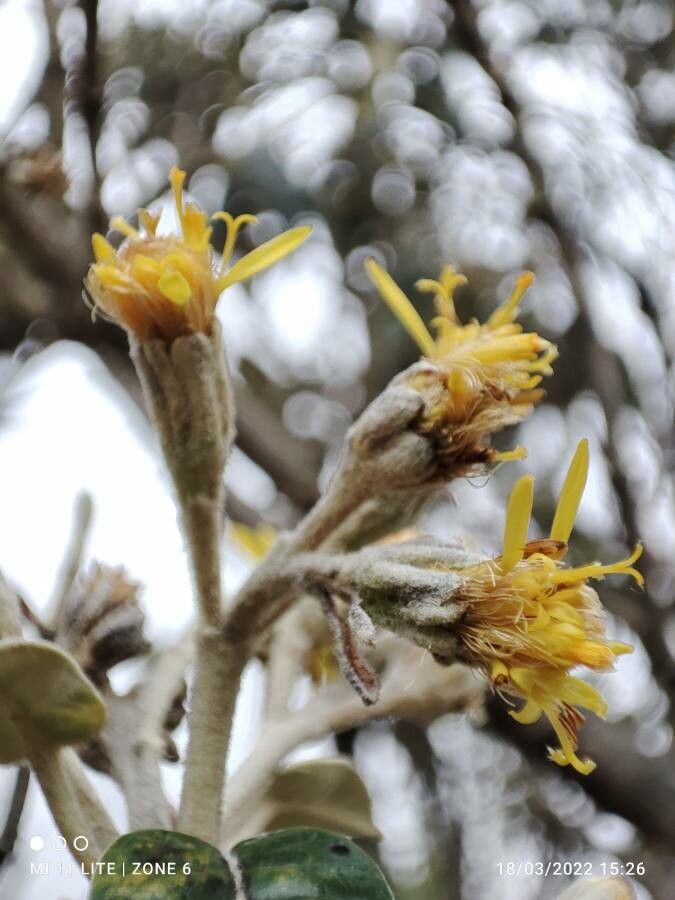
Oh, Gynoxys laurata! Isn’t she a beaut? I’ve been smitten with that lush, evergreen foliage and the way it spills over the edge of a pot or softens a garden border for years. If you’re looking to bring that gorgeous greenery into more corners of your life, you’ve come to the right place. Propagating Gynoxys laurata is a wonderfully rewarding endeavor. Don’t let the idea intimidate you; while it might not be the absolute easiest plant for a complete novice, with a little guidance, you’ll be well on your way to success.
The Best Time to Start
For me, the sweet spot for propagating Gynoxys laurata is definitely spring or early summer. This is when the plant is actively growing and has plenty of energy to put into those new roots. You want to work with semi-hardwood cuttings, which means looking for stems that are not brand new and soft, but not yet tough and woody. They should be bendy but have a bit of structure to them.
Supplies You’ll Need
Gathering your tools beforehand makes the whole process smoother. Here’s what I typically have on hand:
- Sharp pruning shears or a clean craft knife: For making clean cuts.
- Rooting hormone (powder or gel): This is a big help for encouraging root development.
- Potting mix: A well-draining mix is crucial. I like a blend of equal parts peat moss or coco coir, perlite, and a bit of compost.
- Small pots or trays: Clean pots are a must to avoid introducing diseases.
- Plastic bags or a propagator lid: To create a humid environment.
- Labeled stakes or markers: Essential for keeping track of what you’ve planted!
- Watering can with a fine rose: For gentle watering.
Propagation Methods
Stem cuttings are hands-down my favorite and most successful method for Gynoxys laurata. It’s reliable and gives you a great chance of success.
Stem Cuttings:
- Take Your Cuttings: On a mild morning, select healthy, upright stems. Using your clean shears or knife, make a clean cut just below a leaf node (where a leaf attaches to the stem). You want cuttings that are roughly 4-6 inches long. Remove the lower leaves, leaving just a few at the top.
- Apply Rooting Hormone: Dip the cut end of each cutting into your rooting hormone, ensuring it’s well coated. Tap off any excess.
- Prepare the Pots: Fill your clean pots with your prepared potting mix. Water it thoroughly so it’s moist but not waterlogged.
- Plant the Cuttings: Make a small hole in the soil with your finger or a pencil. Gently insert the cutting, firming the soil around its base. Don’t crowd your cuttings; give them some breathing room.
- Create Humidity: Water gently again. You can then place the pots inside a clear plastic bag, securing it loosely around the top, or cover them with a propagator lid. This keeps humidity high, which is vital for cuttings that can’t yet take up water efficiently.
- Find a Bright Spot: Place your pots in a location with bright, indirect light. Avoid direct, scorching sun; it will cook your precious cuttings.
The “Secret Sauce” (Pro Tips)
Here are a couple of tricks that have made all the difference for me over the years:
- Don’t let those leaves touch the water in your cuttings tray! If you’re doing a test to see if you can root them in water before potting, make sure no leaves are submerged. Any submerged foliage will rot and ruin the cutting.
- Bottom heat is your friend! If you have a propagation mat or can place your pots on a slightly warm surface (not hot!), it really encourages root development from below. It mimics the warmth of spring soil and gives those roots a nudge to explore.
Aftercare & Troubleshooting
Once roots have started to form (you might see them peeking out of the drainage holes or feel a gentle resistance when you tug lightly on a cutting), it’s time to transition your new plants.
Carefully remove the plastic bag or lid, gradually acclimatizing them to normal humidity over a few days. Keep the soil consistently moist but not soggy. Continue to provide bright, indirect light. You’ll know they’ve really taken off when you see new leaf growth.
The most common sign of failure is rot. If your cuttings turn mushy, black, or simply don’t seem to be doing anything and look unhealthy, it’s usually a sign of too much moisture and not enough air circulation, or perhaps a disease. Unfortunately, once rot sets in, it’s difficult to save them. Cleanliness and good drainage are your best defenses!
A Little Patience Goes a Long Way
Propagating plants is a journey, and Gynoxys laurata is no different. There’ll be times when some cuttings don’t make it, and that’s perfectly okay! Learn from each experience, be patient, and celebrate the successes. The joy of nurturing a brand-new shrub from a tiny piece of stem is truly something special. Happy growing!
Resource:
https://identify.plantnet.org/k-world-flora/species/Gynoxys%20laurata%20Cuatrec./data