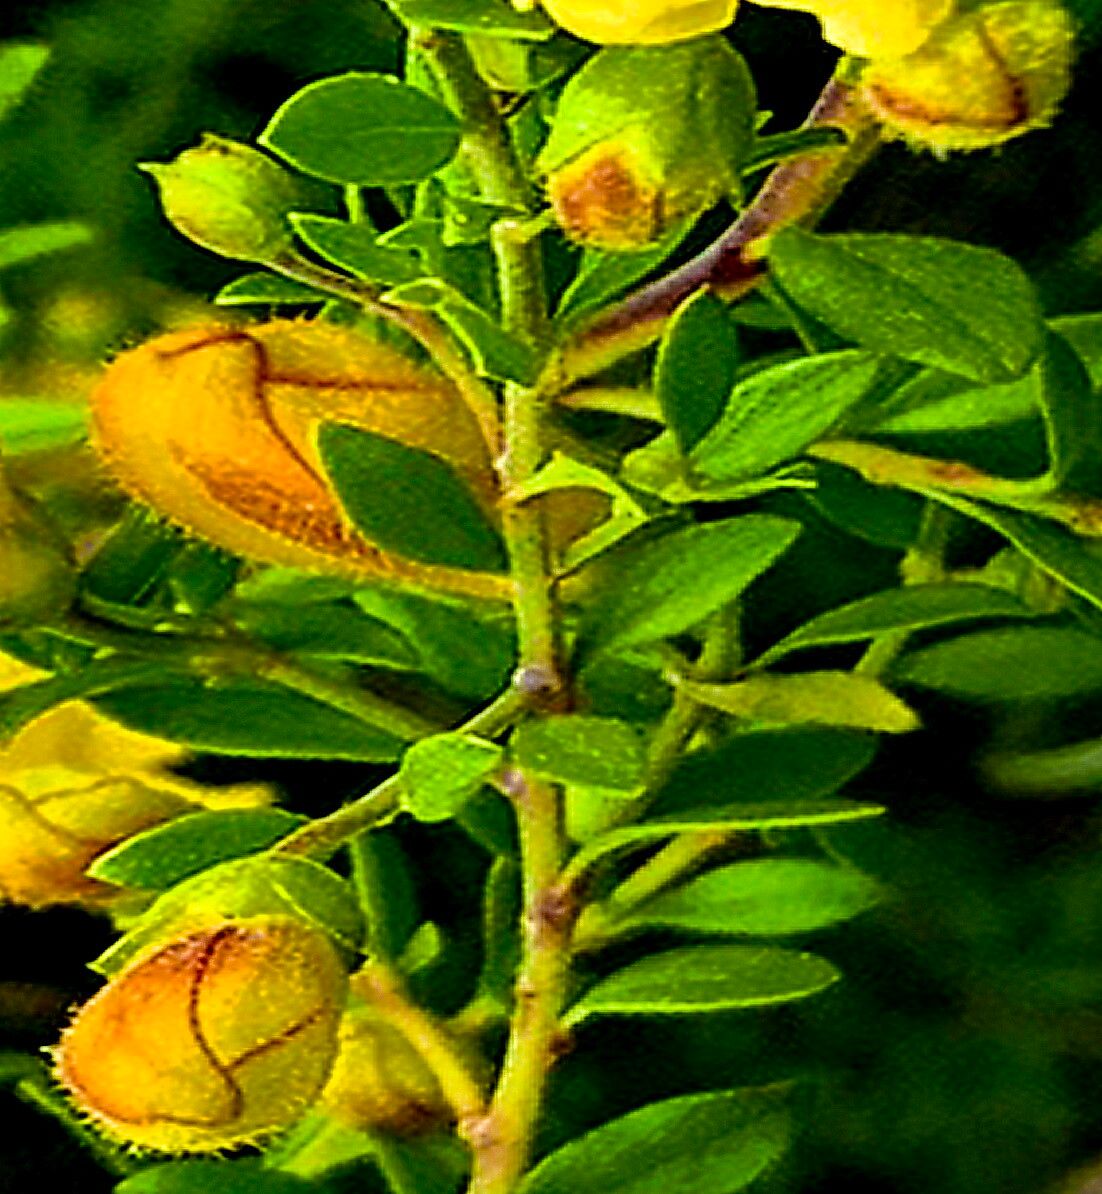
Oh, Keckiella antirrhinoides! Isn’t that just a delightful plant to have gracing your garden? It’s also known as our native California Penstemon or Shrubby Snapdragon. Those beautiful, tubular flowers, often in shades of pink and magenta, are like little magnets for hummingbirds and feel so wonderfully wild and Western. If you’ve ever admired yours and thought, “I wish I had more of these!”, well, I’m here to tell you that you absolutely can. Propagating this beauty is quite a rewarding endeavor, and I’m happy to walk you through it. For beginners, I’d rate it as moderately easy. It takes a little attention, but nothing too daunting with a few key insights.
The Best Time to Start
For Keckiella antirrhinoides, the sweet spot for propagation is definitely late spring to early summer. This is when the plant is actively growing, and you’ll be taking semi-hardwood cuttings. These are cuttings from stems that are starting to toughen up but are still flexible. They have a good balance of vigor and sap flow, which really helps with rooting. Waiting until after the main flush of spring growth has subsided a bit is your best bet.
Supplies You’ll Need
Here’s what you’ll want to gather before you get started:
- Sharp, clean pruning shears or a sharp knife: Essential for making clean cuts.
- Rooting hormone powder or gel: This isn’t strictly mandatory, but it dramatically increases your success rate.
- A well-draining potting mix: I love a blend of perlite, peat moss, and a bit of coarse sand. Or, you can buy a good quality seed-starting or succulent mix.
- Small pots or trays with drainage holes: About 4-6 inches deep is perfect.
- A clear plastic bag or a propagator lid: To create a humid environment.
- Labels and a permanent marker: So you don’t forget what you’ve planted!
- A watering can with a fine rose attachment: To water gently.
Propagation Methods
We’ll focus on stem cuttings, as this is the most consistent method for Keckiella antirrhinoides.
- Take Your Cuttings: Head out to your plant in late spring or early summer. Look for healthy, new growth that is about 4-6 inches long. Make a clean cut just below a leaf node. A leaf node is where a leaf joins the stem. You’ll want to remove the lower leaves, leaving just a few at the very top. If any of the remaining leaves are very large, I like to snip them in half to reduce water loss through transpiration.
- Prepare the Cuttings: Dip the cut end of each cutting into your rooting hormone. Gently tap off any excess. This little step makes a big difference in encouraging those roots to form.
- Plant Your Cuttings: Fill your small pots or trays with your well-draining potting mix, water it thoroughly, and let it drain. Then, make a small hole in the soil with a pencil or your finger. Insert the prepared cutting into the hole, ensuring the submerged part is deep enough to be stable. Gently firm the soil around the base.
- Create a Humid Environment: This is crucial. After planting, water the cuttings gently again. Then, cover the pots with a clear plastic bag, securing it around the pot with a rubber band, or place them inside a propagator with the lid on. This traps the moisture and keeps the cuttings from drying out while they try to root.
The “Secret Sauce” (Pro Tips)
Now, for a couple of little tricks I’ve learned over the years that really help:
- Bottom Heat is Your Friend: If you can, place your pots on a heat mat. This gentle warmth from below really stimulates root development. It doesn’t need to be scorching, just a little warmer than room temperature.
- Don’t Overwater, But Keep it Moist: While humidity is key, soggy soil leads to rot. The goal is consistently moist, but not waterlogged soil. Check the moisture level regularly by feeling the soil about an inch down. If it feels dry, give it a gentle watering. Avoid letting the leaves of the cuttings directly touch stagnant water if you were to try water propagation – that’s a fast track to rot town!
Aftercare & Troubleshooting
Once your cuttings have been planted and covered, place them in a bright, indirect light location. Avoid direct sun, which can scorch them. Be patient! It can take 4-8 weeks for roots to form. You’ll know they’re rooting when you see new growth at the top of the stem.
The biggest troubleshooting issue you might encounter is rot. If you see stems turning black and mushy, it’s usually a sign of too much moisture and not enough air circulation. In this case, you might need to remove the affected cuttings, improve drainage, and perhaps reduce watering slightly. If you’re not seeing any growth after a couple of months, they might just be taking their time, or they might not have made it. It happens! Don’t be discouraged.
A Encouraging Closing
Propagating any plant, including our lovely Keckiella antirrhinoides, is a little bit of science and a whole lot of hope. So gather your supplies, find a happy spot for your cuttings, and enjoy the process of nurturing new life. Be patient with them, and even more patient with yourself. Happy gardening!
Resource: