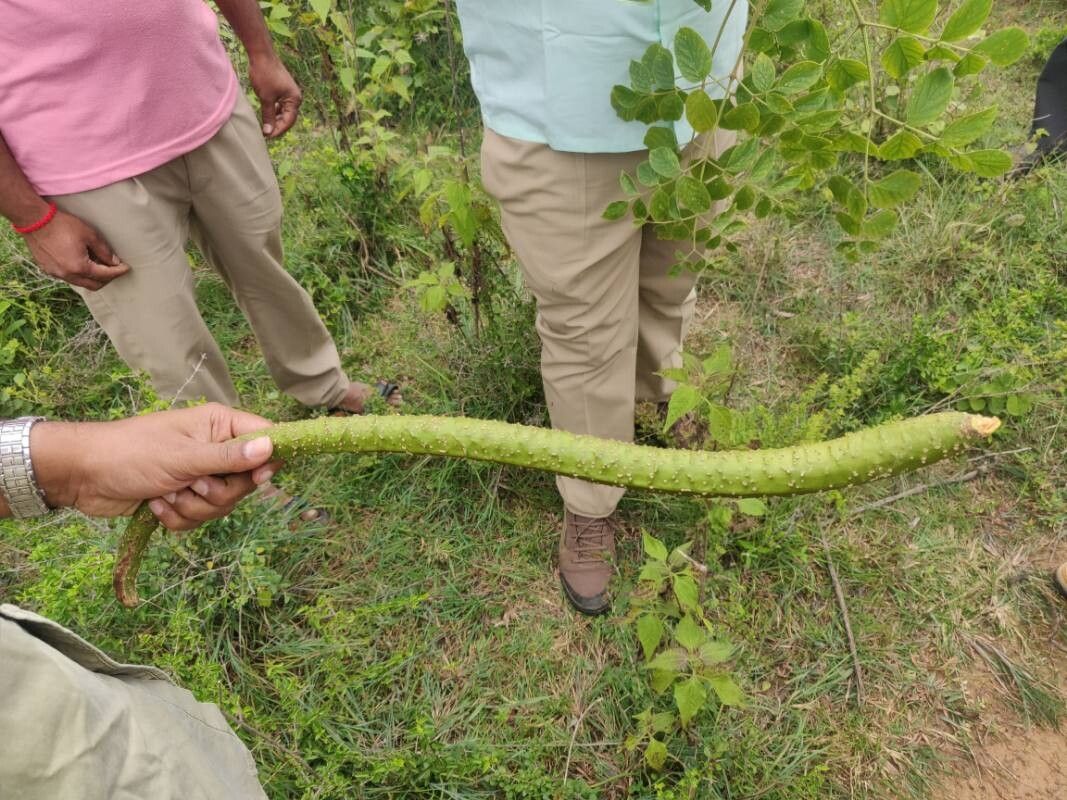
Hello fellow plant enthusiasts! It’s so good to have you here, ready to dive into the wonderful world of plant propagation. Today, we’re talking about a real charmer: Stereospermum chelonoides, often known as the Padauk or Indian Rosewood tree. This beauty boasts stunning trumpet-shaped flowers, often a vibrant pink or rose, a real showstopper in any garden.
One of the most satisfying aspects of gardening is coaxing new life from existing plants. Propagating Stereospermum chelonoides is a rewarding endeavor, offering you the chance to share this splendor with friends or fill your own space with more of its magic. For those just starting out, I’d say it’s moderately achievable. It’s not as foolproof as, say, a spider plant cutting, but with a little care and attention, you’ll be well on your way.
The Best Time to Start
Honestly, the sweet spot for propagating Stereospermum chelonoides is late spring to early summer. This is when the plant is actively growing, and its energy is buzzing. You’ll want to take cuttings from young, vibrant, semi-hardwood stems. These are stems that have started to firm up but aren’t yet as woody and mature as older branches. Think of them as being in that “just right” phase, flexible enough to root but sturdy enough to hold their own.
Supplies You’ll Need
Before we get our hands dirty, let’s gather our tools. Having everything ready makes the process so much smoother.
- Sharp Pruning Shears or a Knife: For clean cuts, which are crucial for good rooting.
- Rooting Hormone: This isn’t strictly essential for every plant, but for a Stereospermum, it can give your cuttings a significant boost. Look for one with IBA (indole-3-butyric acid).
- Well-Draining Potting Mix: A good blend is key! I like to mix equal parts peat moss or coco coir with perlite or coarse sand. This ensures excellent aeration and prevents waterlogging.
- Small Pots or Seedling Trays: Clean ones are important to prevent disease.
- Plastic Bags or a Clear Dome: To create a humid environment for your cuttings.
- Watering Can with a Fine Rose: For gentle watering.
- Labels and a Pen: To keep track of what you’ve planted and when.
Propagation Methods
The most reliable method for Stereospermum chelonoides is through stem cuttings. Here’s how I tackle it:
- Select Your Cuttings: In late spring or early summer, look for healthy stems on your parent plant. Choose stems that are about 6-8 inches long and have at least a few sets of leaves.
- Make the Cut: Using your clean, sharp shears, make a cut just below a leaf node. A leaf node is a small bump on the stem where a leaf is attached – this is where roots are most likely to form.
- Prepare the Cutting: Gently remove the lower leaves from the cutting, leaving just two or three leaves at the very top. If the top leaves are very large, I often pinch them in half to reduce water loss through transpiration.
- Apply Rooting Hormone (Optional but Recommended): Dip the cut end of the stem into your rooting hormone powder. Tap off any excess.
- Planting: Fill your clean pots with your prepared rooting mix. Make a hole in the center of the soil with a pencil or your finger. Insert the cutting about 1-2 inches deep, ensuring the leaf node where you made the cut is buried. Firm the soil gently around the base of the cutting.
- Watering: Water thoroughly until you see water draining from the bottom of the pot.
The “Secret Sauce” (Pro Tips)
Now, for a few little tricks that have made a difference for me over the years:
- Bottom Heat is Your Friend: If you can, place your pots on a heat mat designed for propagating plants. This gentle warmth from below encourages root development and significantly increases your success rate. You’re basically mimicking warm soil conditions that the plant loves.
- Humidity is Key, But Be Smart: Once you’ve potted your cuttings, cover them with a clear plastic bag or a plastic dome. This creates a mini-greenhouse effect, keeping the humidity high, which is vital for preventing cuttings from drying out before they can root. Crucially, ensure the leaves don’t touch the inside of the plastic. If they do, they’re prone to rot. You might need to use stakes to prop up the bag.
- Don’t Disturb Too Soon: Patience is a virtue, especially with propagation! Resist the urge to tug on your cuttings to see if they’ve rooted. Wait at least 4-6 weeks. You’ll often see new leaf growth, which is a good indicator that roots have formed.
Aftercare & Troubleshooting
Once you see signs of life – new leaves unfurling! – it’s time for a slight shift in care.
- Gradual Acclimatization: Slowly introduce your rooted cuttings to less humid conditions. For the first few days, remove the plastic cover for an hour or two, gradually increasing the time each day.
- Light: Place your new plants in a bright, indirect light location. Avoid direct sun, which can scorch tender new growth.
- Watering: Water them when the top inch of soil feels dry. Again, don’t let them sit in soggy soil.
- Troubleshooting: The most common issue you’ll encounter is rot. If a cutting turns black and mushy, it’s likely due to too much moisture and poor air circulation. Sadly, these are usually beyond saving, but don’t get discouraged! It’s all part of the learning curve. Other signs of trouble include wilting or yellowing leaves, which could indicate underwatering or still not enough humidity.
So there you have it! Propagating Stereospermum chelonoides is a journey, not a race. Take your time, enjoy the process, and celebrate each tiny root that emerges. You’re bringing more beauty into the world, and that’s always worth it. Happy gardening!
Resource:
https://identify.plantnet.org/k-world-flora/species/Stereospermum%20chelonoides%20(L.f.)%20DC./data