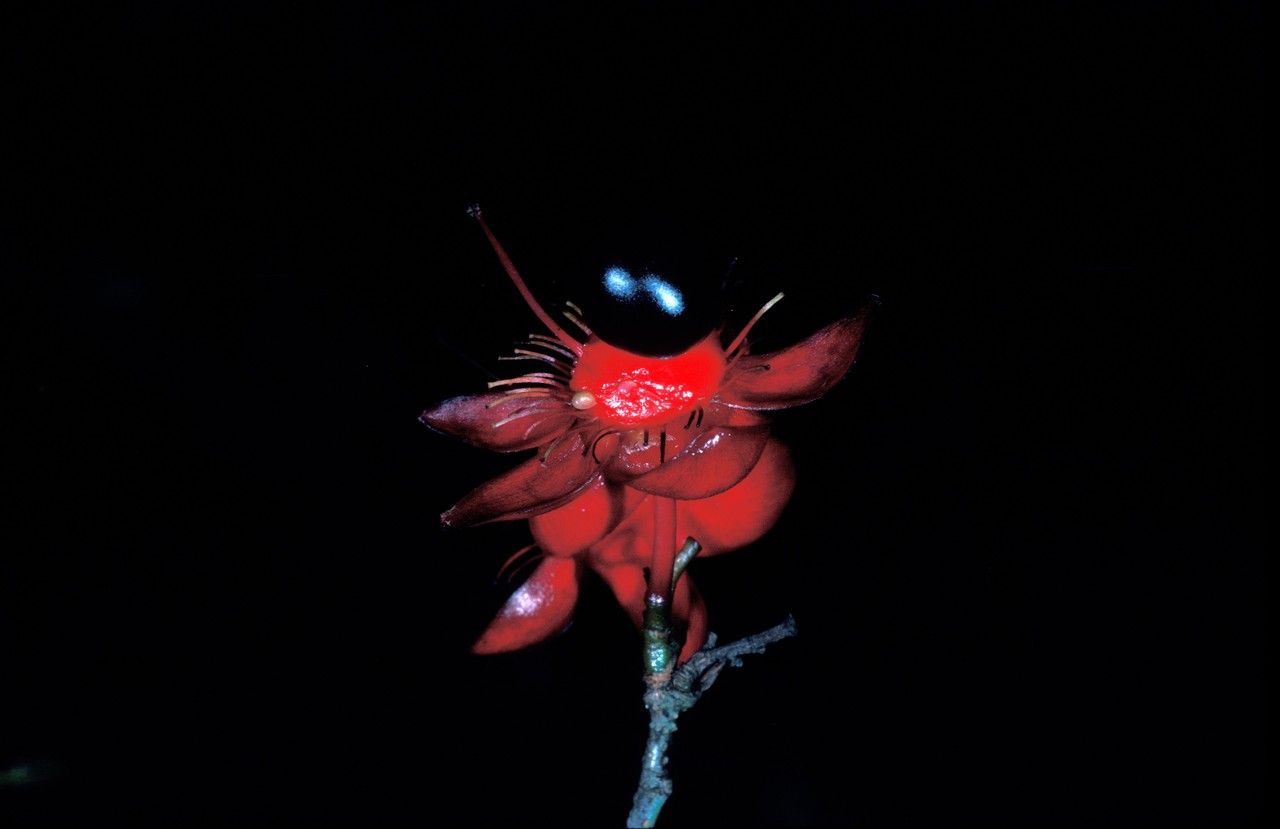
Hello there, fellow plant lovers! I’m so excited to chat with you today about a truly delightful plant: Ochna kirkii. You might know it by its common names, like the Mickey Mouse bush, and trust me, the reason why is obvious once it starts flowering! Those bright yellow blooms, followed by those charming red and black fruit capsules, are just a joy. Growing these from cuttings, for me, is one of those truly rewarding gardening moments. It’s not the easiest plant for a complete beginner to try, but with a little patience and these tips, you’ll be well on your way to success.
The Best Time to Start
For the best chances of success with your Ochna kirkii, aim to take cuttings in late spring or early summer. This is when the plant is actively growing, and those new shoots have the energy they need to get rooting. You want to select stems that are semi-hardwood. This means they aren’t too soft and floppy (that’s greenwood) or too woody and brittle (that’s hardwood). Think of it like a pencil – firm, but not rock-hard.
Supplies You’ll Need
Gathering your supplies before you start makes everything so much smoother! Here’s my go-to list:
- Sharp pruning shears or a clean, sharp knife: For making clean cuts.
- Rooting hormone: I find this really boosts the rooting process for Ochna. Gel or powder works well.
- Well-draining potting mix: A good blend of perlite, peat moss, and a bit of compost is perfect. You want it to hold moisture but not become waterlogged.
- Small pots or seed trays: Make sure they have drainage holes!
- Plastic bags or a propagator lid: To create a humid environment.
- Watering can or spray bottle: For gentle watering.
- Optional, but highly recommended: a heat mat.
Propagation Methods: Taking Stem Cuttings
Stem cuttings are my preferred method for Ochna kirkii. It’s straightforward and often yields great results.
- Select your cutting: Look for a healthy stem from your Ochna kirkii. You’ll want a cutting that’s about 4-6 inches long.
- Make the cut: Using your sharp shears, make a clean cut just below a leaf node. A leaf node is where a leaf attaches to the stem. This is where the magic happens!
- Prepare the cutting: Gently remove the lower leaves from the cutting. You want to expose a bit of the stem. Leave just a couple of leaves at the top to help with photosynthesis. If the remaining leaves are very large, I sometimes give them a slight trim to reduce water loss.
- Apply rooting hormone: Dip the cut end of the stem into your rooting hormone, ensuring it’s coated. Tap off any excess.
- Plant the cutting: Fill your pot with the well-draining potting mix. Make a small hole in the center with your finger or a pencil. Gently insert the cutting into the hole, ensuring the rooting hormone stays on the cut end. Firm the soil gently around the base of the cutting.
- Water gently: Water the soil thoroughly but gently, so you don’t dislodge the cutting.
- Create humidity: This is crucial! Place the pot inside a clear plastic bag, creating a mini-greenhouse. You can tie the bag loosely or use a propagator lid. Ensure the leaves don’t touch the plastic, as this can cause rot.
The “Secret Sauce” (Pro Tips)
Here are a couple of things I’ve learned over the years that really make a difference:
- Bottom Heat is Your Friend: Ochna kirkii, like many woody plants, appreciates a little warmth from below. Placing your pots on a gentle heat mat can significantly speed up root development. It encourages the cells to divide and grow those precious roots.
- Don’t Over-Water, But Keep it Consistently Moist: This is a tricky balance, I know! The idea is to keep the soil consistently moist but not soggy. Stick your finger an inch into the soil – if it feels dry, it’s time for a gentle watering. The humidity from the bag will help, but keep an eye on the soil moisture.
- Patience with the Hormone: While rooting hormone is fantastic, don’t be tempted to dip multiple times or use a super heavy coating. A light, even coating is all that’s needed. Too much can actually hinder root formation.
Aftercare & Troubleshooting
Once your cuttings have rooted – and this can take anywhere from 4 to 8 weeks, sometimes longer – you’ll start to see new growth. This is a fantastic sign! You can gently tug on the cutting; if it resists, you know roots have formed.
Care for your new Ochna kirkii as you would a young plant. Gradually introduce it to more light and remove the plastic bag for increasing periods each day before taking it off entirely. Continue to water when the top inch of soil feels dry.
Now, what if things don’t go as planned? The most common issue is rot. This usually happens from overwatering and poor drainage, or if the humidity environment is too stagnant. If you see your cutting looking black and mushy at the base, it’s unfortunately a sign of rot and it’s best to discard it and try again. If the leaves start to yellow and drop before you see any signs of rooting, the cutting might be too dry, or it’s struggling to establish itself. Don’t get discouraged!
A Gentle Closing
Propagating plants is a journey, isn’t it? Sometimes it’s quick and easy, and other times it’s a slow and steady process. Be patient with your Ochna kirkii cuttings. Celebrate even the smallest signs of new growth. Embrace the learning, and most importantly, enjoy the process of bringing more of these delightful Mickey Mouse bushes into your life! Happy gardening!
Resource:
https://identify.plantnet.org/k-world-flora/species/Ochna%20kirkii%20Oliv./data