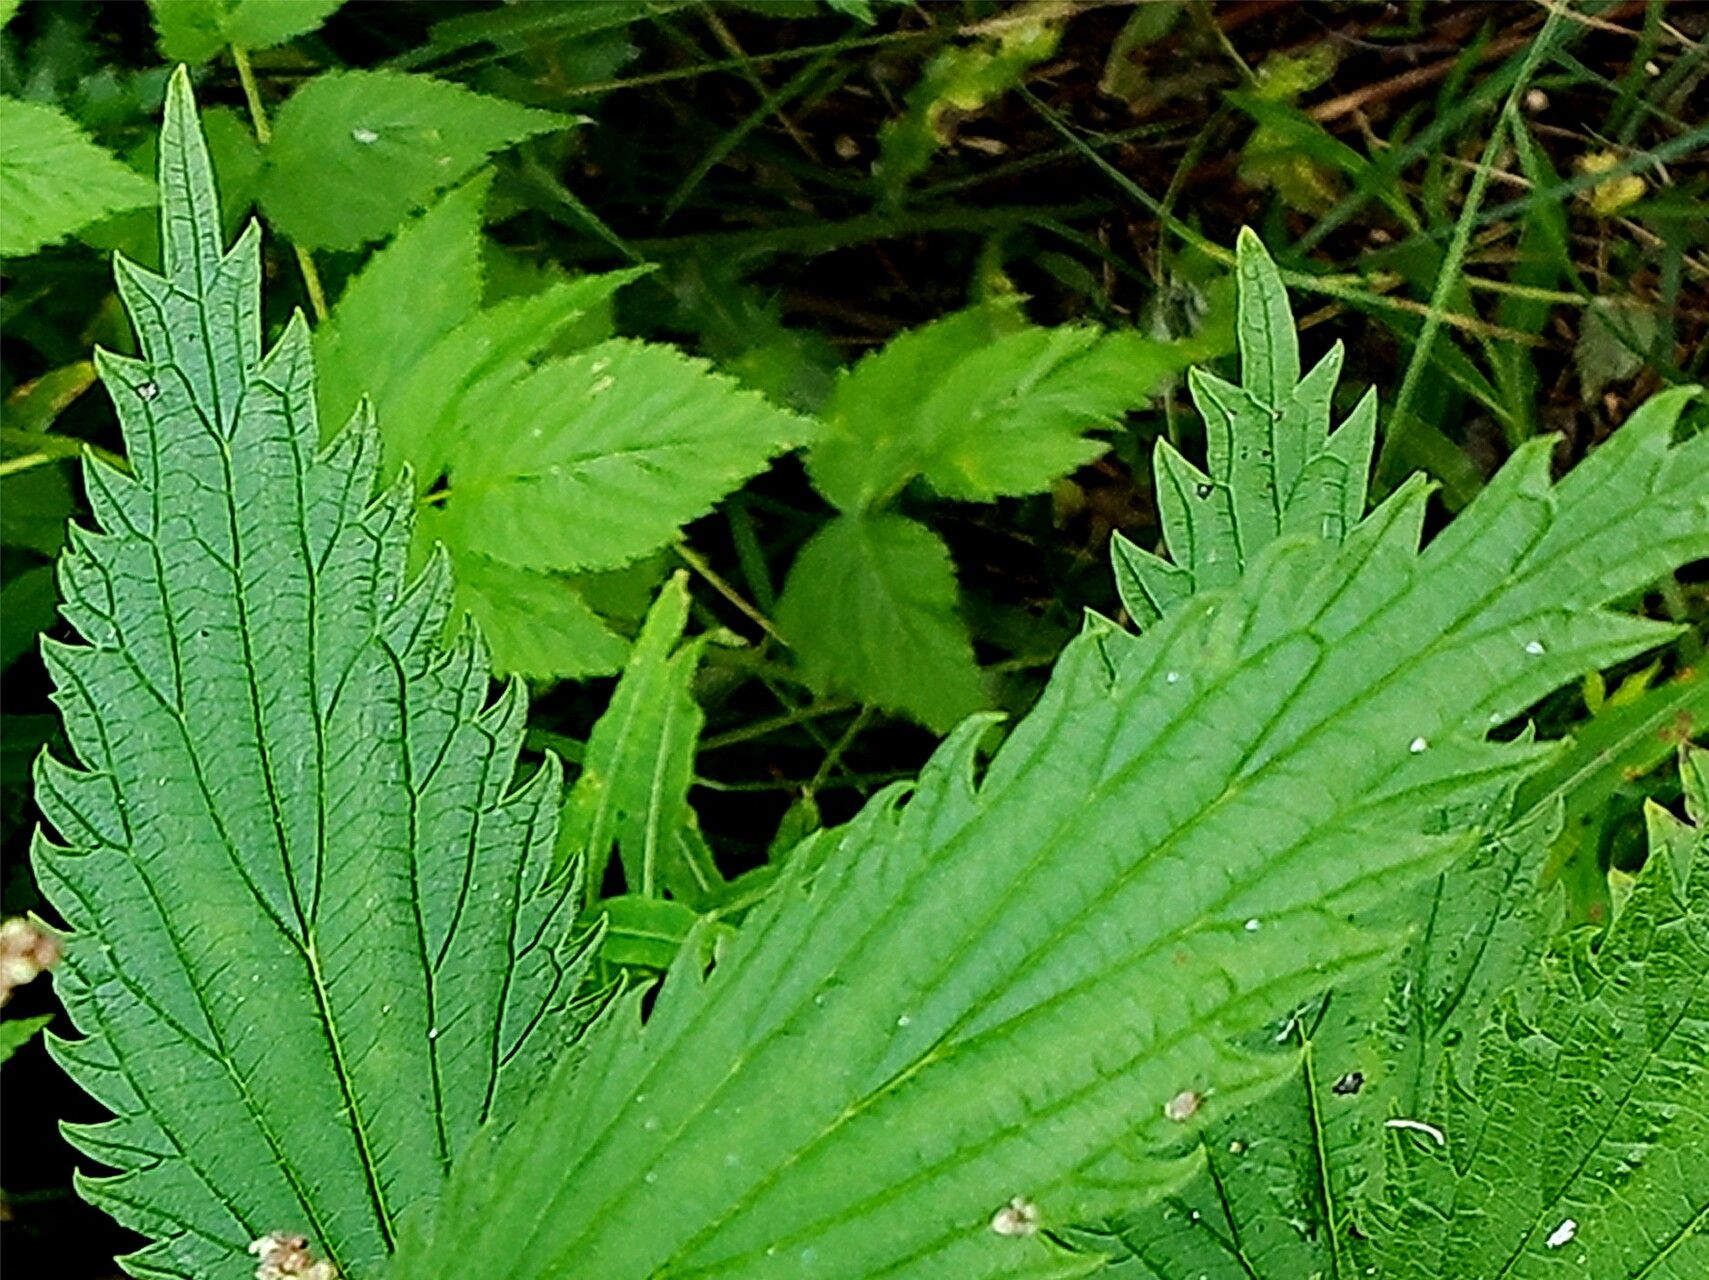
Oh, hello there! I’m so glad you’ve stopped by. Today, we’re going to talk about a wonder I’ve come to adore: Urtica gracilis, often called slender nettle. If you’ve ever admired its delicate, yet resilient, green beauty in a garden, you’ll understand why I’m so excited about this. It adds such a lovely texture, and honestly, it’s one of those plants that just feels right in a wilder, more naturalistic planting. Ready to bring more of this beauty into your life? Let’s get propagating!
Why Propagate Urtica Gracilis?
For me, propagating plants like Urtica gracilis is incredibly rewarding. It’s like unlocking a little piece of nature’s magic, and it’s a fantastic way to expand your garden without spending a fortune. And for beginners? I’d say Urtica gracilis is quite forgiving. You’ll likely have a good success rate, even if this is one of your first propagation adventures.
The Best Time to Start
The prime time for propagating Urtica gracilis is during its active growing season. Think late spring through early summer. You want to work with healthy, vigorous stems that are putting on new growth. This is when the plant has the energy needed to root and establish itself quickly.
Supplies You’ll Need
Gathering your supplies beforehand makes the whole process smoother. Here’s what I usually have on hand:
- Sharp Pruning Shears or a Craft Knife: For clean cuts.
- Potting Mix: A blend that drains well is key. I like a mix of perlite, peat moss, and a little compost.
- Small Pots or Seed Trays: For your new cuttings. Make sure they have drainage holes.
- Rooting Hormone (Optional but Recommended): A powder or gel can give your cuttings an extra boost.
- Plastic Bags or a Small Greenhouse/Cloche: To create humidity.
- Watering Can or Spray Bottle: For gentle watering.
- Labels and a Marker: To keep track of what you’ve planted where and when!
Propagation Methods
Urtica gracilis is quite adaptable, and I’ve had great success with a couple of methods.
Stem Cuttings: My Go-To
This is my favorite way to increase my Urtica gracilis population. It’s straightforward and yields excellent results.
- Select Your Cuttings: Look for healthy, non-flowering stems. You want stems that are a few inches long, ideally with at least two or three sets of leaves.
- Make the Cut: Using your sharp pruning shears or craft knife, take a cutting just below a leaf node (where a leaf attaches to the stem). This is where root-forming hormones are concentrated.
- Prepare the Cutting: Gently remove the lower leaves from the bottom inch or so of the stem. If the remaining leaves are very large, you can carefully cut them in half to reduce water loss.
- Apply Rooting Hormone (if using): Dip the cut end of the stem into your rooting hormone. Tap off any excess.
- Plant Your Cuttings: Fill your small pots with your well-draining potting mix. Make a small hole with your finger or a pencil. Insert the cut end of the stem into the hole and firm the soil gently around it.
- Water Gently: Water your newly planted cuttings thoroughly but gently until water runs out of the drainage holes.
- Create a Humid Environment: This is crucial! Cover the pots with a plastic bag, a cloche, or place them in a mini-greenhouse. Make sure the plastic doesn’t touch the leaves too much. You can also use a spray bottle to mist the inside of the bag occasionally.
Division: For Established Plants
If you already have a mature Urtica gracilis plant, you can divide its root ball.
- Dig Up the Plant: In early spring, before it gets too vigorous, carefully dig up the entire plant.
- Separate the Roots: Gently shake off some of the excess soil. You should be able to see natural divisions in the root system. Carefully pull or use your knife to separate the plant into sections. Make sure each section has healthy roots and at least a few shoots.
- Replant Immediately: Plant the divisions into their new spots in the garden or into pots filled with fresh soil. Water them in well.
The “Secret Sauce” (Pro Tips)
These little tricks are ones I’ve picked up over the years that make a real difference.
- Bottom Heat is Your Friend: For stem cuttings, placing your pots on a heated propagation mat can significantly speed up root development. It mimics the warmth of spring soil.
- Don’t Drown Them: While humidity is important, waterlogged soil is the enemy. Ensure your pots have excellent drainage and don’t let them sit in a saucer of water. You want the soil to be consistently moist, not soggy.
- Fresh Cuttings, Fresh Start: I find cuttings taken in the morning after the dew has dried tend to be the most vigorous and successful.
Aftercare & Troubleshooting
Once your cuttings have been planted, keep them in a bright, indirect light location. Avoid direct sun, which can scorch delicate new growth.
You’ll know your cuttings are rooting when you see new leaf growth appearing or feel a gentle tug when you lightly pull on a stem. This usually takes a few weeks. Once they have a good root system – you might even see roots peeking out of the drainage holes – you can gradually acclimate them to less humid conditions and eventually transplant them into larger pots or their garden homes.
The most common issue you’ll encounter is rot. This usually happens from overwatering or poor drainage. If you see your cuttings turning mushy, black, or yellowing and wilting dramatically, it’s a sign of too much moisture, and sadly, they might not recover. It’s better to err on the side of slightly too dry than too wet.
Happy Growing!
Propagating Urtica gracilis is such a satisfying endeavor. Be patient with your little green cuttings. Not every single one will make it, and that’s perfectly normal! The joy is in the process and the successful sprouts you’ll welcome into your garden. Happy propagating, my friends!
Resource:
https://identify.plantnet.org/k-world-flora/species/Urtica%20gracilis%20Aiton/data