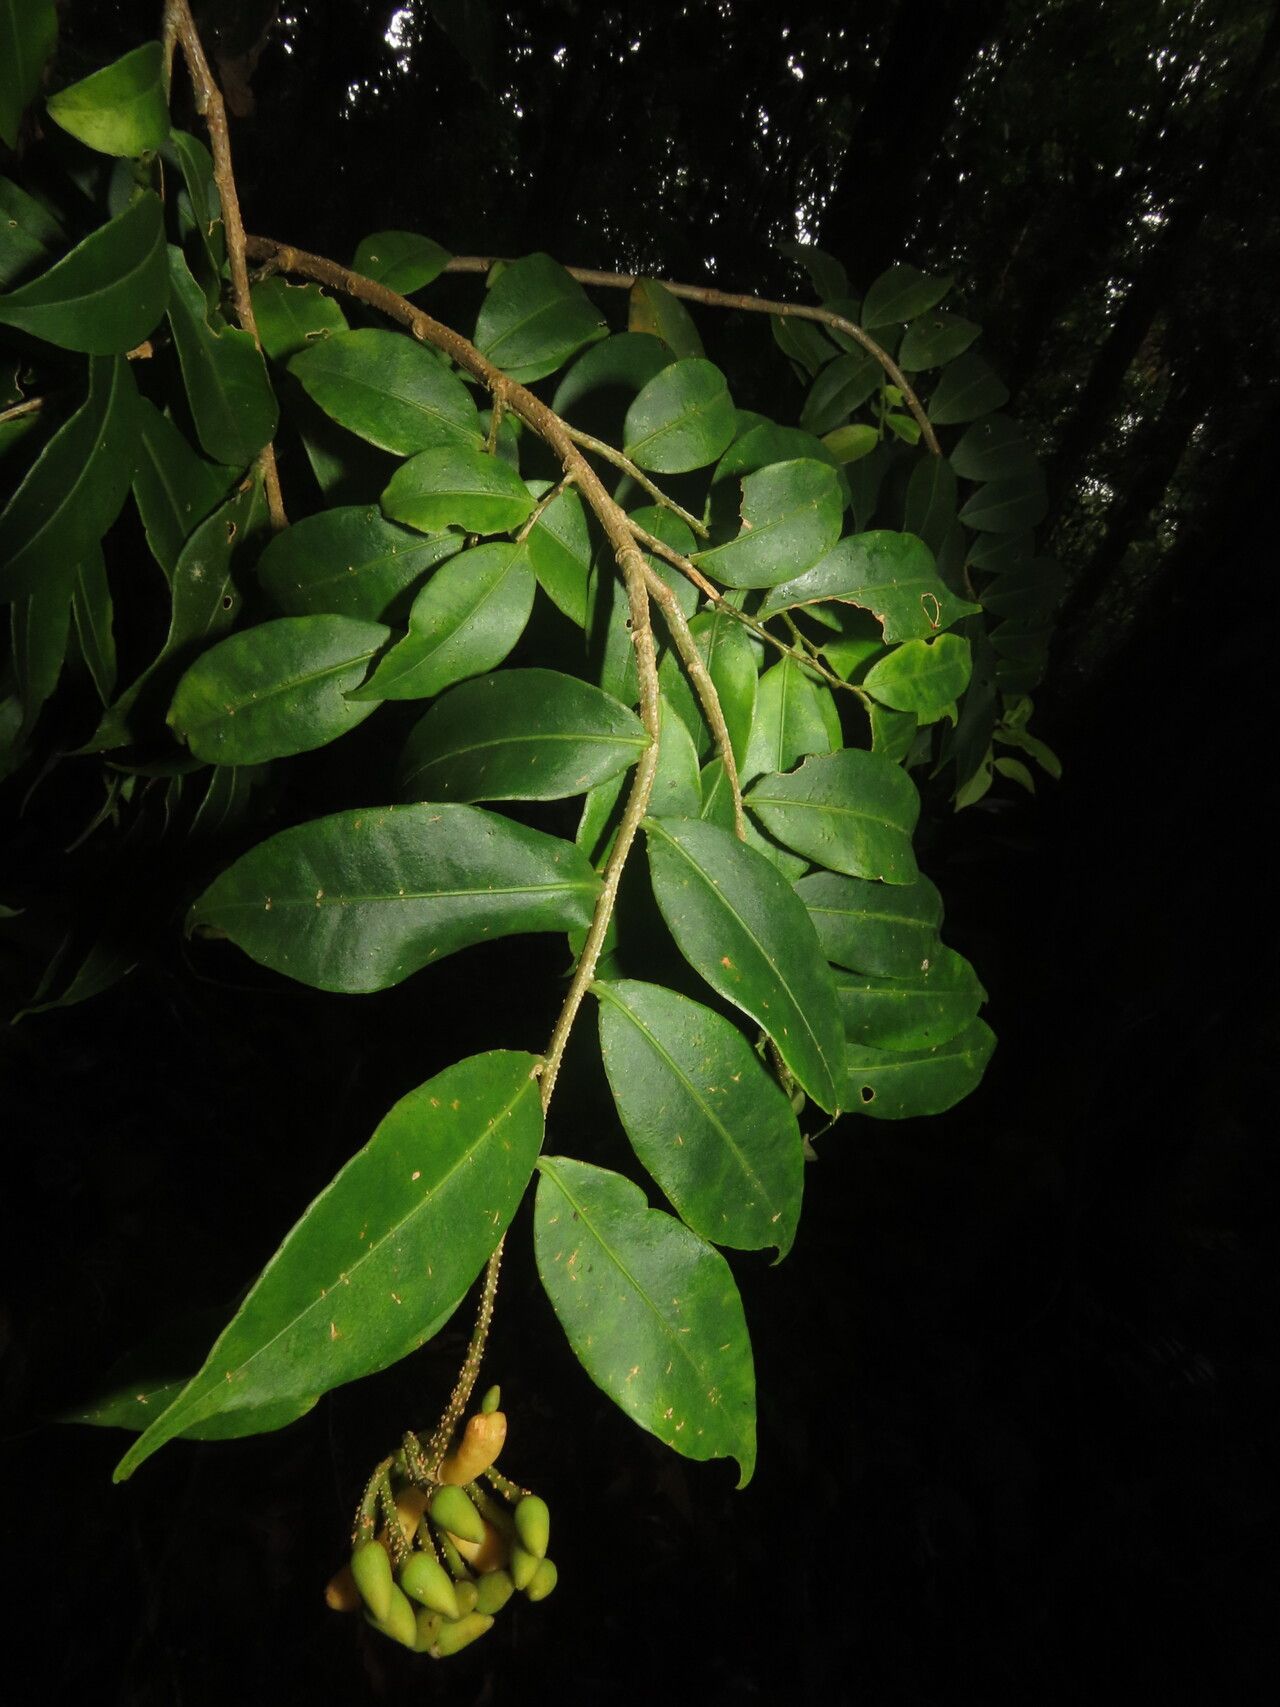
Hey there, fellow plant lovers! I’m so excited to chat with you today about one of my absolute favorite jungle gems: Marcgravia mexicana. If you haven’t encountered this beauty yet, imagine cascades of glossy, heart-shaped leaves, often with a subtle, intriguing shimmer. It’s a plant that really brings a touch of the exotic to any space, and watching it grow and spread is a truly rewarding experience.
Now, about propagating it. Is it a walk in the park for beginners? Honestly, Marcgravia can be a bit of a diva. It’s not impossible, but it does appreciate a bit of know-how. Once you get the hang of it, though, you’ll be hooked on creating more of these wonderful plants!
The Best Time to Start
My best advice is to propagate Marcgravia mexicana when the plant is actively growing. Think spring and summer for most of us. You want to catch it when it’s full of energy and ready to put out new shoots. Trying to propagate when it’s resting, usually in the cooler, darker months, just won’t yield the same results. Look for healthy, mature stems that have developed a bit of stiffness, not those brand-new, floppy ones.
Supplies You’ll Need
Gathering your supplies before you begin makes the whole process smoother:
- Sharp, clean pruning shears or a razor blade: For making precise cuts.
- Rooting hormone (optional but recommended for stem cuttings): A powder or gel to encourage root development.
- Well-draining potting mix: I love a blend of orchid bark, perlite, and a bit of sphagnum moss. Think airy and moisture-retentive, but not soggy. You can even buy specialty aroid mixes.
- Small pots or propagation trays: Clean and with drainage holes.
- Plastic bags or a propagation dome: To create a humid microclimate.
- A spray bottle: For misting.
- Sterilized water: For water propagation.
Propagation Methods
Let’s get our hands dirty! Here are the methods I find most successful for Marcgravia mexicana:
Stem Cuttings
This is my go-to method. It’s efficient and usually gives great results.
- Select a healthy stem. Look for a section with at least two to three nodes (that’s where the leaves attach). A node is crucial because that’s where roots will form.
- Make a clean cut. Using your sharp shears or razor, cut the stem just below a node. If you’re using rooting hormone, dip the cut end into it now.
- Prepare the cutting. Remove the bottom leaf, but leave the top one or two leaves intact. If the leaves are very large, I sometimes gently cut them in half to reduce water loss through transpiration.
- Plant the cutting. Insert the cut end into your well-draining potting mix, making sure at least one node is buried beneath the surface. Firm the soil gently around it.
- Create humidity. Water the soil lightly, then cover the pot with a plastic bag or place it under a propagation dome. You want to create a mini-greenhouse effect.
Water Propagation (Use with Caution)
While some plants thrive in water, Marcgravia can be a bit trickier. If you try this, be vigilant.
- Take a cutting as described above. Ensure it has at least one node.
- Remove any leaves that would be submerged. This is key to preventing rot.
- Place the cutting in a clean jar or glass of sterilized water. Crucially, make sure no leaves touch the water. If they do, they’ll rot quickly and can take the whole cutting down with them.
- Change the water regularly (every few days) to keep it fresh and oxygenated.
- Patience is required. Roots can take a while to appear. Once they’re a good inch or two long, you can try planting them in soil.
The “Secret Sauce” (Pro Tips)
Here’s what I’ve learned over the years that often makes all the difference:
- Don’t rush to pot up. Even after roots appear in water, I often let them develop a bit more in the cutting itself before I plant. I like to see a nice network of fine roots.
- Bottom heat is your friend. If you have a seedling heat mat, pop your propagation pots on it. Marcgravia loves warmth, and bottom heat really encourages root formation. It’s like a cozy little spa for your cuttings!
- Mist, but don’t puddle. While humidity is vital, constantly soaking the leaves can encourage fungal issues. A gentle misting once a day should be enough for most cuttings, especially if they’re covered.
Aftercare & Troubleshooting
Once you see new growth or roots emerging from the drainage holes, it’s time for a little more attention.
- Acclimatize slowly. Once roots are well developed, gradually uncover your cuttings over a week or so. This helps them adjust to less humid conditions.
- Water consistently but don’t overwater. Keep the soil evenly moist but never waterlogged. The leaves should feel slightly firm, not limp.
- Provide bright, indirect light. No harsh sun, please!
- Watch for rot. The most common sign of failure is mushy, black stems or leaves. This usually means it’s too wet, or the cutting isn’t getting enough air circulation. If you see it, sometimes you can salvage healthy parts by taking fresh cuttings and adjusting your watering.
A Little Encouragement
Propagating plants is an act of faith, isn’t it? There will be times when things don’t work out as planned, and that’s perfectly okay. Don’t get discouraged! Each attempt is a learning opportunity. Celebrate the successes, be patient with the delays, and most importantly, enjoy the journey of bringing more of these lovely Marcgravia specimens into your home. Happy propagating!
Resource:
https://identify.plantnet.org/k-world-flora/species/Marcgravia%20mexicana%20Gilg/data