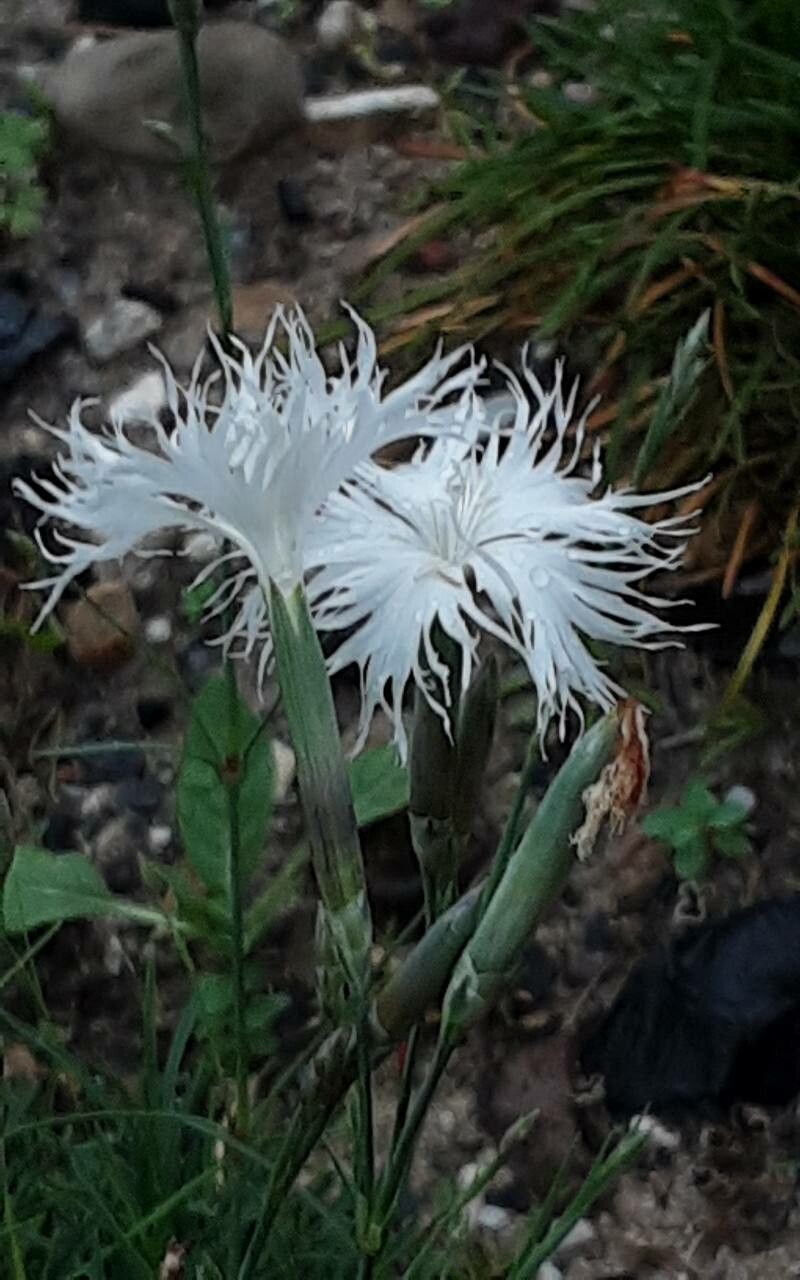
Oh, hello there, fellow plant enthusiast! I’m so glad you stopped by. Today, we’re diving into the wonderful world of propagating Dianthus arenarius, also known as Sand Pink. If you adore those delicate, fringed blooms and their subtle, spicy fragrance, then you’re in for a treat. Creating more of these beauties yourself is incredibly rewarding, and I’m here to guide you every step of the way. Honestly, for me, Dianthus arenarius propagation falls into the “satisfyingly achievable” category, even for those just starting their green-thumb journey.
The Best Time to Start
For the highest success rates with our Sand Pinks, I always find late spring to early summer to be the sweet spot. This is when the plant is actively growing, and its stems are nice and pliable. You’re essentially taking advantage of its vigorous growth phase.
Supplies You’ll Need
Before we get our hands dirty, let’s gather our tools:
- Sharp pruning shears or a clean knife: For making precise cuts.
- Container or seed tray: Something to house your cuttings or divisions. Make sure it has good drainage.
- Rooting hormone (optional but recommended): A little boost can make a big difference.
- Potting mix: A well-draining, gritty mix is essential. I love a blend of equal parts peat moss (or coco coir), perlite, and a little bit of sand.
- Small pots or cell trays: For transplanting your rooted cuttings.
- Watering can or spray bottle: For gentle watering.
- Plastic bag or propagation dome: To create a humid environment for cuttings.
- Labels and a pen: To keep track of your precious projects!
Propagation Methods
There are a couple of ways to bring more Sand Pinks into your garden, and both are quite effective.
Stem Cuttings: My Go-To for More Plants
This is my favorite method for increasing my Dianthus arenarius collection.
- Select your parent plant: Choose a healthy, vigorous stem from your Sand Pink. Look for a stem that isn’t flowering yet, or has finished flowering.
- Take your cuttings: Using your clean shears or knife, make a cut just below a leaf node (where a leaf joins the stem). Aim for cuttings that are about 3-4 inches long. Remove the lower leaves, leaving only a few at the top.
- Prepare the cutting: If you’re using rooting hormone, dip the cut end of the stem into it. Just a light coating is all that’s needed.
- Plant your cuttings: Fill your container or seed tray with your prepared well-draining potting mix. Make a small hole in the soil with your finger or a pencil. Gently insert the cutting into the hole, ensuring the leaf nodes are buried. Firm the soil gently around the base.
- Create humidity: Water the soil lightly, then cover the container with a plastic bag or propagation dome. This traps moisture and helps prevent the cuttings from drying out. Place it in a bright spot, but out of direct sunlight.
Division: A Natural Way to Multiply
If your Sand Pink has grown into a nice clump, division is a fantastic option.
- Gently excavate: Carefully dig around the base of the plant and lift the entire clump from the soil.
- Inspect and separate: Gently shake off excess soil. You can usually tease the root ball apart with your hands to separate it into smaller sections. If the roots are very tangled, you might need to use a clean trowel or knife to divide them. Aim for sections that have a good amount of roots and some leafy growth.
- Replant: Immediately replant your divisions into their new locations or into pots filled with your well-draining potting mix. Water them in well.
The “Secret Sauce” (Pro Tips)
Here are a couple of tricks of the trade that have served me well:
- Don’t be afraid to be a little brutal with leaf removal. Those lower leaves are just going to rot if they’re buried in the soil or touching dampness. It also encourages the plant to channel its energy into root development.
- A little warmth from below can work wonders. If you have the space, placing your propagation tray on a heated propagator mat can significantly speed up root formation. It mimics the warmth of spring soil nicely.
- Consider the “heel” method for cuttings. Sometimes, if you can gently pull a piece of the parent stem away from the main stem, taking a tiny sliver of the older stem with it (called a heel), it can root even more readily. It’s a bit more advanced, but worth a try if you’re feeling adventurous!
Aftercare & Troubleshooting
Once your cuttings have rooted (you can gently tug on them; if there’s resistance, they’ve likely rooted) or your divisions are settled, it’s time for a little more attention.
- Acclimatize slowly: Gradually introduce your rooted cuttings to drier air by opening the plastic bag or dome for increasing lengths of time over a week.
- Water consistently: Keep the soil moist but not waterlogged. Overwatering is the quickest way to invite problems.
- Watch for rot: The most common issue is rot. If your cuttings turn black and mushy, you’ve likely overwatered or the humidity was too high without enough air circulation. Discard any affected cuttings to prevent the spread.
- Transplant carefully: Once your cuttings have developed a good root system and are sturdy enough to handle, transplant them into their own pots or garden beds.
A Little Patience Goes a Long Way
Propagating Dianthus arenarius is such a rewarding way to expand your garden and share these charming flowers with friends. Don’t be discouraged if not every cutting takes; nature has its own ways. Just remember to be patient, pay attention to their needs, and enjoy the magical process of watching new life emerge. Happy gardening!
Resource:
https://identify.plantnet.org/k-world-flora/species/Dianthus%20arenarius%20L./data