Hello, fellow garden enthusiasts! It’s so lovely to be sharing a cuppa and some gardening chat with you today. We’re going to dive into the delightful world of propagating Allium barthianum.
Why Propagate Allium barthianum?
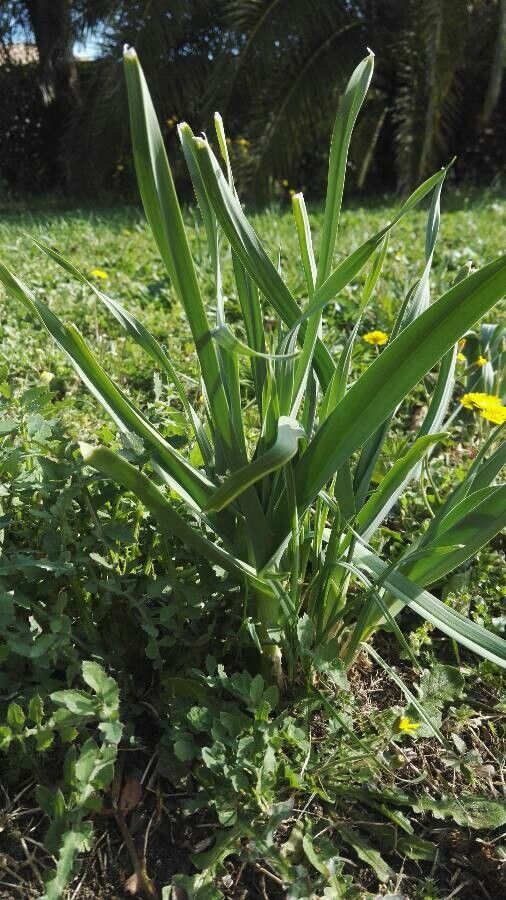
Ah, Allium barthianum! For those who haven’t had the pleasure, picture this: delicate, bell-shaped blooms, often in shades of soft pink or white, dangling elegantly from slender stems. They bring such a whimsical charm to borders and containers, and a gentle, sweet fragrance that’s utterly captivating. Propagating these beauties yourself is incredibly rewarding. You get to witness new life spring from your efforts, and soon you’ll have a whole collection to share or fill your garden with! If you’re new to propagation, Allium barthianum can be a touch fiddly, but with a little patience and these tips, you’ll be a pro in no time.
The Best Time to Start
The absolute sweetest spot for propagating Allium barthianum is during its active growing season, generally late spring through early summer. This is when the plant is brimming with energy and ready to put forth new growth. You want to work with healthy, vigorous shoots that haven’t yet flowered, or just as they are beginning to unfurl.
Supplies You’ll Need
Gathering your supplies beforehand makes the whole process much smoother. Here’s what I’ve found makes a big difference:
- Sharp pruning shears or a clean, sharp knife: For precise cuts.
- Well-draining potting mix: A seed-starting mix or a combination of perlite and peat moss works wonderfully. Avoid heavy garden soil.
- Small pots or trays: Clean ones are crucial to prevent disease.
- Rooting hormone (optional but helpful): A powdered or liquid rooting hormone can give your cuttings a little boost.
- Watering can with a fine rose: To water gently without disturbing your new propagations.
- Plant labels: Essential for keeping track of what you’ve planted and when!
- A plastic bag or propagation dome: To create a humid environment.
Propagation Methods: Let’s Get Growing!
For Allium barthianum, division is usually the most successful and straightforward method.
Method: Division of Bulbs
This is the go-to for most gardeners when it comes to alliums.
- Gently unearth the parent plant. Do this when the foliage has started to die back, typically in mid-to-late summer after flowering. You want to disturb the soil as little as possible while getting the whole root ball out.
- Carefully tease apart the bulbs. Look for clumps of bulbs that are naturally separated or have offsets attached. You can use your fingers to gently pull them apart. If they are really stuck, a clean knife can help you slice through any connecting roots or bulb tissue.
- Inspect the divisions. Each division should have at least one healthy bulb and a few roots. Discard any that look soft, mushy, or diseased.
- Replant immediately or store temporarily. If you’re planting them right away, prepare your planting spots with that lovely well-draining soil.
- Water them in well. Give your newly divided and replanted alliums a good soak to settle the soil around the roots.
While less common for Allium barthianum, some gardeners have success with stem cuttings, but it’s a bit more experimental for this particular plant and often requires more specific conditions. If you’re keen to try, take cuttings from non-flowering shoots, about 3-4 inches long, cut just below a leaf node. Dip the cut end in rooting hormone and insert them into moist, well-draining potting mix. Cover with a plastic bag or dome and keep them in a bright, indirect light location.
The “Secret Sauce” (Pro Tips)
Here are a couple of tricks I’ve picked up over the years that really make a difference:
- Give them space to breathe. When you’re dividing, don’t overcrowd your new bulbs. Give each division enough room to develop its own root system. Overcrowding can lead to competition for resources and increase the risk of rot.
- Don’t be afraid of the pruning shears. For division, a clean cut through any tough root or bulb connections is better than tearing. It heals faster and reduces the chance of damage.
Aftercare & Troubleshooting
Once your divisions are replanted, water them regularly during dry spells, especially in their first year. You want the soil to be consistently moist but never waterlogged.
The most common issue you’ll encounter is rot. This usually happens when the soil stays too wet. You might see the bulbs turn soft and mushy, or the leaves will yellow and wilt prematurely. If you suspect rot, gently unearth the affected bulb, discard it if it’s too far gone, or try to cut away the rotten parts if there’s still healthy tissue. Ensure the remaining soil drains much better going forward.
Keep Nurturing and Enjoy!
Propagating plants is a journey, not a race. There’s such a quiet satisfaction in nurturing something from a tiny division into a blooming spectacle. Don’t get discouraged if every single one doesn’t make it. Celebrate the successes! Be patient, observe your plants, and enjoy the process of creating more floral beauty for your garden. Happy planting!
Resource:
https://identify.plantnet.org/k-world-flora/species/Allium%20barthianum%20Asch.%20&%20Schweinf./data