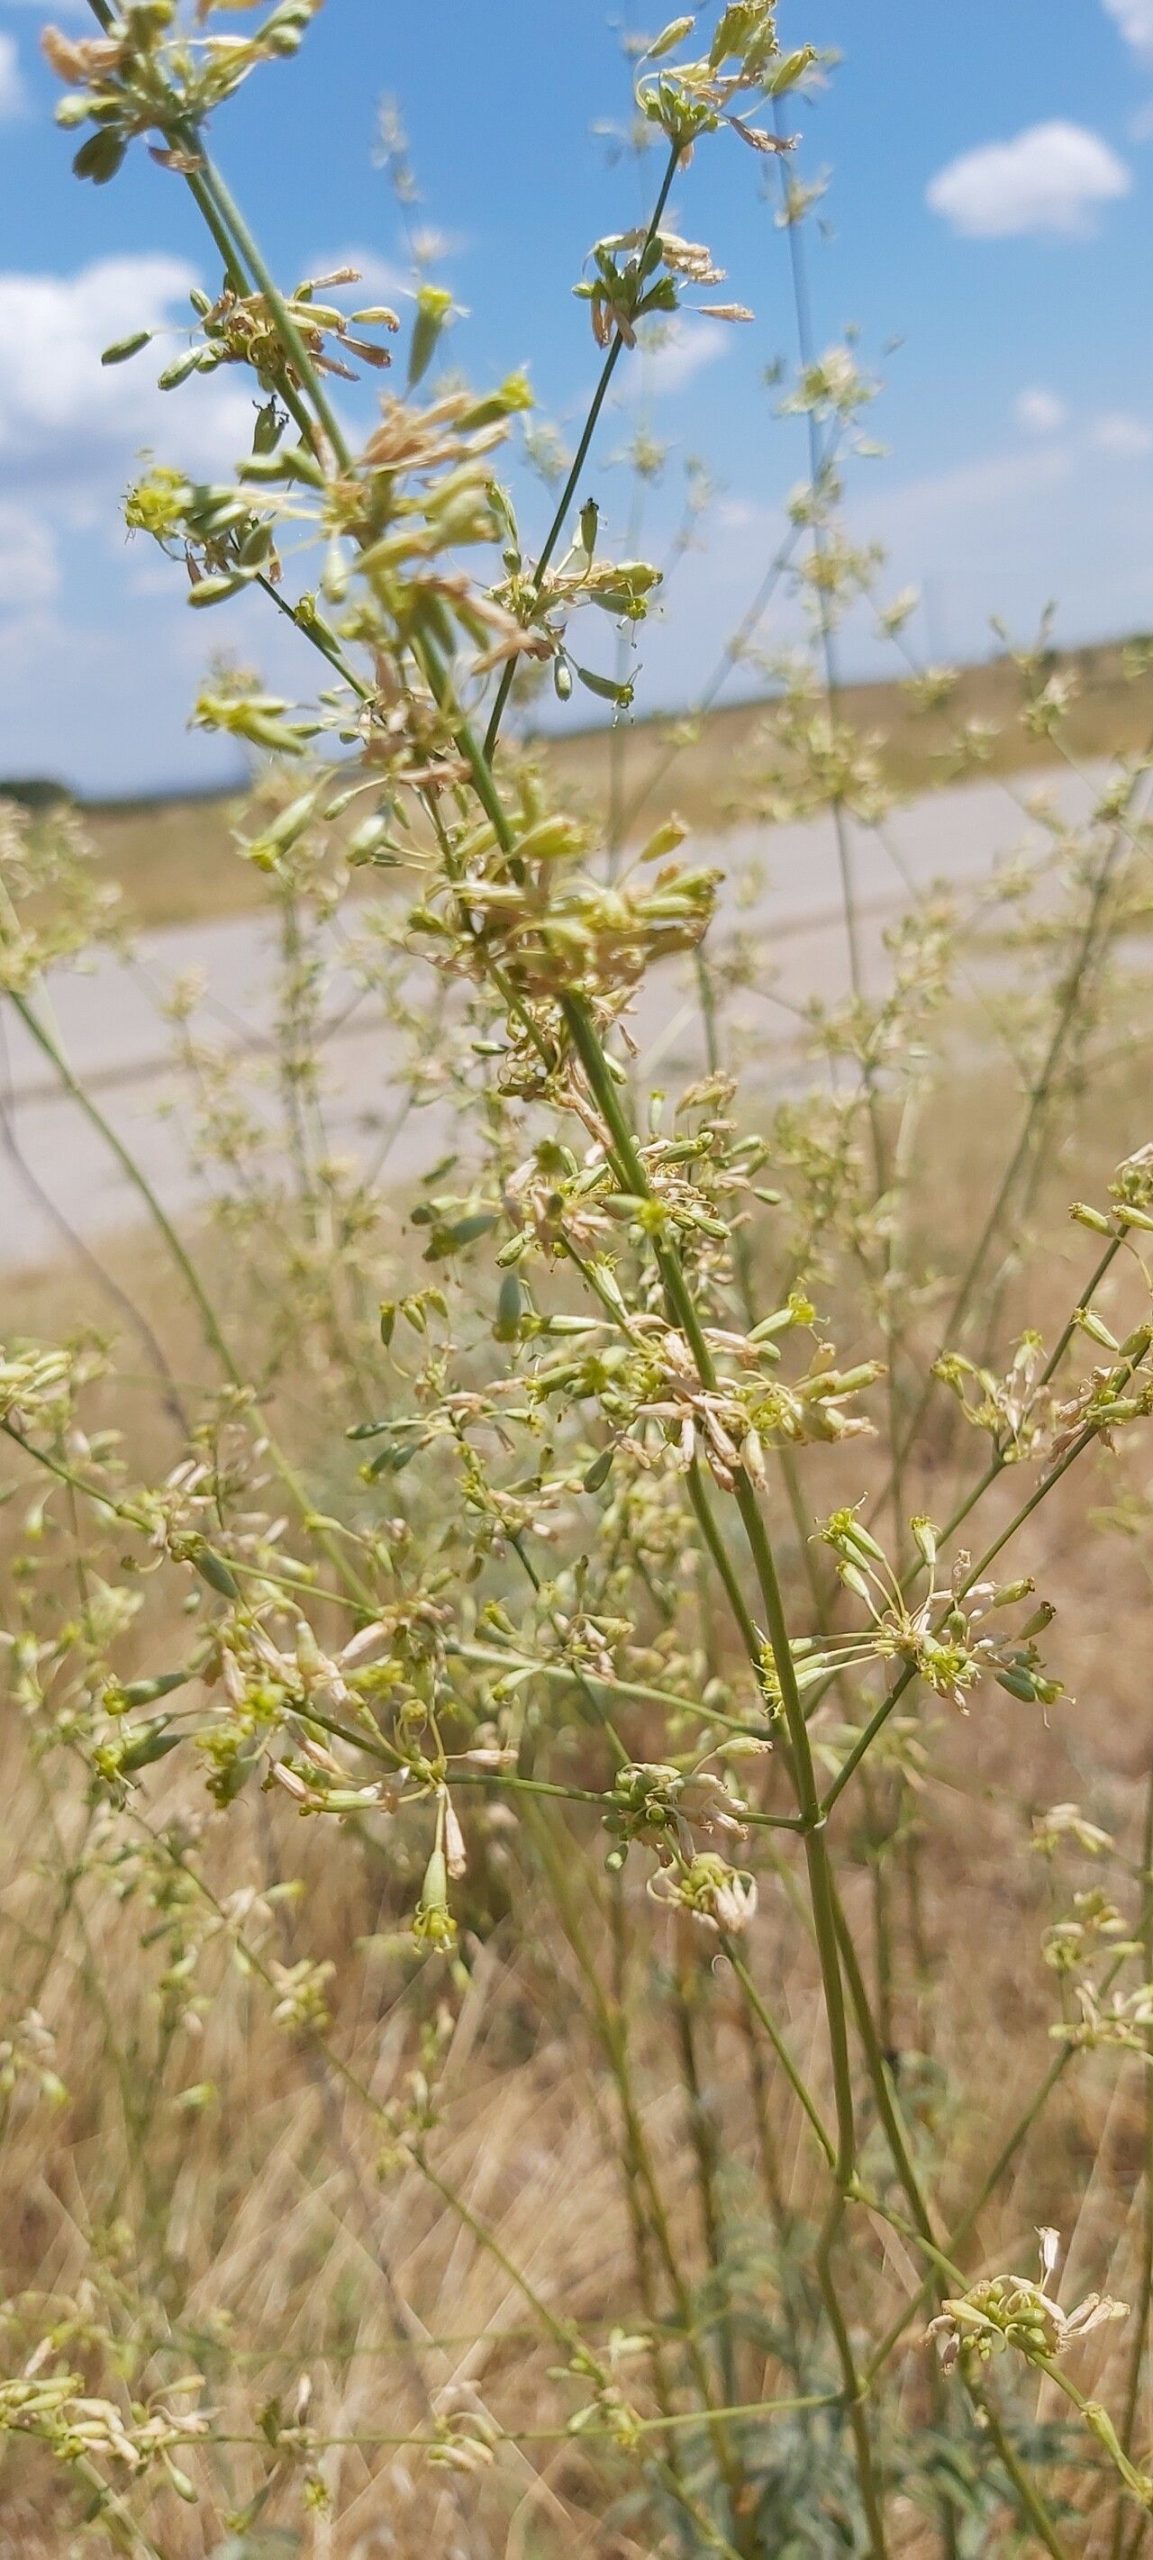
Oh, Silene densiflora! If you’re drawn to those lovely clusters of deep pink to magenta flowers, the ones that just scream cottage garden charm, then you’re in for a treat. This perennial is a real workhorse, bringing reliable color and attracting happy pollinators to your beds year after year. And the best part? It’s surprisingly rewarding to propagate! Honestly, for many gardeners, myself included, Silene densiflora is quite beginner-friendly when it comes to making more of it. That’s music to my ears, isn’t it?
The Best Time to Start
For Silene densiflora, I’ve found the late spring to early summer is your golden ticket. Think of it as when the plant is really hitting its stride, pushing out new, vigorous growth. This is when cuttings are plump and full of life, ready to dive into propagation. Waiting until the plant has finished its initial flush of bloom, but is still actively growing, is usually the sweet spot.
Supplies You’ll Need
Don’t overthink this part! A few simple things will set you up for success:
- Sharp Pruning Shears or a Craft Knife: Clean cuts are crucial for healthy rooting.
- Seed Starting Mix or a Light, Well-Draining Potting Mix: Avoid heavy garden soil; you want air and drainage. I often mix in some perlite or vermiculite for good measure.
- Small Pots or Trays: Whatever you have on hand that’s clean and has drainage holes.
- Rooting Hormone (Optional but Recommended): This gives your cuttings a little boost. Gel or powder works fine.
- Water: For the cuttings, of course!
- Plastic Bags or a Clear Dome: To create a mini-greenhouse environment.
- Labels and a Pen: To keep your precious new babies identified.
Propagation Methods
Silene densiflora is wonderfully amenable to a couple of easy methods. My go-to is usually stem cuttings, but sometimes division works a charm.
Stem Cuttings (My Favorite!)
- Take Your Cuttings: On a cool morning, select healthy, non-flowering stems. You want sections of new growth that are about 4-6 inches long. Make a clean cut just below a leaf node (where a leaf attaches to the stem). These nodes are where the magic of root development often happens.
- Prepare the Cuttings: Gently remove any lower leaves, leaving just a couple at the very top. If your cuttings have flower buds, snip them off. We want the plant’s energy going into roots, not flowers, at this stage.
- Dip in Rooting Hormone (If Using): Lightly dip the cut end of each stem into your rooting hormone, tapping off any excess.
- Plant Your Cuttings: Fill your small pots with your prepared seed starting mix. Make a little hole with a pencil or your finger and gently insert the cuttings, ensuring the bottom leaf nodes are buried in the soil. Firm the soil gently around them.
- Water and Cover: Water the cuttings thoroughly but gently. Then, cover the pots with a plastic bag, a clear plastic dome, or pop the whole tray into a loosely tied plastic bag. This traps humidity, which is vital for cuttings.
Division (When the Plant is Established)
If you have a mature clump of Silene densiflora that’s been happily growing for a few years, you can divide it.
- Dig Up the Clump: When the plant is dormant (late fall or very early spring is best for this), carefully dig up the entire clump.
- Separate the Roots: Gently tease apart the root ball. You’re looking for sections that have both roots and shoots. Sometimes, you can even pull them apart with your hands. If it’s stubborn, a clean knife or trowel can help.
- Replant: Immediately replant the divisions into their new homes, watering them in well.
The “Secret Sauce” (Pro Tips)
Here are a couple of little tricks that I’ve found make a real difference with Silene densiflora:
- Bottom Heat is Your Friend: If you can, placing your pots on a gentle heat mat or in a warm spot can significantly speed up root formation. They don’t need it scorching hot, just a nice, consistent warmth from below mimics a lovely spring soil temperature.
- Mist Sparingly, Don’t Drown: While humidity is key, avoid waterlogged conditions. Mist the leaves lightly once a day if the environment seems dry, but ensure good airflow to prevent fungal issues. If you see any signs of wilting or damping off, increase ventilation.
Aftercare & Troubleshooting
Once roots start to form (you might see new leaf growth or feel a gentle tug when you lightly pull a cutting – don’t be tempted to yank it out too soon, though!), it’s time for a little adjustment.
- Acclimatize: Gradually remove the plastic covering over a few days to help your new plants adjust to normal humidity.
- Watering: Keep the soil consistently moist but not soggy. As they grow stronger, you can water them as you would any young perennial.
- When to Transplant: Wait until you have a good root system, usually a few weeks after you’ve started seeing significant new growth, before transplanting into their own slightly larger pots or directly into their garden home.
The most common problem you might encounter is rot. This is usually a sign of too much moisture and not enough airflow. If you see stems turning mushy and black, unfortunately, that cutting is likely lost. Don’t get discouraged! Just pull it out, let the remaining soil dry a bit, and ensure better ventilation for the others.
A Encouraging Closing
Gardening is always a journey, isn’t it? Propagating Silene densiflora is a wonderful way to expand your garden and share the beauty with friends. Be patient with your little green sprouts, trust the process, and most importantly, enjoy the satisfaction of growing something beautiful from scratch. Happy propagating!
Resource:
https://identify.plantnet.org/k-world-flora/species/Silene%20densiflora%20d’Urv./data