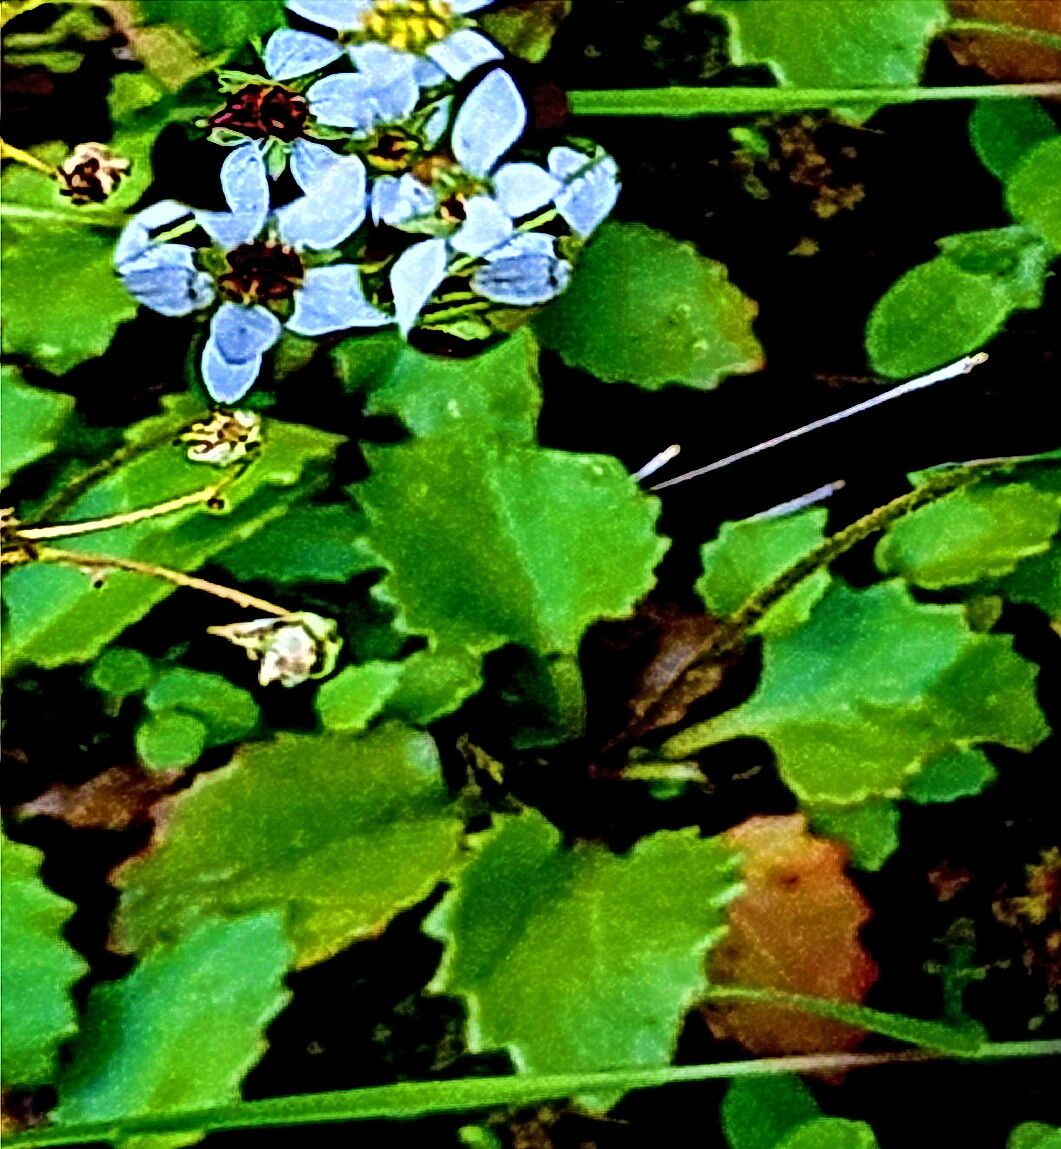
Hello there, fellow plant lovers! I’m so excited to talk to you today about a truly special gem in the garden: Micranthes californica, commonly known as California Saxifrage or even our local “Grass Lily” here in some parts. This little beauty, with its delicate rosettes of leaves and wispy sprays of tiny, star-like flowers, brings such a charming, wild feel to shady nooks and crannies. It’s like a breath of fresh, woodland air right in your own backyard.
And the best part? Sharing this magic is wonderfully achievable through propagation! For many, it’s a surprisingly easy win, even for those just dipping their toes into the world of plant propagation. It’s so rewarding to watch a tiny piece of your favorite plant unfurl into a whole new life.
The Best Time to Start
When it comes to Micranthes californica, spring is truly our golden ticket. Think of it as the plant waking up and bursting with energy after its winter nap. This is when it’s actively growing, sending out new shoots and unfurling fresh leaves. Propagating during this vibrant growth phase gives your new plantlets the best chance to establish themselves quickly. Aim for late spring to early summer, just as things are really warming up and the plant is in its prime.
Supplies You’ll Need
Gathering your tools is half the fun, isn’t it? It makes you feel ready for anything! Here’s what you’ll want to have on hand:
- Sharp, clean pruning shears or a sharp knife: A clean cut is crucial to prevent disease.
- Small pots or trays: About 3-4 inches in diameter is usually perfect.
- Well-draining potting mix: I often use a blend of equal parts peat moss or coco coir, perlite, and a bit of compost. A commercial seedling starting mix works wonders too.
- Rooting hormone powder (optional but helpful): This little helper can give your cuttings a boost.
- Plastic bags or a propagator lid: To create a humid microclimate.
- Soft brush or tweezers: For handling delicate pieces.
- Watering can with a fine rose: For gentle watering.
Propagation Methods
Micranthes californica is a generous plant, and it’s happy to share itself, primarily through division. It’s the most straightforward and successful method for this particular species.
Division: The Star of the Show
As your Micranthes californica plant matures, it will naturally form clumps of new plantlets around the base of the parent plant. These are what we call “offsets” or “pups.”
- Gently extract the parent plant: When the soil is slightly moist (not bone dry!), carefully ease the entire Micranthes californica plant out of its pot or from its spot in the garden. I like to give it a good shake to loosen excess soil.
- Locate the offsets: Look for those smaller rosettes growing around the main plant. You’ll often see tiny root structures already forming at their base.
- Separate carefully: This is where your clean pruning shears or sharp knife come in. Gently slice or pull each offset away from the parent plant, ensuring each new piece has at least a few leaves and ideally some roots attached. If an offset doesn’t have roots yet, don’t fret too much; it will grow them.
- Potting up: Fill your small pots with your well-draining potting mix. Make a little well in the center and place the new offset in, gently firming the soil around its base. For offsets with no roots, I like to plant them a bit deeper, encouraging root formation.
- Watering in: Water them thoroughly but gently. The goal is to settle the soil around the roots without dislodging the baby plant.
The “Secret Sauce” (Pro Tips)
Now for a couple of little tricks I’ve learned over the years that can really make a difference:
- Humidity is King (and Queen!): Micranthes californica loves a humid environment, especially when it’s trying to establish roots. After you pot up your divisions, tenting the pots with a clear plastic bag or placing them in a propagator with a lid is a game-changer. Just make sure to open the bag for a bit each day to allow for airflow – we don’t want any fungal issues popping up!
- Consider the Mother Lode: When you’re dividing, don’t be too greedy with the parent plant. Leave a good portion of it intact so it can recover and continue to thrive. Happy mother plants mean more future babies!
Aftercare & Troubleshooting
Once your new Micranthes californica divisions are potted up, treat them with a bit of TLC. Keep them in a bright, indirect light spot – no direct sun, which can scorch those delicate leaves. Water when the top half-inch of soil feels dry.
The most common issue you might encounter is rot, usually due to overwatering or poor drainage. If you see leaves turning yellow and mushy, or the base of the plant looking dark and slimy, it’s a sign of too much moisture. Immediately pull the affected plantlet out, discard it if it’s too far gone, and ensure the remaining soil is well-draining. If some are struggling but not completely lost, you can try repotting them in fresh, drier soil. Patience is key here; it might take a few weeks for root systems to really take hold.
A Little Bit of Patience
And there you have it! Propagating Micranthes californica is a joy, a simple yet deeply satisfying way to multiply the beauty in your garden. Don’t be discouraged if not every single attempt is a roaring success – that’s part of the learning curve. Just keep trying, observe your plants, and enjoy the process. Before you know it, you’ll be sharing these charming little plants with friends and family! Happy gardening!
Resource:
https://identify.plantnet.org/k-world-flora/species/Micranthes%20californica%20(Greene)%20Small/data