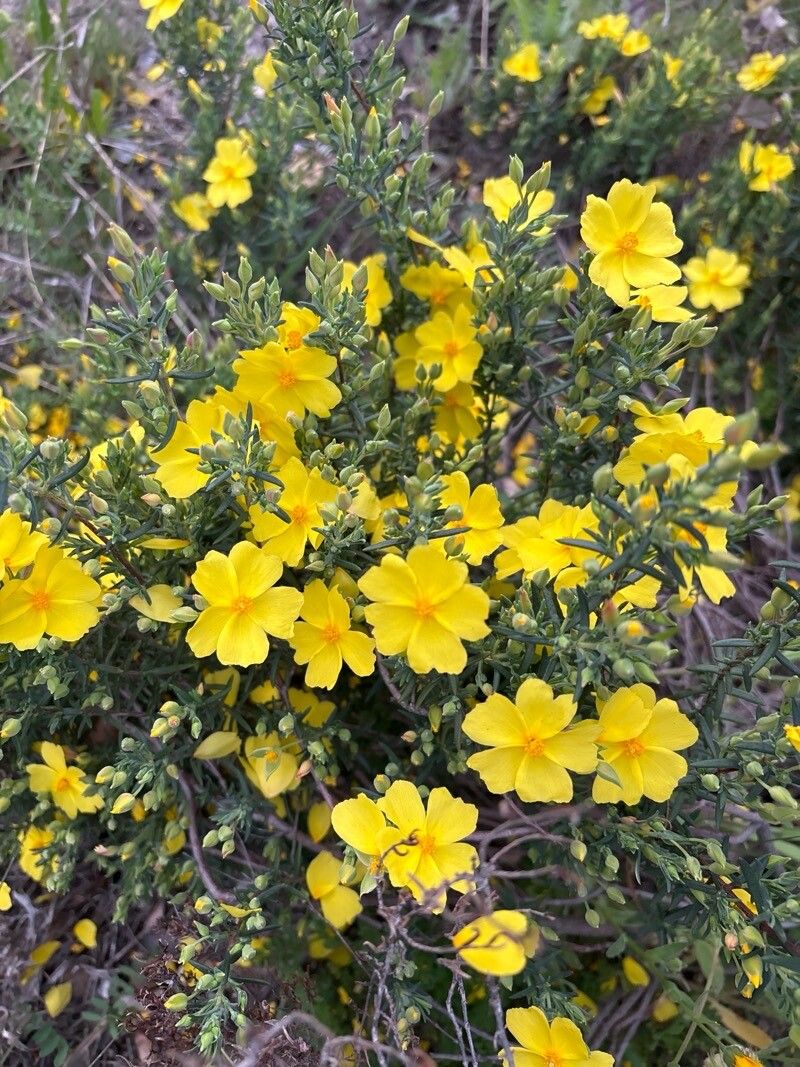
Hello, fellow plant enthusiasts! Today, we’re going to talk about a gem of a plant that brings a touch of Mediterranean charm to any garden: Cistus calycinus, often known as the California Rockrose. Its beautiful, papery blooms, often a lovely shade of pink or white with prominent yellow stamens, are a joy to behold. Propagating these beauties is incredibly satisfying, like unlocking a little bit of magic right in your own garden. While not the absolute easiest plant for a complete beginner, with a little guidance, you absolutely can succeed with Cistus calycinus. Let’s get those hands dirty!
The Best Time to Start
For the highest chance of success with Cistus calycinus, I always recommend focusing your propagation efforts in late spring or early summer. This is when the plant is actively growing, and the stems have lignified just enough to hold their shape but are still flexible. You want to be taking cuttings from new, semi-hardwood growth. Avoid taking cutting from very soft, floppy new shoots, or from old, woody stems.
Supplies You’ll Need
Here’s a little shopping list to get you ready:
- Sharp pruning shears or a clean, sharp knife: For making those crucial, clean cuts.
- Rooting hormone powder or gel: This helps encourage root development. I’ve found great results with a good quality product.
- A lightweight, well-draining potting mix: A good blend of perlite, coarse sand, and peat moss works wonders. You can also buy specialized seed starting or propagation mixes.
- Small pots or seed trays with drainage holes: Cleanliness is key here!
- A plastic bag or propagation dome: To create a humid environment.
- Spray bottle: For misting your cuttings.
- A dibber or pencil: To make holes for your cuttings.
Propagation Methods: Let’s Get Cutting!
The most reliable method for propagating Cistus calycinus is through stem cuttings. Here’s how I do it:
- Select Your Stems: As mentioned, look for healthy, semi-hardwood stems from your Cistus. Aim for pieces that are about 4-6 inches long.
- Make the Cut: Using your clean pruning shears, take a cutting just below a leaf node. A leaf node is where a leaf attaches to the stem. This is where the magic happens, where roots are most likely to form.
- Prepare the Cutting: Gently remove the lower leaves from the cutting, leaving just a few at the top. This prevents them from rotting in the soil and encourages the plant to focus its energy on root growth. If you have very large leaves at the top, you can even cut them in half horizontally to reduce water loss.
- Dip in Rooting Hormone: Lightly moisten the cut end of the stem, then dip it into your rooting hormone. Tap off any excess.
- Plant Your Cuttings: Fill your pots with your prepared potting mix. Use your dibber or pencil to make a hole in the center. Gently insert the cutting into the hole, ensuring the leaf nodes that will be below the soil surface are in contact with the hormone. Firm the soil gently around the stem.
- Create a Humid Environment: Water the soil thoroughly but gently, allowing excess water to drain away. Then, cover the pot with a clear plastic bag or place it inside a propagation dome. This traps humidity, which is vital for cuttings to survive before they develop roots.
- Provide Light and Warmth: Place your pots in a bright location but out of direct, harsh sunlight. A little warmth can also be beneficial, so placing them on a warm windowsill or in a heated propagator will speed things up.
The “Secret Sauce” (Pro Tips)
Here are a couple of tricks I’ve learned over the years that can really boost your success rate:
- Don’t Let Those Lower Leaves Touch the Soil: Seriously, if any leaves are buried in the potting mix, they’re a prime spot for rot to set in. Always make sure they are above the soil line.
- Bottom Heat is Your Friend: While not strictly mandatory, providing a little warmth to the base of your cuttings can be a game-changer. A heated propagator or even a heating mat designed for seedlings can significantly speed up root formation. You’ll see roots develop faster and more robustly.
- Patience with the “Air Layering” Method: While cuttings are my go-to, for tougher woody plants, sometimes air layering can be successful. You’ll make a small wound on a stem still attached to the mother plant, wrap it with damp sphagnum moss, and cover it with plastic. It takes longer, but if cuttings fail, it’s a good backup.
Aftercare & Troubleshooting
Once your cuttings have started to root (you’ll usually see new growth appearing at the top), it’s time for a little more hands-on care.
- Acclimatize Gradually: Slowly start to acclimate your new plants to normal humidity by opening the plastic bag or dome for increasing periods.
- Watering: Water when the top inch of soil feels dry. Avoid letting them sit in soggy conditions.
- Transplanting: Once the roots are well-established and you can see them peeking out of the drainage holes, you can carefully transplant them into slightly larger pots with a regular potting mix.
Now, what if things don’t go as planned? The most common issue you’ll encounter is rot. If your cuttings start to look yellow, mushy, or black, it’s a sign of too much moisture or insufficient air circulation. If you see this, remove the affected cuttings immediately to prevent it from spreading. Sometimes, a cutting just doesn’t take – it happens to all of us! Don’t get discouraged; just try again.
A Little Encouragement
Propagating Cistus calycinus is a wonderful way to expand your garden and share these beautiful plants with friends. It takes a bit of observation and a willingness to experiment, but the rewards are so worth it. Be patient, trust the process, and enjoy watching those new roots emerge. Happy gardening!
Resource:
https://identify.plantnet.org/k-world-flora/species/Cistus%20calycinus%20L./data