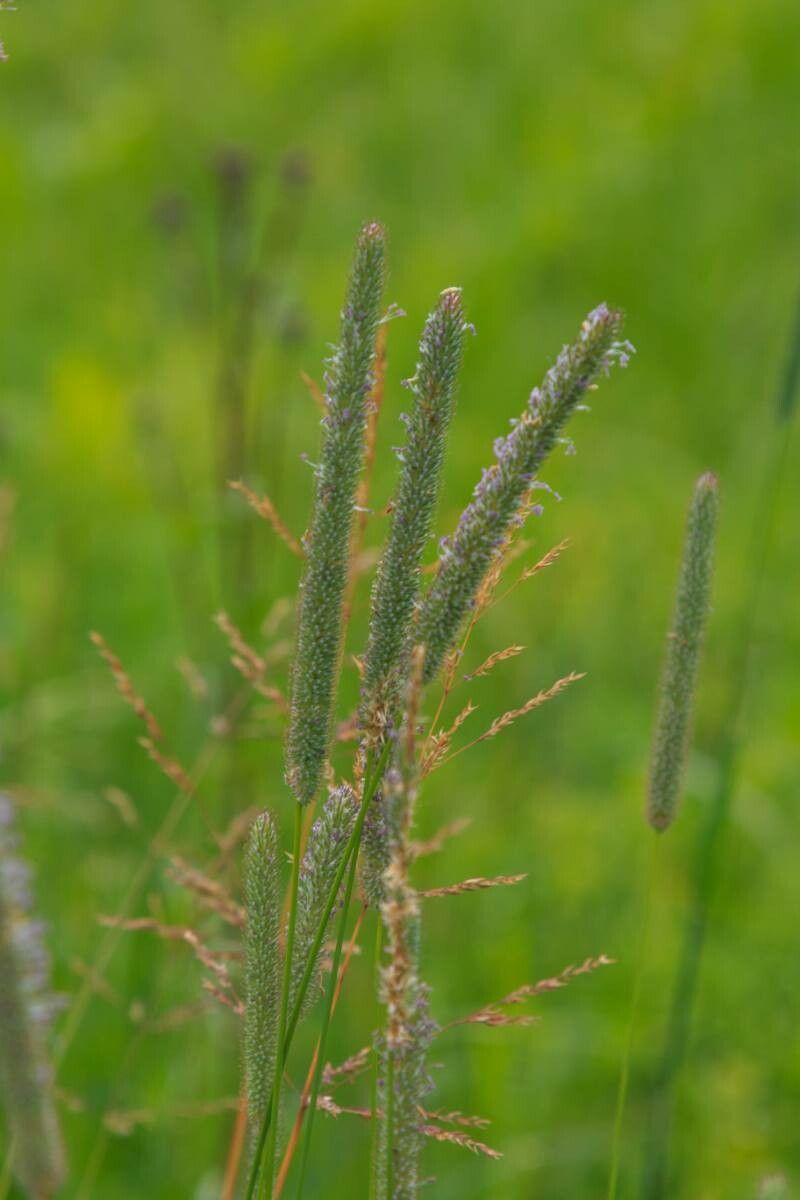
Oh, hello there! Come on in, grab a mug. I’m so glad you’re interested in Phleum pratense. You know, what we often call Timothy grass? It might not be the showiest bloom in the garden, but there’s a quiet beauty and a wonderful resilience to it that I just adore. It’s a staple for wildlife, a charming addition to a meadow planting, and honestly, there’s a real satisfaction in coaxing new life from an existing plant. Plus, I find it to be wonderfully forgiving, which makes it a lovely one to learn propagation with.
The Best Time to Start
For Timothy grass, the timing is key to getting those little ones off to a good start. I’ve found the very best time to propagate is in the early spring, just as the plant is waking up from its winter slumber. You’ll see new shoots emerging, and this is when the plant’s energy is really geared towards growth. Alternatively, you can also have good success with late summer or early fall, provided you give the new propagations enough time to establish before the cold weather sets in.
Supplies You’ll Need
Gathering your supplies ahead of time makes the whole process so much smoother. Here’s what I usually have on hand:
- Sharp pruning shears or a clean knife: For making nice, clean cuts.
- Potting mix: A well-draining blend is essential. I like to use a mix of equal parts peat moss or coir, perlite, and good quality compost.
- Small pots or seed trays: Clean ones, of course!
- Watering can with a fine rose: To avoid disturbing delicate new roots.
- Optional: Rooting hormone powder: While not strictly necessary for Timothy grass, it can give an extra boost.
- Optional: A heat mat: This can speed up root development, especially if your propagation area isn’t consistently warm.
Propagation Methods
Timothy grass is most easily propagated through division. Think of it like gently separating a happy family of plants into individual homes.
- Excavate Gently: In spring or late summer, carefully dig up your established Timothy grass plant. Try to disturb the root ball as little as possible. You can do this with a spade or a garden fork.
- Inspect the Roots: Gently shake away some of the excess soil. You’ll see where the plant has grown into multiple crowns or clumps.
- Divide with Care: Using your hands, or if it’s a bit stubborn, your pruning shears or a clean knife, carefully pull or slice the root ball apart into smaller sections. Each section should have at least a few healthy shoots and a good amount of root attached.
- Potting Up: Fill your clean pots with your well-draining potting mix. Make a small hole in the center of each pot.
- Plant Your New Divisions: Place one divided section into each pot, ensuring the crown (where the shoots emerge from the roots) is at soil level.
- Water Thoroughly: Water the pots gently but thoroughly until water drains from the bottom. This helps settle the soil around the roots.
The “Secret Sauce” (Pro Tips)
Now, here are a few little tricks I’ve picked up over the years that seem to make a difference:
- Don’t Drench, Just Damp: While you want the soil to be moist, avoid waterlogged conditions, especially when the plant is young. Overwatering is the fastest way to invite root rot. Aim for consistently damp soil, like a wrung-out sponge.
- Give Them a Warm Hug: If you’re propagating in cooler weather, placing your pots on a heat mat can significantly speed up root formation. It mimics that gentle warmth that encourages new growth. Just check the soil moisture more often when using a heat mat.
- Think About Airflow: Good air circulation is your friend. If you start noticing any signs of mildew or dampness on the foliage, ensure the area is well-ventilated. You can even gently fan them with a piece of cardboard for a few minutes each day.
Aftercare & Troubleshooting
Once your Timothy grass divisions are potted up, treat them like precious seedlings. Keep them in a bright spot but out of direct, harsh sunlight for the first week or two until they show signs of settling in. Water them regularly, allowing the top inch of soil to dry out between waterings.
The first sign of success is new green shoots emerging vigorously from the crown. If you see your division looking really limp, yellowing excessively, or if the area around the base starts to look mushy and dark, that’s often a sign of rot. This usually means too much moisture and not enough drainage or airflow. If you spot rot, act fast. You might be able to salvage a healthier part of the division by carefully trimming away the affected tissue and repotting in fresh, drier mix.
A Encouraging Closing
Propagation can feel a little like magic, can’t it? Watching something new spring to life under your care is one of the most rewarding aspects of gardening. Be patient with your Timothy grass, nature has a rhythm of its own. Enjoy the process, learn as you go, and soon you’ll have plenty of this wonderful grass to spread around your own garden or share with friends. Happy planting!
Resource:
https://identify.plantnet.org/k-world-flora/species/Phleum%20pratense%20L./data