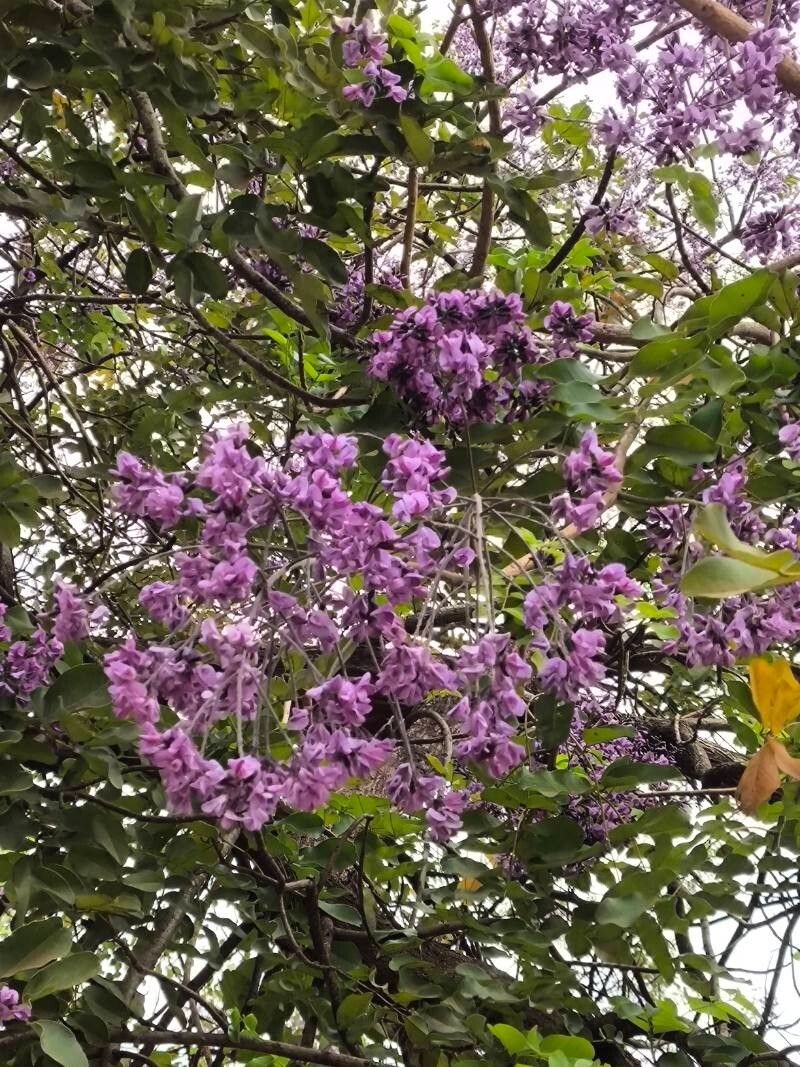
Hey there, fellow plant lovers! It’s so good to have you here. Today, we’re diving into the wonderful world of propagating Vatairea macrocarpa – that stunning tree with its gorgeous blossoms and impressive stature. There’s something truly magical about taking a piece of a beloved plant and coaxing it to grow into a whole new one. It’s a rewarding journey, and while Vatairea macrocarpa can be a bit of a diva, with a little know-how, you’ll be well on your way to success. It’s not the easiest plant for absolute beginners, but don’t let that deter you! Think of it as a lovely challenge that yields beautiful results.
The Best Time to Start
When it comes to getting the most bang for your buck, timing is everything! For Vatairea macrocarpa, the sweet spot for propagation is during its active growing season. Think late spring through summer. This is when the plant is full of energy, making it more receptive to rooting and establishing itself. Look for healthy, vigorous new growth – that’s your golden ticket.
Supplies You’ll Need
Before we get our hands dirty, let’s gather our essentials:
- Sharp Pruning Shears or a Clean Knife: For making clean cuts. No crushing leading edges!
- Rooting Hormone: This is a lifesaver, especially for trickier plants. I prefer a powder form, but gel works too.
- Well-Draining Potting Mix: A good blend for this is about 50% peat moss or coco coir and 50% perlite or coarse sand. You want it to drain like a sieve.
- Small Pots or Seedling Trays: Clean ones, please!
- Clear Plastic Bags or a Propagator: To create a humid environment.
- Watering Can with a Fine Rose: For gentle watering.
Propagation Methods
Let’s get down to business! For Vatairea macrocarpa, stem cuttings are generally your best bet.
Stem Cuttings:
- Select Your Stem: Find a healthy, semi-hardwood stem from your mature Vatairea macrocarpa. It should be about pencil thickness and have at least a few leaves. Avoid anything too soft and green or overly woody.
- Make the Cut: Using your sharp pruning shears or knife, take a cutting that’s about 4-6 inches long. Make the cut just below a leaf node (where a leaf attaches to the stem).
- Prepare the Cutting: Gently remove the lower leaves, leaving just a couple at the very top. This prevents them from rotting in the soil. If the remaining leaves are very large, you can cut them in half horizontally to reduce water loss through transpiration.
- Apply Rooting Hormone: Dip the cut end of the stem into your rooting hormone, tapping off any excess.
- Plant the Cutting: Make a hole in your prepared potting mix with a pencil or your finger. Insert the cutting so that the leaf nodes you removed are buried in the soil. Gently firm the soil around the stem.
- Provide Humidity: Water thoroughly until water drains from the bottom of the pot. Then, cover the pot with a clear plastic bag or place it in a propagator. Make sure the leaves don’t touch the plastic – you can use little stakes to prop it up.
- Find a Cozy Spot: Place the pot in a bright location that receives indirect sunlight. Avoid direct sun, which can scorch your delicate cutting.
The “Secret Sauce” (Pro Tips)
Here are a few tricks I’ve learned over the years that can really boost your success with Vatairea macrocarpa:
- The Bottom Heat Boost: If you can, place your potted cuttings on a heat mat. This gentle warmth from below encourages root development much faster. It’s like a cozy underfloor heating for your plant babies!
- Don’t Overwater, But Keep it Moist: This is crucial. The soil should feel consistently moist, like a wrung-out sponge, but never soggy. Check it regularly and water when the top inch feels dry. Overwatering is the fast track to rot.
- Consider an Air Layering Attempt: For Vatairea macrocarpa, sometimes air layering can be more successful than cuttings. This involves making a small cut on a healthy branch, applying rooting hormone, wrapping it with moist sphagnum moss, and then covering it all with plastic wrap. You leave it attached to the parent plant until roots form, then cut it off and pot it up.
Aftercare & Troubleshooting
Once you see new growth emerging, congratulations, you’ve likely got roots! This is a great sign. Keep the humidity high for a while longer, gradually decreasing it as the new plant hardens off. Slowly introduce it to brighter light.
Now, for the troubleshooting part. The most common issue you might face is rot. If your cutting turns black and mushy at the base, or the leaves yellow and drop off quickly, it’s likely due to overwatering or poor drainage. If you spot this early, you might be able to salvage it by taking a fresh cutting and ensuring your soil and watering practices are spot-on. Another sign of failure is simply no visible root growth after a long time. Don’t despair! Sometimes it just takes patience, or perhaps the conditions weren’t quite right. Give it a gentle tug – if there’s resistance, you have roots.
A Encouraging Closing
Propagating Vatairea macrocarpa is a journey of patience and observation. There might be a few bumps along the way, but each attempt teaches you something new. Be kind to yourself, enjoy the process of nurturing a new life, and celebrate every little sign of success. Happy propagating, friends!
Resource:
https://identify.plantnet.org/k-world-flora/species/Vatairea%20macrocarpa%20(Benth.)%20Ducke/data