Well hello there, fellow plant lover! It’s so lovely to have you join me today. We’re going to dive into something truly special: propagating Wilkiea austroqueenslandica. If you’ve ever seen this Queensland native gracing a garden, you’ll understand its allure. With its handsome, glossy leaves and those delightfully unique, starry flowers that emerge in clusters, it’s a real conversation starter. Growing your own from scratch? That’s a satisfaction point all its own. Now, for those of you just starting your propagation journey, I’ll be honest: Wilkiea can be a little bit fussy, but don’t let that deter you! With a bit of tender loving care and this guide, you’ll be well on your way.
The Best Time to Start
My absolute favorite time to take cuttings of Wilkiea is in late spring to early summer. This is when the plant is actively growing and putting on a lot of new energy after the cooler months. The stems are usually more pliable and have a better chance of rooting successfully. You’re looking for semi-hardwood cuttings, which means the stem is no longer brand-new and floppy, but not yet completely woody and firm. It should have a bit of give when you gently bend it.
Supplies You’ll Need
Gathering your tools beforehand makes the whole process so much smoother. Here’s what I always have on hand:
- Sharp, clean pruning shears or a sterile knife: A clean cut is essential for preventing disease.
- Rooting hormone (optional but recommended): This can give your cuttings a real boost. I prefer a liquid or powder form.
- A well-draining potting mix: I like to use a mix of perlite and coco peat, or a commercial seed-starting mix. Avoid heavy garden soil.
- Small pots or propagation trays: Make sure they have drainage holes!
- A plastic bag or propagation dome: This helps maintain humidity around your cuttings.
- Watering can with a fine rose: For gentle watering.
- Labels and a pen: To keep track of what you’ve potted and when.
Propagation Methods
Let’s get our hands dirty! The most reliable way to propagate Wilkiea austroqueenslandica is through stem cuttings.
- Select Your Cuttings: On a healthy, established Wilkiea plant, identify those lovely semi-hardwood stems. Look for growth from the current season.
- Make the Cut: Using your sharp shears, take cuttings that are about 10-15 cm long. Make the cut just below a leaf node (where a leaf meets the stem). This is where roots are most likely to form. Remove the lower leaves, leaving just a couple at the very top.
- Prepare the Cutting: If you’re using rooting hormone, dip the cut end into the powder or liquid, tapping off any excess.
- Potting Up: Fill your small pots or trays with your prepared potting mix. Make a small hole with your finger or a pencil.
- Planting: Gently insert the cut end of your Wilkiea cutting into the hole, ensuring the leaf nodes that will be below the soil are covered. Firm the soil gently around the stem. Give it a light watering.
- Creating the Humid Environment: Now, this is key! Cover the pot with a clear plastic bag, propped up with sticks or skewers so it doesn’t touch the leaves, or pop on a propagation dome. This creates a wonderfully humid microclimate.
The “Secret Sauce” (Pro Tips)
Every plant has its little quirks, and Wilkiea is no exception. Here are a few things I’ve learned over the years that really help:
- Don’t let the leaves touch the water… or the soil if you can help it! When you water your cuttings, water gently. If any leaves get waterlogged and sit on the soil surface, they’re more prone to rot. For the plastic bag method, ensure it’s lifted off your cuttings so air can circulate a bit.
- Bottom heat is a game-changer. Wilkiea roots much more readily when the soil is warm. If you have a heat mat designed for seedlings and cuttings, place your pots on it. This gentle warmth from below encourages root development without overheating the top growth.
- Patience is truly a virtue. Sometimes, cuttings can take a while to show signs of life. Don’t be tempted to dig them up to check for roots every other day! Trust the process. I usually give them at least 6-8 weeks before I start to worry.
Aftercare & Troubleshooting
Once you start seeing new leaf growth or feel a gentle tug when you lightly pull on the cutting, congratulations! Roots are forming.
- Gradually Acclimate: Slowly start to introduce your new little Wilkiea to drier air. This means taking the plastic bag off for short periods at first, then longer. You can eventually remove it completely.
- Continue Gentle Watering: Keep the potting mix consistently moist, but never waterlogged. Overwatering is still enemy number one.
- Move to a Brighter Spot: Once established, your new plant can be moved to a spot with bright, indirect light.
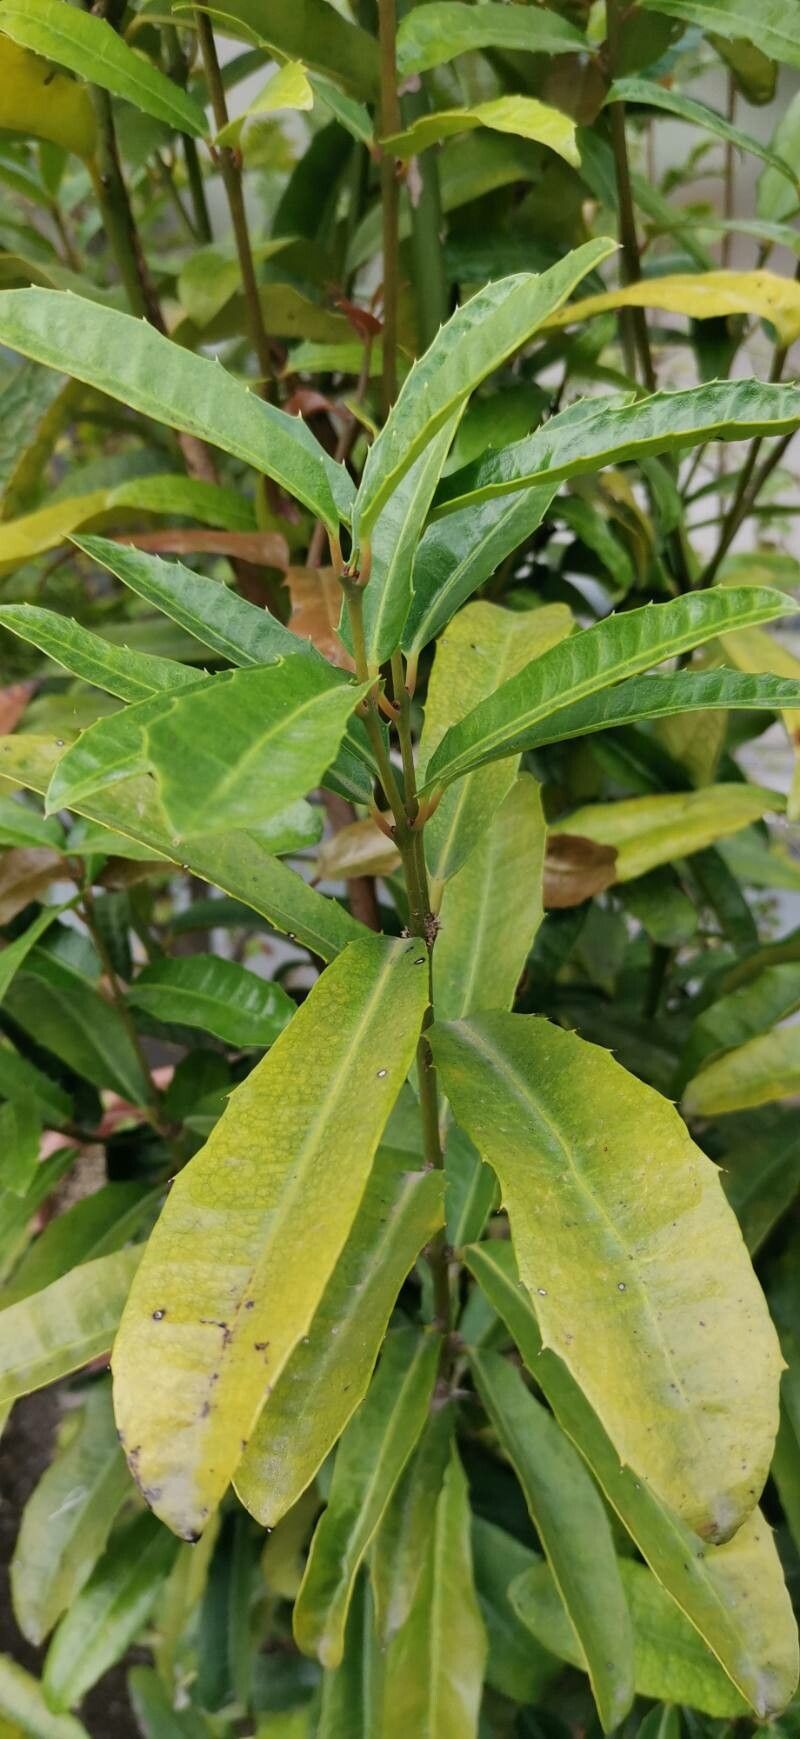
- Troubleshooting: Rot is the most common issue. If your cutting turns black and mushy, it’s likely rot setting in. This usually happens from too much moisture and poor air circulation. Unfortunately, if rot takes hold, the cutting is usually lost. Prevention is key, so always remember that well-draining mix and not overwatering. Yellowing leaves can sometimes mean it needs a little more light, or it could be a sign of stress.
A Closing Thought
Bringing a new Wilkiea to life is such a rewarding experience that really connects you with nature’s cycles. Don’t get discouraged if your first attempt isn’t perfect. Gardening is a journey of learning and observation. Be patient with your cuttings, observe them closely, and enjoy the small victories. Happy propagating!
Resource:
https://identify.plantnet.org/k-world-flora/species/Wilkiea%20austroqueenslandica%20Domin/data