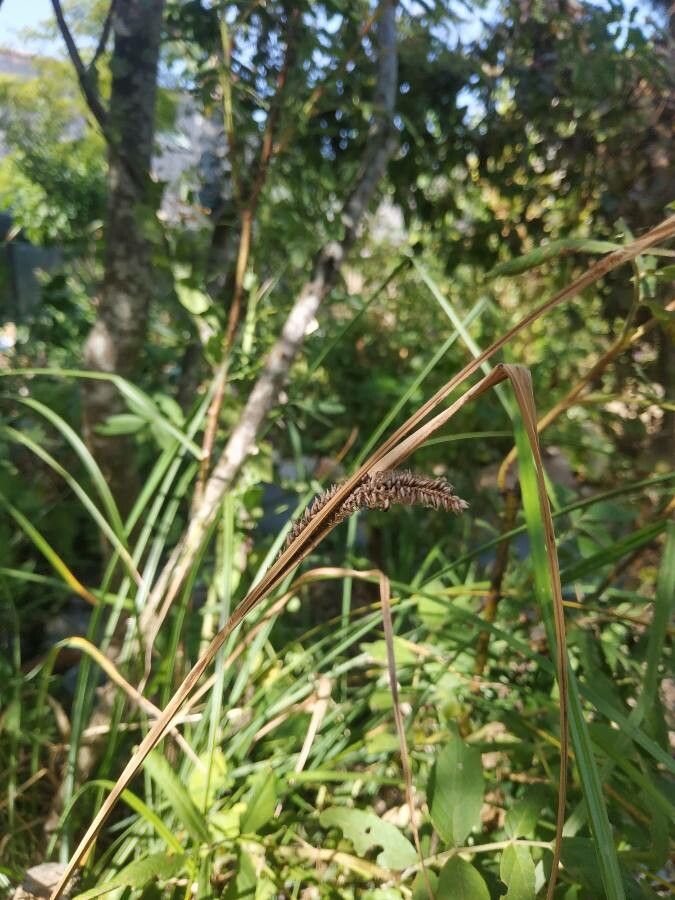
Oh, Carex barbarae! If you’ve ever admired those elegant, arching mounds of deep green foliage gracing a garden path or spilling over a container, you know exactly what I’m talking about. Also known as Barbara’s Sedge, this native California grass brings such a soft, natural beauty to any landscape. Growing your own from cuttings or divisions is incredibly rewarding. It’s a plant that really thrives on a bit of attention, and I’m happy to share how I bring more of this beauty into my garden. And for beginners? I’d say it’s quite approachable!
The Best Time to Start
When it comes to propagation, timing is everything. For Carex barbarae, my favorite time is late spring to early summer. This is when the plant is actively growing, full of energy, and has plenty of healthy new shoots to work with. You can also have success with divisions in early autumn, just as things start to cool down but before the serious chill sets in, giving the divisions a chance to establish before winter.
Supplies You’ll Need
Gathering your tools beforehand makes the whole process so much smoother. Here’s what I always have on hand:
- A sharp pair of rooting shears or clean pruning scissors. Cleanliness is paramount to prevent disease!
- A potting mix that’s well-draining. I like a mix of coarse sand, perlite, and a good quality compost or peat moss.
- Small pots or seedling trays with drainage holes.
- A labeling system – simple plant tags or even popsicle sticks work!
- (Optional but helpful) Rooting hormone powder or gel.
- (For division) A trowel or small shovel.
Propagation Methods
There are a couple of ways we can go about this, and both are quite effective.
1. Division (My Go-To for Established Plants)
This is probably the easiest method if you already have a mature Carex barbarae plant. It basically involves splitting a larger clump into smaller, viable pieces.
- Dig it Up: Gently dig out the entire clump. You can do this in spring or autumn.
- Clean Off Excess Soil: Gently shake or rinse off some of the soil so you can clearly see where the plant naturally wants to divide.
- Divide the Clump: Use your hands, a trowel, or even two garden forks placed back-to-back and twisted to carefully pull the clump apart. Aim for sections that have good roots and at least a few shoots.
- Replant Immediately: Get those divisions into their new pots or directly into the ground as soon as possible. Water them in well.
2. Stem Cuttings (A Bit More Patience, Higher Reward)
This method allows you to create entirely new plants from sections of existing ones.
- Take Your Cuttings: In late spring or early summer, locate healthy, new stems that are about 4-6 inches long. Cut just below a node (where a leaf attaches to the stem). Remove the lower leaves from the cutting, leaving just a few at the top.
- Apply Rooting Hormone (Optional): Dip the cut end into your rooting hormone powder or gel. This isn’t always strictly necessary for Carex but can give it a little boost.
- Plant Your Cuttings: Fill your small pots with your well-draining potting mix. Make a small hole with your finger and insert the cutting. Gently firm the soil around it.
- Water Gently: Water the soil thoroughly.
The “Secret Sauce” (Pro Tips)
Here are a few little tricks I’ve learned over the years that can really make a difference:
- If you are doing water propagation (which Carex can sometimes tolerate, though I prefer soil), make sure absolutely no leaves are submerged in the water. Leaves under the water will just rot and invite fungal problems.
- For cuttings, providing a bit of bottom heat can significantly speed up root development. A simple seedling heat mat placed under your pots can work wonders.
- Don’t be afraid to experiment! I’ve had success taking cuttings even when they weren’t perfectly soft and new. Sometimes a slightly more mature stem will root too. The key is healthy parent material.
Aftercare & Troubleshooting
Once your divisions are planted or your cuttings are in their pots, the real anticipation begins!
- Keep Them Moist: For both divisions and cuttings, keep the soil consistently moist but not waterlogged. This is crucial. Dryness will kill them quickly, but soggy conditions can lead to rot.
- Provide Light: Place your pots in a spot that gets bright, indirect light. Avoid direct, hot sun, especially for cuttings, as they don’t have roots yet to support them.
- Watch for Roots: With cuttings, you might see new shoots emerging after a few weeks – this is a good sign that roots are forming below. You can also give a very gentle tug; resistance means roots are developing. Divisions should perk up and start showing new growth.
- Troubleshooting: The most common issue is rot. If you see mushy stems or leaves turning yellow and falling off rapidly, it’s likely due to overwatering. Ensure excellent drainage and hold back a little on the watering can. If a cutting just looks limp and sad and doesn’t respond to watering, it might not have rooted.
A Encouraging Closing
Propagating Carex barbarae is a lovely way to multiply your garden’s beauty and share it with others. Be patient with the process; nature has its own rhythm. Don’t be discouraged if a few don’t make it – that’s part of learning! Simply enjoy the journey and the satisfaction of nurturing new life. Happy gardening!
Resource:
https://identify.plantnet.org/k-world-flora/species/Carex%20barbarae%20Dewey/data