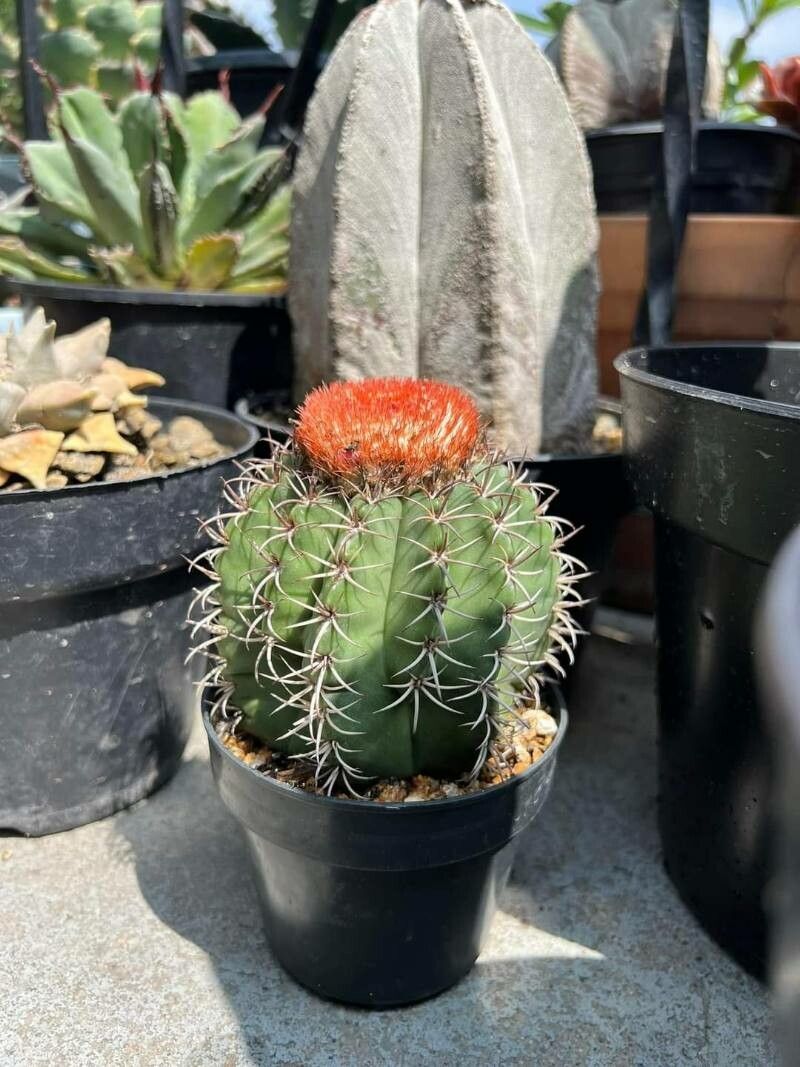
Oh, hello there! Pull up a chair and let’s talk about one of my favorite cacti: the Melocactus matanzanus, or the Miniature Turk’s Cap Cactus. It’s got this wonderful, almost cartoonish charm with its ribbed body and that iconic woolly cephalium on top that looks like a fuzzy red hat. Seeing a new little one sprout is just… pure joy. It’s not the trickiest plant in the world, but it definitely falls into the “rewarding challenge” category, especially for us hobbyists.
The Best Time to Start
Spring is usually your golden ticket for pretty much any plant propagation, and our little Melocactus is no exception. You want to catch it when it’s actively growing. Think of it as starting a new adventure when your plant has the most energy to put into it. Avoid trying this during its dormant period in winter; it’s like asking someone to run a marathon after a long nap – not ideal!
Supplies You’ll Need
You don’t need a whole laboratory, just a few thoughtful items.
- Well-draining potting mix: I like a custom blend of coarse sand, perlite, and your standard cactus/succulent soil. Think gritty!
- Sharp, sterilized pruning shears or a clean knife: Hygiene is key to preventing nasty infections. A quick pass with rubbing alcohol is all it takes.
- Rooting hormone (optional, but helpful): A little powdered magic can give cuttings a boost.
- Small pots or seed trays: Clean ones, of course.
- Labels and a permanent marker: So you know what you grew and when!
- Spray bottle: For gentle misting.
- Warm, bright location: Think indirect sunlight and a cozy spot.
Propagation Methods
Melocactus matanzanus is often propagated from offsets, those little baby cacti that sometimes appear at the base of the mother plant, or by separating the cephalium, though this is more advanced and risky, so let’s focus on offsets for now.
Propagating from Offsets
This is the most straightforward and successful method I’ve found for this particular cactus.
- Wait for the offsets to mature: You want to see a decent-sized little cactus, ideally about an inch or so tall, that has its own root system starting to form at the base. This might take a while, so patience is a virtue here.
- Gently remove the offset: Using your sterilized knife or shears, carefully separate the offset from the mother plant. Try to get as many of its own roots as possible. If you have to cut into the mother plant, make a clean cut.
- Allow to callus: This is SUPER important. Place the offset in a dry, warm spot out of direct sun for at least 3-5 days. You’ll see a dry, scab-like layer form over the cut. This prevents rot when you plant it. Don’t skip this step!
- Plant the offset: Once callused, gently place your offset into your very well-draining potting mix. You can tuck in the base just enough so it stands upright. Don’t bury it too deep; you want that callused area exposed.
- Resist the urge to water immediately: Wait another week or so before giving its first light watering. You want the wound to be completely healed.
The “Secret Sauce” (Pro Tips)
Here are a couple of tricks I’ve picked up over the years that seem to make a difference.
- Gentle watering is crucial: When you do water, don’t soak the soil for the first few weeks. A light misting from your spray bottle or a very gentle watering from the bottom of the pot is best. You want to encourage roots to seek out moisture, not drown them.
- A touch of bottom heat can be your best friend: If you happen to have a seedling heat mat, placing your pots on it (at a low setting, of course) can really speed up root formation. It mimics that lovely warm earth you find in its native habitat.
Aftercare & Troubleshooting
Once your offset is planted and has had its first few drinks, keep it in a warm, bright spot with indirect light. As it starts to show signs of new growth – maybe a tiny bit of plumpness or even a new little rib forming – you know it’s rooting!
The biggest enemy of propagating cacti is rot. If you notice your offset becoming soft, mushy, or darkening, it’s likely rot. The best thing to do is act fast. If it’s just starting, you might be able to cut away the rotted parts with your sterilized knife and let the healthy piece callus again. If it’s too far gone, unfortunately, it’s best to discard it to prevent the rot from spreading. Overwatering is the usual culprit, so remember: less is more with these guys, especially when they’re young.
A Little Encouragement
Propagating any plant is a journey, and with Melocactus matanzanus, it’s a particularly delightful one. There will be moments when you wonder if it’s working, and that’s perfectly normal. Be patient, trust the process, and celebrate every tiny sign of success. Happy growing!
Resource:
https://identify.plantnet.org/k-world-flora/species/Melocactus%20matanzanus%20León/data