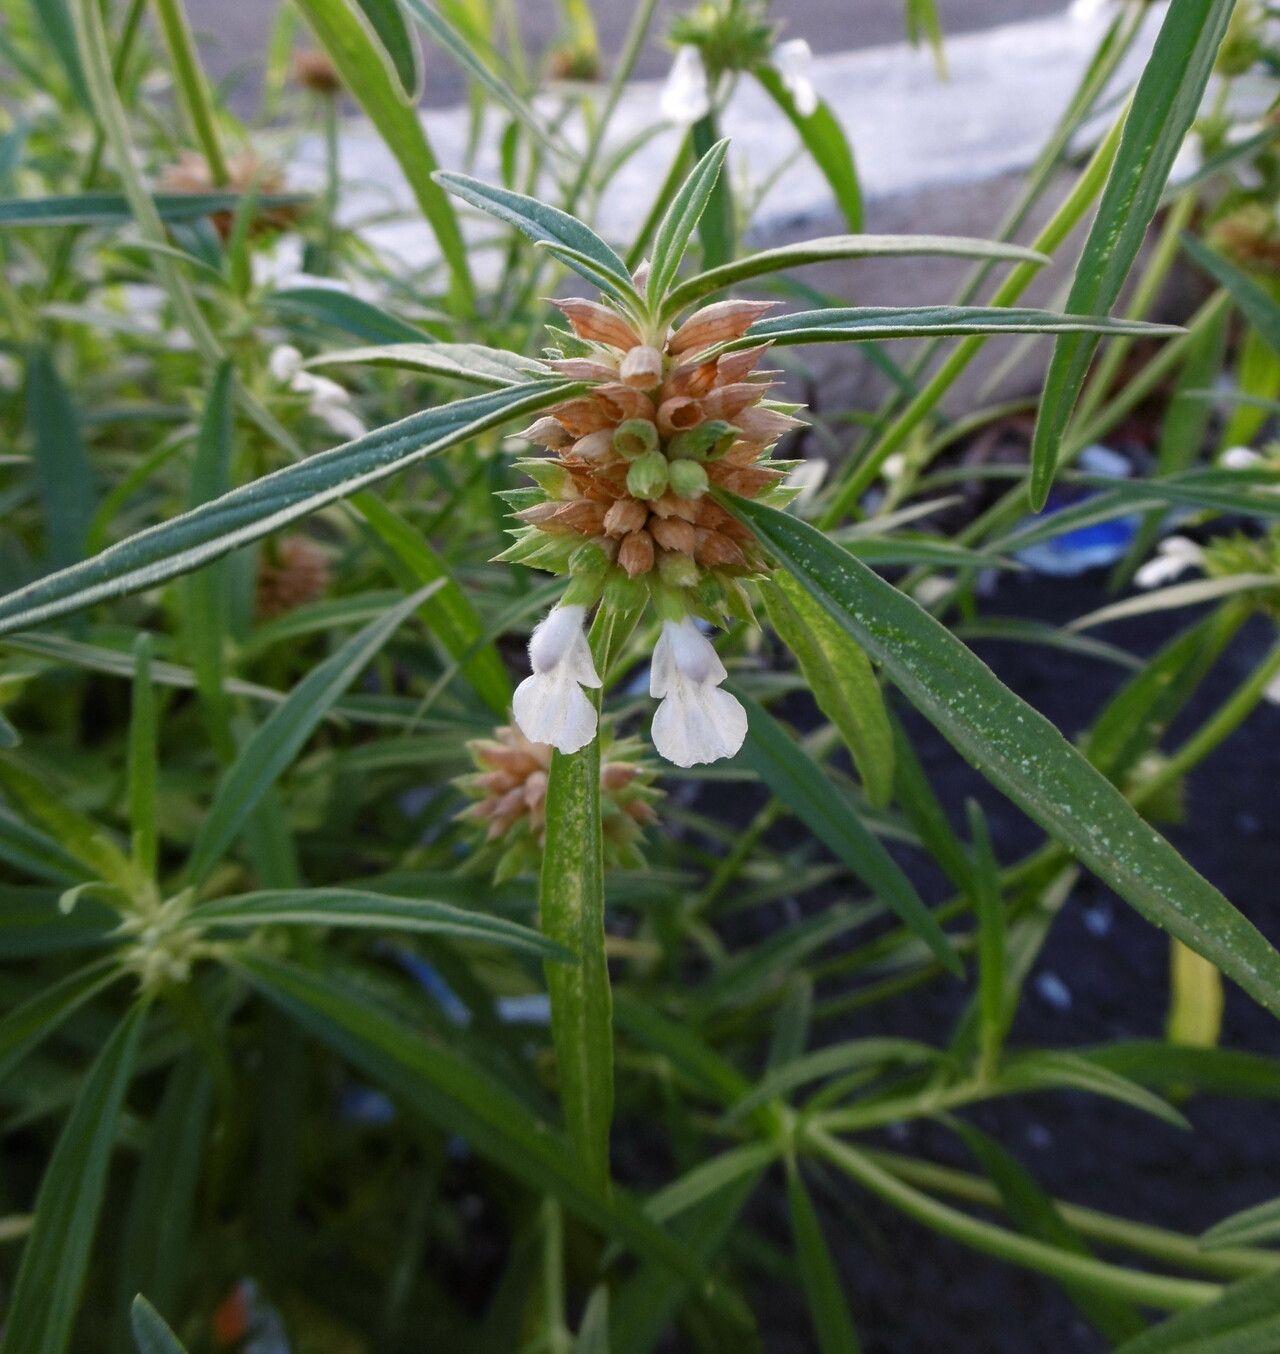
Hey there, fellow plant lovers! I’m so excited to chat with you today about a truly charming plant: Leucas aspera. You might know it as Thumba or Gobbi soppu. This little gem is absolutely stunning with its delicate white flowers and lovely, soft foliage. It’s got this wonderful, airy feel that just brightens up any garden space.
And the best part? Propagating Leucas aspera is an incredibly satisfying way to multiply your greenery. It’s definitely one of those plants that’s surprisingly easy for beginners, which makes it a fantastic choice if you’re just starting your propagation journey. Seeing those tiny roots sprout is pure magic!
The Best Time to Start
When it comes to getting the best results, spring and early summer are your golden ticket. That’s when the plant is actively growing and has plenty of energy to put into developing new roots. Think of it as the plant hitting its stride – perfect for giving it a little boost to create more of itself! You want to gather your cuttings from healthy, vigorous stems that aren’t flowering just yet.
Supplies You’ll Need
Gathering your tools makes the whole process smooth sailing. Here’s what I usually have on hand:
- Sharp, clean pruning shears or a knife: This is crucial for making clean cuts that heal well.
- A good quality potting mix: I prefer a well-draining mix, often a blend of peat moss, perlite, and a bit of compost. You can also find specific seed-starting mixes.
- Small pots or seed trays: Whatever you have that’s clean and has drainage holes.
- Rooting hormone (optional but helpful): A bit of rooting powder can really give your cuttings a head start.
- A watering can or spray bottle: For gentle watering.
- A plastic bag or cloche: To create a humid environment for your cuttings.
Propagation Methods
Let’s get our hands dirty! I find that stem cuttings are the most reliable way to propagate Leucas aspera.
Stem Cuttings:
- Select Your Cuttings: On a healthy Leucas aspera plant, look for non-flowering stems. Aim for cuttings that are about 4-6 inches long.
- Make the Cut: Using your sharp pruning shears, make a clean cut just below a leaf node (where the leaf attaches to the stem).
- Prepare the Cutting: Gently remove the lower leaves. You only want to leave a couple of leaves at the very top. This prevents rot and allows the plant to focus its energy on root development.
- Dip in Rooting Hormone (Optional): If you’re using rooting hormone, dip the cut end of the stem into the powder, tapping off any excess.
- Plant Your Cuttings: Fill your small pots with your prepared potting mix. Make a small hole in the center with your finger or a pencil, and insert the cutting. Gently firm the soil around the stem.
- Water Gently: Water the soil lightly to settle it around the cutting.
The “Secret Sauce” (Pro Tips)
Over the years, I’ve learned a few little tricks that really boost success rates.
One thing I always do is dip the cut end in cinnamon powder if I don’t have rooting hormone. It’s a natural antifungal and can help prevent rot, plus most kitchens have it on hand!
Also, don’t overcrowd your pots. Give each cutting a little breathing room. This improves air circulation, which is key to preventing fungal issues. Overcrowding can lead to damp, stagnant air, and that’s a recipe for rot.
And for a real boost, especially if your home is on the drier side, I highly recommend using bottom heat. A heating mat designed for seedlings can make a world of difference. It encourages root growth from below, mimicking the warmth of spring soil.
Aftercare & Troubleshooting
Once your cuttings are planted, it’s time for a little TLC.
Keep the soil consistently moist but not waterlogged. Think of it as a wrung-out sponge. You can check the moisture by gently poking your finger into the soil.
Create a humid environment. I usually pop a clear plastic bag over the pot, making sure the leaves don’t touch the sides. You can also use a cloche or a propagator. Open it up for a few minutes each day to allow for air exchange.
You’ll know your cuttings have rooted when you see new leaf growth, or you can gently tug on the stem, and it offers slight resistance. This usually takes a few weeks. Once roots have formed, you can gradually introduce them to normal conditions and transplant them into larger pots when they are ready.
Keep an eye out for signs of rot, like mushy stems or leaves turning yellow and wilting despite moist soil. If you see this, you might need to increase air circulation and ensure you’re not overwatering. Unfortunately, sometimes a cutting just doesn’t take, and that’s okay! It’s all part of the learning process.
A Encouraging Closing
And there you have it! Propagating Leucas aspera is a wonderful way to fill your garden with these beautiful blooms. Be patient with your new little plants – nature has its own timetable. Enjoy the process, celebrate every little bit of progress, and before you know it, you’ll have a whole host of Leucas aspera to share and enjoy. Happy gardening!
Resource:
https://identify.plantnet.org/k-world-flora/species/Leucas%20aspera%20(Willd.)%20Link/data