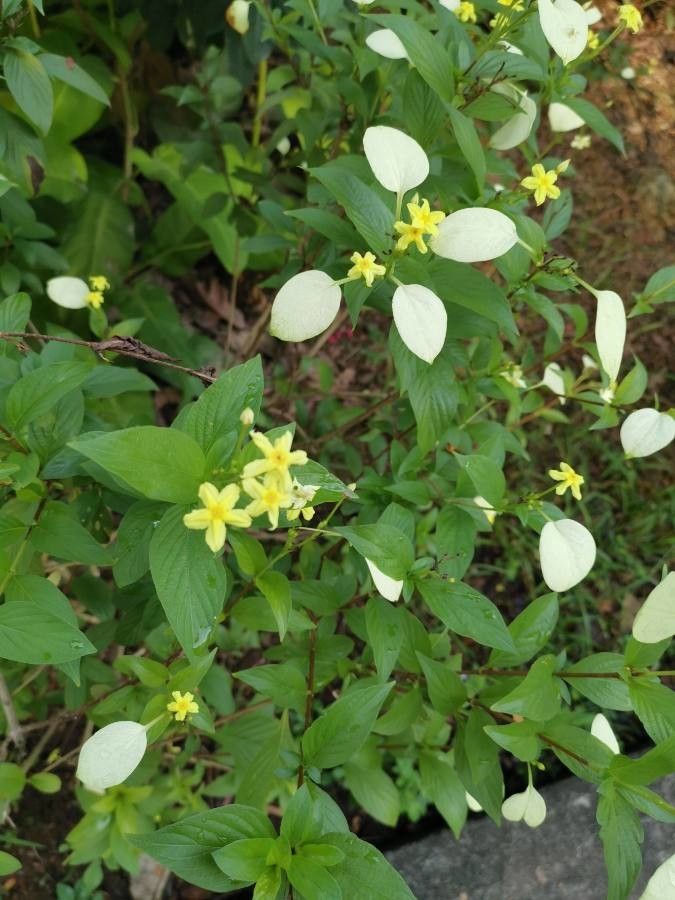
Hello, fellow plant enthusiasts! If you’ve ever been captivated by the vibrant splashes of color from a Mussaenda glabra gracing a garden, you’re in for a treat. These beauties, with their showy colorful bracts that truly steal the show (not so much the tiny flowers!), are a joy to behold. And the best part? You can easily bring that joy into your own space by propagating them! It’s a wonderfully rewarding process, and I’m happy to say, Mussaenda glabra is quite forgiving, making it a great choice for beginners looking to expand their plant family.
The Best Time to Start
When it comes to Mussaenda glabra, spring is your golden ticket. That’s when the plant is in its most vigorous growth phase. You want to take cuttings from healthy, new growth that’s starting to firm up a bit – not the super-soft, floppy tips, nor the old, woody stems. Think of it as taking cuttings from that “just right” stage.
Supplies You’ll Need
Before we get our hands dirty, let’s gather our arsenal:
- Sharp Pruning Shears or a Knife: Cleanliness is key to prevent disease.
- Rooting Hormone (Optional but Recommended): This little helper can significantly boost your success rate. Look for one formulated for stem cuttings.
- Well-Draining Potting Mix: A mix of equal parts perlite or vermiculite and a good quality potting soil works wonderfully. Or, a peat-based seed starting mix is also a good option.
- Small Pots or Seed Trays: Clean ones are a must!
- Plastic Bag or Humidity Dome: To create a mini-greenhouse effect.
- Watering Can with a Fine Rose or a Spray Bottle: Gentle watering is essential.
Propagation Methods
I find stem cuttings to be the most reliable and straightforward method for Mussaenda glabra. Here’s how I do it:
-
Take Your Cuttings: On a bright morning, select a healthy stem. You’re looking for pieces that are about 4-6 inches long. Make a clean cut just below a leaf node (where a leaf attaches to the stem). This is where the magic happens for rooting. Remove the lower leaves, leaving just a few at the top. If your leaves are quite large, you can even trim them in half to reduce water loss.
-
Prepare for Rooting: Dip the cut end of the stem into your rooting hormone, tapping off any excess. If you’re not using rooting hormone, you can skip this step.
-
Plant Your Cuttings: Fill your small pots or trays with your prepared potting mix. Make a small hole in the center with your finger or a pencil and insert the cut end of your Mussaenda cutting. Gently firm the soil around the stem.
-
Water and Cover: Water the pot thoroughly until water drains from the bottom. Then, cover the pot with a plastic bag, creating a tent, or use a humidity dome. This traps moisture and keeps the leaves from drying out while the roots develop.
The “Secret Sauce” (Pro Tips)
Now, for a couple of little tricks that have served me well over the years:
-
Avoid Leaf-to-Soil Contact: This might sound small, but it’s crucial! Make sure none of the leaves are touching the potting mix. When leaves sit directly on damp soil, they’re much more prone to rotting before they can root. Keep them up, clean and dry.
-
Bottom Heat is Your Friend: If you can, place your potted cuttings on a gentle heat mat designed for plants. This warmth encourages root development from below, giving you a much faster and more robust rooting process. It mimics the warmth of spring soil beautifully.
Aftercare & Troubleshooting
Once your cuttings are potted and covered, the real waiting game begins! Keep the soil consistently moist but not soggy. You can test this by gently poking the soil with your finger. If it feels dry an inch down, it’s time for a little water. Place your pots in a bright spot, but out of direct, harsh sunlight.
You’ll start to see signs of success in about 4-8 weeks. Look for new leaf growth at the top of the stem. You can also give the cutting a very gentle tug; if you feel resistance, roots have likely formed.
The most common issue you might encounter is rot. If your cutting turns black and mushy, it’s usually a sign of too much moisture and not enough air circulation. Unfortunately, a rotted cutting is a goner. If you see signs of rot, remove the affected cutting immediately to prevent it from spreading to others.
A Little Patience, A Lot of Joy
Propagating Mussaenda glabra is a fantastic way to multiply your enjoyment of these gorgeous plants. So, grab your shears, embrace the process, and don’t get discouraged if a few don’t make it. Each cutting is a lesson, and each success is a testament to your growing green thumb. Happy propagating!
Resource:
https://identify.plantnet.org/k-world-flora/species/Mussaenda%20glabra%20Vahl/data