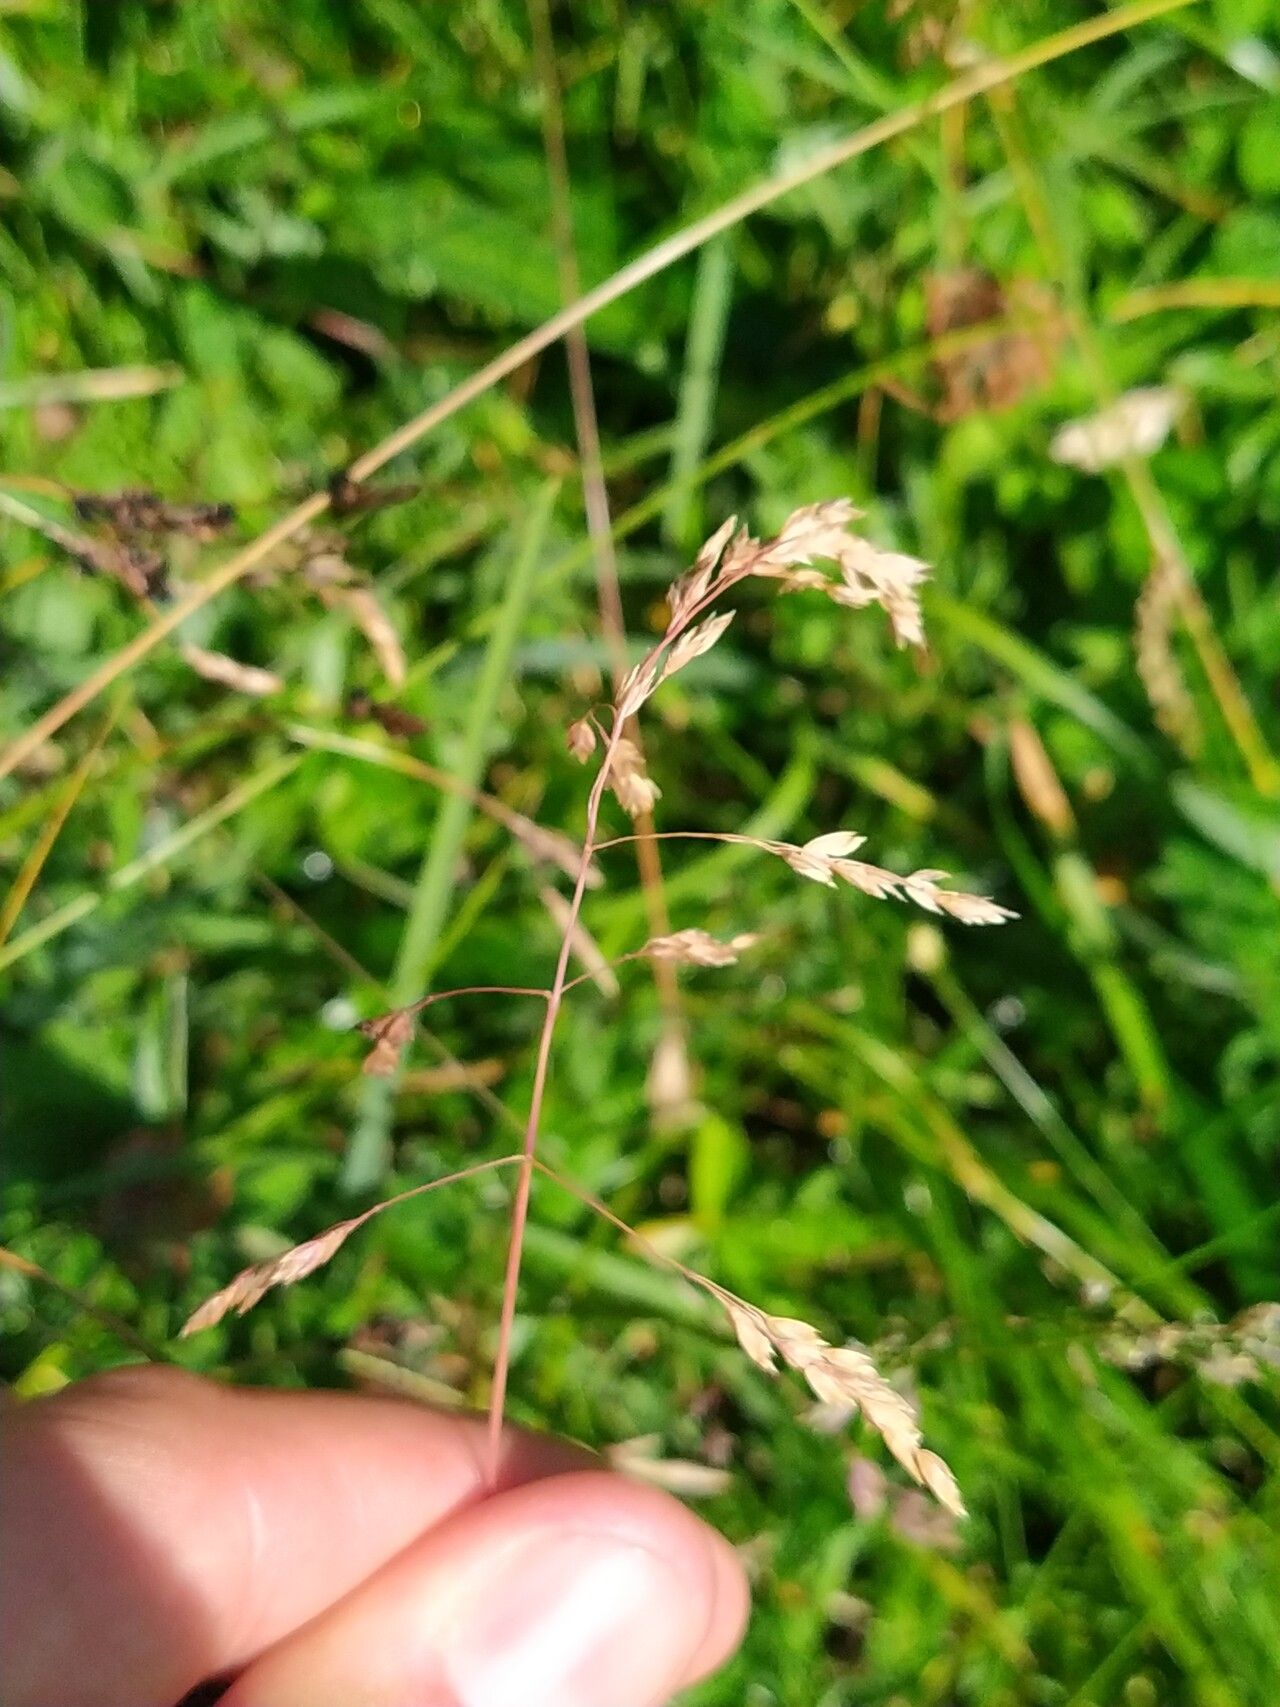
Hello, fellow garden lovers! I’m so excited to talk to you today about one of my favorite little plants: Poa minor. You might know it by its common name, Alpine Meadow Grass, or even just the cutest, most dainty ornamental grass you’ve ever seen. I’ve been nurturing Poa minor in my gardens for two decades now, and its delicate, upright habit and subtle charm never fail to bring a smile to my face.
Propagating Poa minor is a truly rewarding experience. It’s like giving the gift of greenery, and seeing a tiny, unassuming division burst into a full, lush clump is incredibly satisfying. For beginners, I’d say propagating Poa minor is quite accessible. It’s not one of those finicky plants that demands expert attention. With a little care and the right timing, you’ll be well on your way to expanding your collection or sharing these beauties with friends.
The Best Time to Start
When it comes to getting the most bang for your buck with propagation, spring is your best friend for Poa minor. As the weather warms up and your plants are just starting to shake off their winter slumber and show new growth, that’s the prime time. You’re looking for active, vigorous growth. Late winter can also work if you have a greenhouse or a really bright, warm spot indoors, but spring generally offers the easiest and most reliable results.
Supplies You’ll Need
Gathering your supplies beforehand makes the whole process much smoother. Here’s what I typically have on hand:
- Sharp, clean pruning shears or a small spade: For making clean cuts and dividing roots.
- Well-draining potting mix: A good blend of peat moss, perlite, and compost works wonderfully. You can also use a standard all-purpose potting mix with added perlite for better drainage.
- Small pots or trays: Whatever you have available will do, as long as they have drainage holes.
- Watering can with a fine rose: For gentle watering.
- Rooting hormone (optional but helpful): Especially if you’re taking stem cuttings or want to give divisions an extra boost.
- Labels or markers: To keep track of what you’ve propagated and when.
Propagation Methods
Poa minor is wonderfully versatile, and thankfully, propagation is straightforward. The most common and effective methods are division and stem cuttings.
1. Division: My Go-To Method
This is arguably the easiest and most forgiving way to propagate Poa minor.
- Gently unearth your plant: In early spring, carefully dig up your mature Poa minor clump. You don’t need to wrestle it out of the ground; a trowel or spade worked around the edges should do the trick.
- Clean off excess soil: Gently brush or rinse away some of the soil from the root ball. This makes it easier to see the natural divisions.
- Separate the clumps: Now, find where the plant naturally wants to split. You can often do this with your hands, gently teasing apart sections. If it’s a bit stubborn, use your clean pruning shears or spade to cut through the root ball, ensuring each division has a good amount of roots and some healthy foliage. Aim for divisions that are about the size of a golf ball or larger, with at least a few shoots.
- Pot them up: Plant each division into its own pot filled with your well-draining potting mix. Water them in thoroughly.
2. Stem Cuttings: A Bit More Patience Required
This method is great if you want to increase your numbers more rapidly or if you have a plant that isn’t quite ready for division.
- Take your cuttings: In late spring or early summer, when the plant is actively growing, select healthy, non-flowering shoots. Using your sharp shears, cut stems that are about 3-4 inches long. Make the cut just below a leaf node (where a leaf attaches to the stem).
- Prepare the cuttings: Remove the lower leaves from the stem, leaving only a few at the top. If you’re using rooting hormone, dip the cut end of the stem into it.
- Plant the cuttings: Fill a tray or small pots with your potting mix. Make small holes with a pencil or your finger, and insert the prepared cuttings. Gently firm the soil around them.
- Water and cover: Water the cuttings gently. To create a humid environment, which cuttings love, cover the tray or pots with a clear plastic bag or place them in a propagator. Ensure the bag doesn’t touch the leaves by propping it up with a few stakes if needed.
The “Secret Sauce” (Pro Tips)
Here are a couple of things I’ve learned over the years that make a big difference:
- Don’t overcrowd your divisions: When dividing, resist the urge to cram too many small pieces into one pot. Each division needs space to establish its roots without competing too fiercely. A slightly larger pot with a single, happy division is better than a crowded one.
- Embrace the bottom heat: For stem cuttings, if you can provide a little bit of gentle bottom heat – perhaps by placing the propagator on a heat mat designed for seedlings – you’ll significantly speed up the rooting process. It mimics the warmth of the soil after a spring shower.
Aftercare & Troubleshooting
Once your Poa minor babies are planted, their care is pretty straightforward.
- Watering: Keep the soil consistently moist, but not soggy. For divisions, water them in thoroughly and then water whenever the top inch of soil feels dry. For cuttings, mist them regularly and ensure the soil stays damp.
- Light: Place your newly potted divisions in a bright spot with filtered sunlight. Avoid direct, hot sun, which can scorch delicate new growth. Cuttings should also be in bright, indirect light.
- Rooting: Roots can take anywhere from a few weeks to a couple of months to establish, depending on the method and conditions. You’ll know they’re ready to be transplanted to their own larger pots or into the garden when you see new leaf growth and feel a gentle resistance when you tug lightly on the plant.
Now, what if things don’t go as planned? The most common pitfall is rot. This usually happens from overwatering or poor drainage. If you see your cutting turning mushy or your division’s leaves turning yellow and collapsing, it’s often a sign of too much moisture. Pull off any rotted parts, allow the soil to dry out completely, and try to water more judiciously going forward. Sometimes, a cutting just won’t take, and that’s okay too. Don’t get discouraged!
A Encouraging Closing
Growing plants is such a beautiful journey, and propagation is like being a part of that miracle. Be patient with your Poa minor propagations. Some will take off faster than others, and that’s perfectly normal. Enjoy the process, celebrate each new bit of green you bring into being, and before you know it, you’ll have a garden full of this enchanting grass. Happy gardening!
Resource:
https://identify.plantnet.org/k-world-flora/species/Poa%20minor%20Gaudin/data