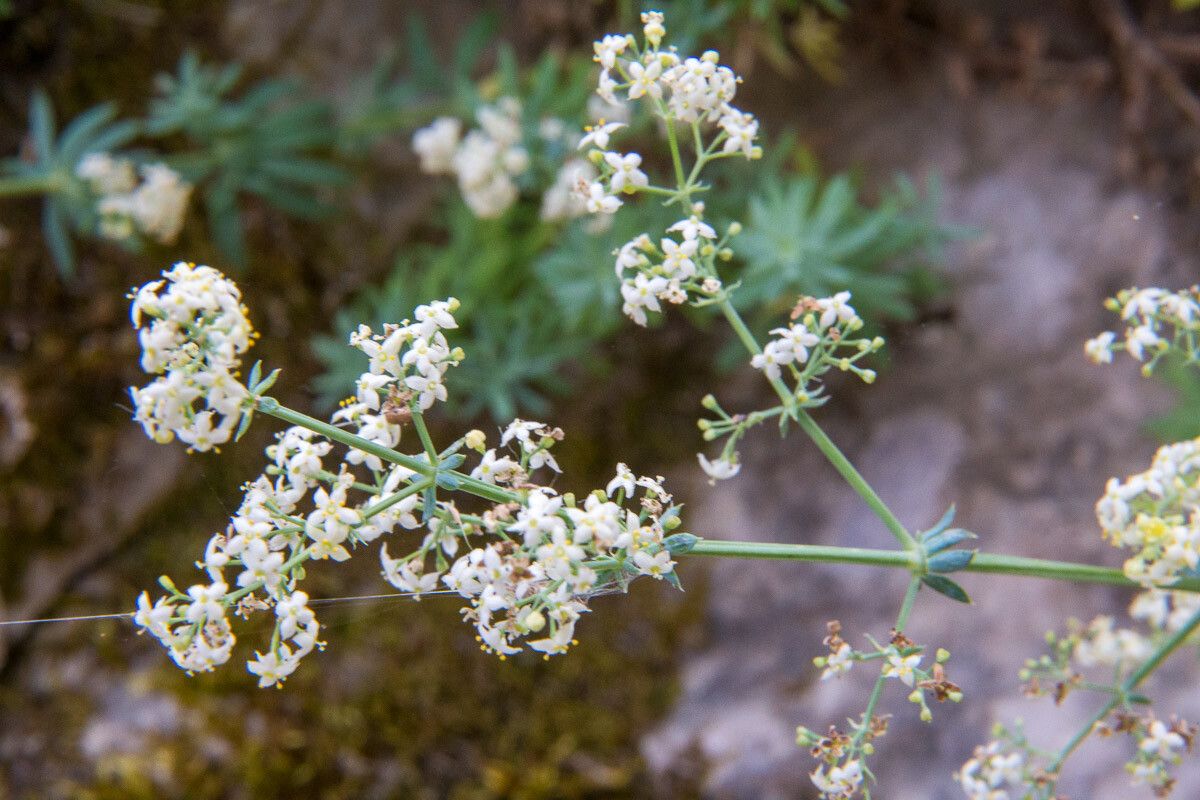
Oh, Galium, you beautiful, fragrant thing! If you’ve ever had the pleasure of encountering Galium aetnicum, you know exactly what I’m talking about. Its delicate, star-shaped white flowers and lovely scent make it a real charmer in any garden. And the best part? It’s surprisingly easy to share its beauty with friends (or just to fill up more of your own garden!).
Propagating Galium isn’t just about getting more plants; it’s about connection. It’s that delightful feeling of nurturing a tiny new life from a piece of the parent. For beginners, I’d say Galium is a wonderfully rewarding plant to start with. You’ll likely have great success!
The Best Time to Start
The sweet spot for propagating Galium aetnicum is definitely late spring or early summer. This is when the plant is actively growing, and the stems are not too woody but also not too soft and floppy. You want that perfect balance – vibrant energy ready to put down new roots.
Supplies You’ll Need
Gathering your tools beforehand makes the whole process much smoother. Here’s my little checklist:
- Sharp, clean pruning shears or a sharp knife. Sterilize them with rubbing alcohol before you start!
- A well-draining potting mix. I often use a 50/50 blend of peat moss or coco coir and perlite or coarse sand.
- Small pots or seed trays with drainage holes.
- Rooting hormone (optional, but can give an extra boost).
- A spray bottle filled with water.
- A clear plastic bag or dome to create a mini-greenhouse effect.
Propagation Methods
I find two methods work wonders for Galium aetnicum: stem cuttings and division.
Stem Cuttings
This is my go-to method for spreading Galium around.
- Select your cuttings: Look for healthy, non-flowering stems. You want pieces that are about 4-6 inches long.
- Make the cut: Using your sterilized shears, take a clean cut just below a leaf node (where a leaf attaches to the stem). This is where roots are most likely to form.
- Prepare the cutting: Gently remove the lower leaves from the stem, leaving just a few at the top. This prevents them from rotting when you insert the cutting into the soil.
- Apply rooting hormone (optional): Dip the cut end of the stem into your rooting hormone, tapping off any excess.
- Plant your cuttings: Make a small hole in your prepared potting mix with a pencil or your finger. Insert the cut end of the stem into the hole, ensuring the leaf nodes are buried. Gently firm the soil around the stem.
- Water and cover: Water the soil lightly until it’s moist but not soggy. Then, cover the pot with a clear plastic bag or a propagation dome to trap humidity.
Division
If you have an established clump, division is a fantastic way to get bigger, more mature plants quickly.
- Dig carefully: In the right season (late fall or early spring is best for this), gently dig up the entire plant.
- Gently tease apart: Using your fingers or a trowel, carefully separate the root ball into smaller sections. Each section should have a good amount of roots and some healthy foliage. Discard any parts that look dead or damaged.
- Replant immediately: Plant the divisions into their new spots in the garden or in pots, ensuring the roots are covered with soil. Water them in well.
The “Secret Sauce” (Pro Tips)
Here are a couple of tricks I’ve learned over the years that really make a difference:
- Bottom heat is your friend: For stem cuttings, placing the pots on a heated propagation mat can significantly speed up the rooting process. It mimics the warmth of spring soil after a rain.
- Don’t let leaves touch the water: If you happen to be trying water propagation (though I find soil cuttings more reliable for Galium), it’s crucial that no leaves are submerged. They’ll rot quickly and take the whole cutting down with them. Keep them just above the water line.
- Humidity is key for cuttings: That plastic bag or dome isn’t just for show. It creates a humid environment that stops the cuttings from drying out before they can form roots. Check it daily to make sure there’s no excessive condensation building up, which can lead to mold.
Aftercare & Troubleshooting
Once you see signs of new growth – tiny leaves emerging from the top or a gentle tug on the stem encountering resistance – you know roots are forming!
- Gradually acclimate: If you used a plastic bag, gradually increase ventilation by opening the bag a little more each day over a week. This prevents shock.
- Water as needed: Keep the soil consistently moist, but never waterlogged. Fingertest the soil – if the top inch feels dry, it’s time to water.
- Watch out for rot: The biggest enemy of cuttings is rot. If you see stems turning black and mushy, it’s usually a sign of overwatering or poor drainage. If it happens, discard the affected cuttings and check your soil mix and watering habits.
A Little Patience Goes a Long Way
Propagating plants is a journey, not a race. Enjoy the process of nurturing these little pieces of Galium. Be patient, observe your new plants, and celebrate every little bit of growth. Happy gardening!
Resource:
https://identify.plantnet.org/k-world-flora/species/Galium%20aetnicum%20Biv./data