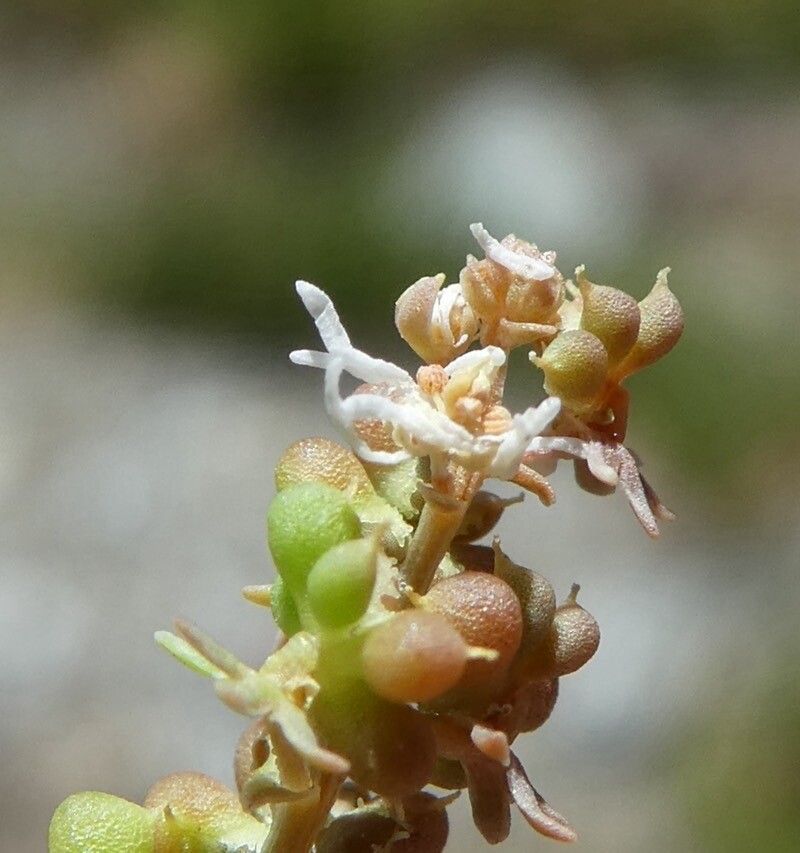
Oh, hello there! Pull up a chair. I’m so glad you’re interested in Sesamoides prostrata. This little gem is just delightful, isn’t it? With its delicate, trailing stems and sweet little flowers, it brings such a lovely touch of charm to any garden or even a sunny windowsill. And propagating it? Well, that’s where the real magic happens. It feels so rewarding to take a tiny piece and help it grow into a whole new plant. I’d say it’s moderately easy to propagate, which makes it a great project for most beginners looking to expand their green family.
The Best Time to Start
For Sesamoides prostrata, I’ve found the late spring to early summer is absolutely your sweet spot. The plant is usually in full swing of its growth spurt then, and the stems are generally more vigorous and receptive to rooting. You want to catch it when it’s actively producing new growth, not when it’s struggling through extreme heat or dormancy.
Supplies You’ll Need
Here’s what I always have on hand when I’m propagating:
- Sharp pruning shears or secateurs: Keep them clean!
- Rooting hormone (optional but recommended): A little boost never hurt anyone.
- Small pots or propagation trays: Whatever suits your space.
- Well-draining potting mix: I usually mix equal parts peat moss, perlite, and a little bit of seed-starting mix. You want something that drains beautifully.
- Watering can with a fine rose: Gentle watering is key.
- Plastic bags or a clear plastic dome: To create a humid environment.
- Labels: Trust me, you’ll thank me later when you forget what you planted where!
Propagation Methods
There are a couple of ways to get new Sesamoides prostrata plants, but my go-to is usually stem cuttings. It’s straightforward and yields great results.
Stem Cuttings:
- Take your cuttings: With your clean shears, take cuttings that are about 3-5 inches long from healthy, non-flowering stems. Look for stems that have new growth but are firm, not too soft or woody.
- Prepare the cutting: Gently remove the lower leaves from the cutting, leaving just a few at the top. If your cuttings are long, you can even cut them just below a leaf node (where a leaf attaches to the stem). This is where roots love to emerge.
- Dip in rooting hormone (optional): If you’re using rooting hormone, dip the cut end of the stem into the powder or gel. Tap off any excess.
- Pot them up: Fill your small pots or trays with your prepared potting mix. Make little holes with your finger or a pencil.
- Insert the cuttings: Gently insert the cut end of each Sesamoides prostrata cutting into the soil, making sure at least one leaf node is buried.
- Water gently: Water the soil thoroughly but gently to settle it around the cuttings.
- Create humidity: Cover the pots with a plastic bag or a clear dome. This is crucial for keeping the humidity high, which helps the cuttings from drying out before they can root. Make sure the leaves don’t touch the plastic too much.
The “Secret Sauce” (Pro Tips)
Now, for a few things I’ve learned over the years that make a real difference:
- Bottom Heat is Your Friend: If you have a propagation mat or even just a windowsill that gets lovely warmth without direct scorching sun, placing your pots on it can significantly speed up rooting. Those young roots just love a cozy start!
- Don’t Overwater, But Don’t Let Them Dry Out: It’s a delicate balance. You want the soil to be consistently moist but never soggy. Soggy soil is the fast track to rot. I often check by gently poking my finger into the soil. If it feels dry an inch down, it’s time for a drink.
- Patience is a Virtue (and Sometimes a Necessity): Some plants root in a week, others take a month or more. I’ve found Sesamoides prostrata can be a bit on the slower side sometimes, especially if the conditions aren’t absolutely perfect. Resist the urge to tug on them to “check for roots” too early!
Aftercare & Troubleshooting
Once you see signs of new growth – tiny leaves unfurling or a little new stem appearing – that’s your cue that roots are forming!
- Gradual Acclimation: Slowly introduce your newly rooted plants to less humid conditions. You can do this by gradually opening the plastic bag or lifting the dome for longer periods each day over a week or so.
- Continued Gentle Watering: Keep watering gently, allowing the top layer of soil to dry slightly between waterings.
- Transition to a Slightly Larger Pot: Once they have a decent root system (you might see roots peeking out of the drainage holes), you can pot them up into slightly larger containers. Use that same well-draining mix.
Now, for the tricky bits. The most common issue you’ll run into is rot. If a cutting turns black and mushy, it’s usually a sign of too much moisture and not enough air circulation. If this happens, sadly, that cutting is probably lost. You can try to take more cuttings and be extra careful about watering and humidity. Another sign of failure can be wilting that doesn’t improve, which often points to the cutting drying out too quickly. Double-check your humidity cover and perhaps reconsider the temperature.
A Encouraging Closing
Propagating plants is such a wonderful way to connect with nature and expand your own green haven. Be patient with your Sesamoides prostrata, celebrate every little bit of progress, and don’t be discouraged if you have a few casualties along the way. Each attempt is a learning experience! Happy propagating, my friend!
Resource:
https://identify.plantnet.org/k-world-flora/species/Sesamoides%20prostrata%20(Boiss.)%20G.López/data