Hello, fellow plant lovers! It’s so nice to be sharing a cup of coffee (or perhaps some herbal tea!) with you today. We’re going to dive into a topic that brings me so much joy: making more of our favorite plants. And today, we’re talking about the delightfully charming Pilea glabra.
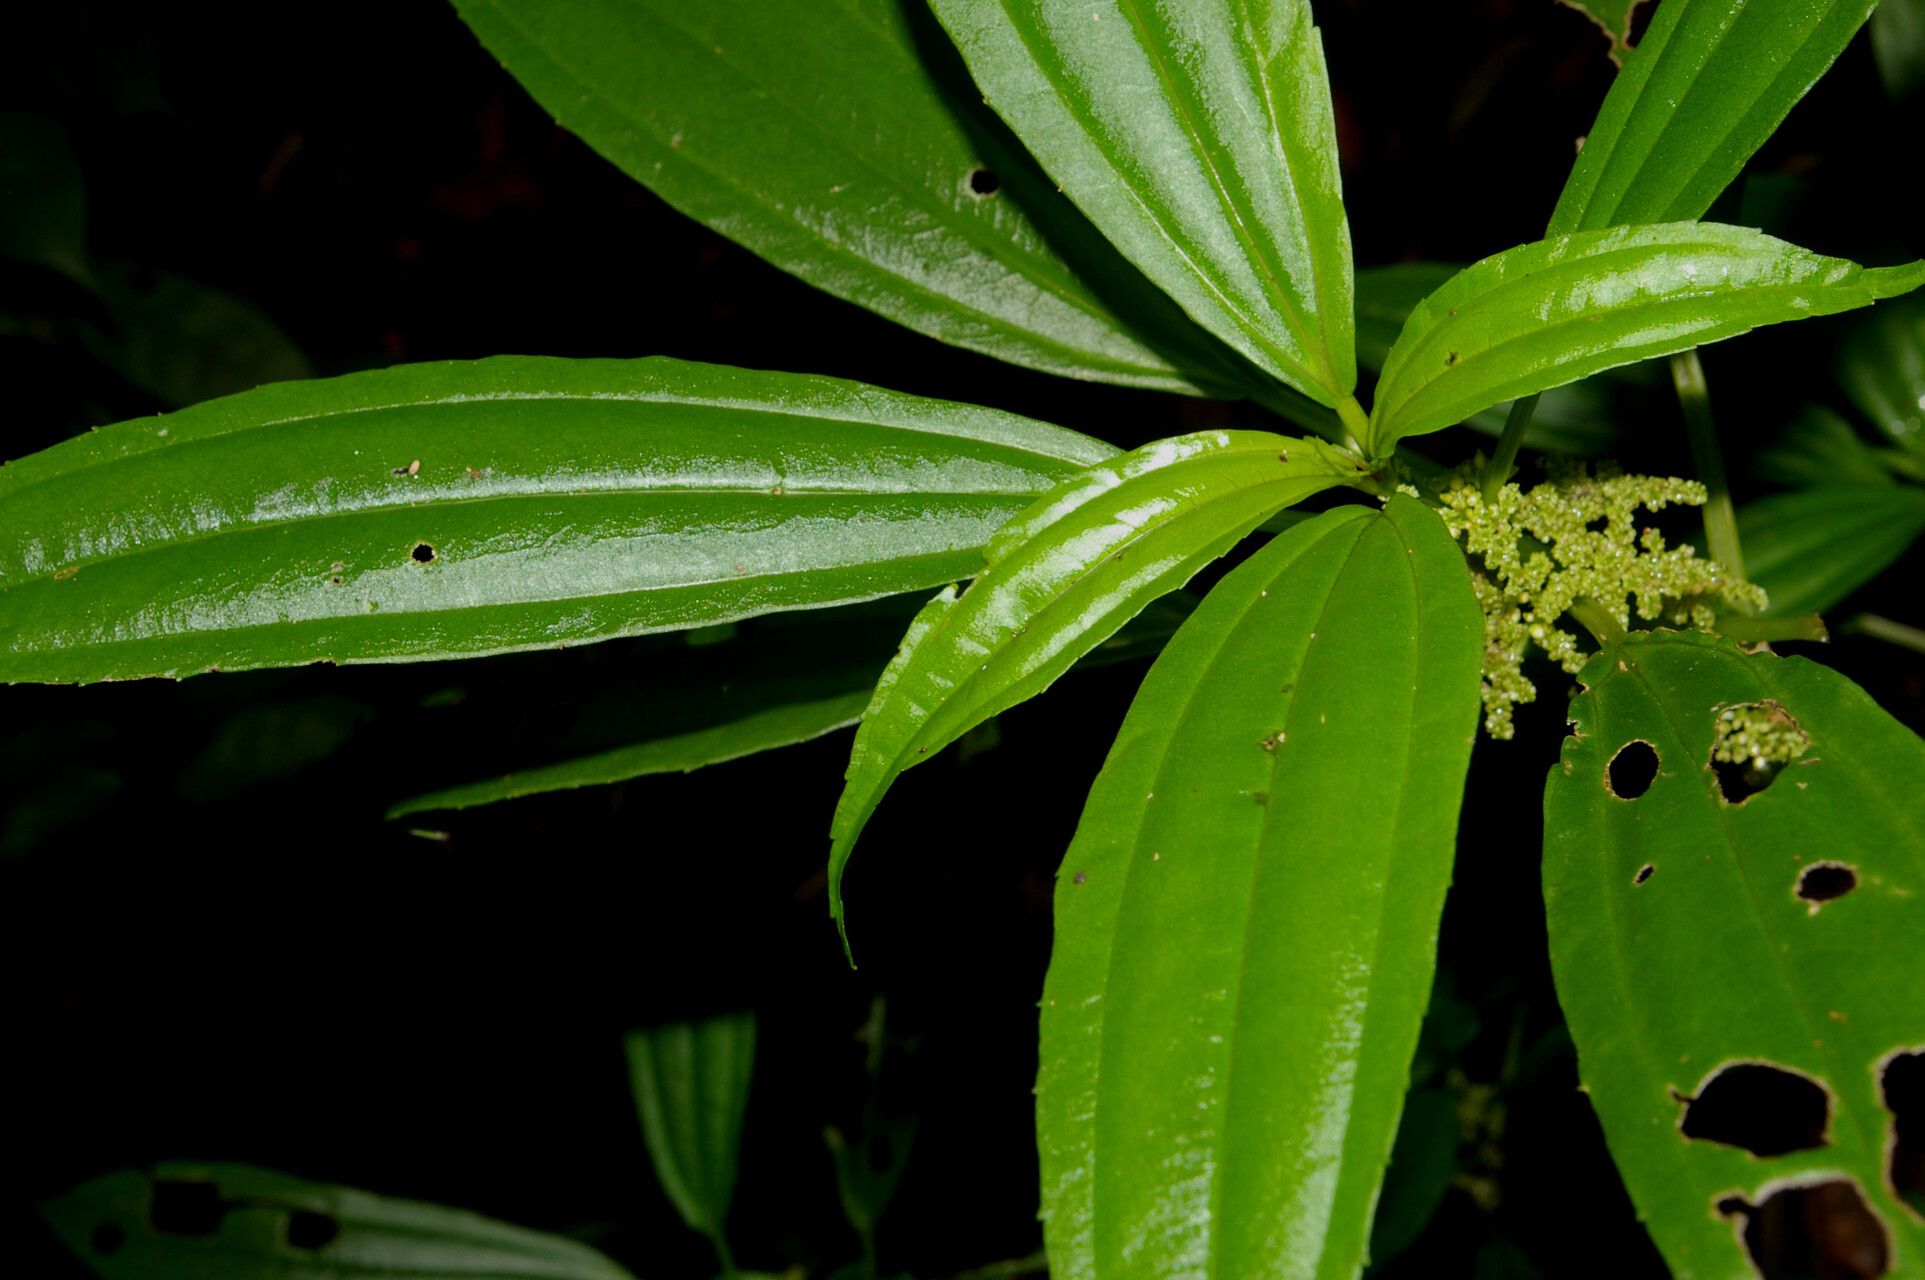
This little gem, with its glossy, dark green leaves, is a real charmer in any indoor jungle. It’s got a trailing habit that’s just perfect for hanging baskets or letting cascade from a shelf. What I love most, though, is how incredibly rewarding it is to propagate. Turning one plant into several, for yourself or to share with friends, is pure gardening magic, and I’m happy to report that Pilea glabra is super easy to get started with. Even if you’re new to the plant world, you’ll be a propagation pro in no time!
The Best Time to Start
Honestly, Pilea glabra is eager to grow just about any time of year, but you’ll see the absolute best results if you start your propagation during the active growing season. That usually means spring and summer for most of us. When the days are longer and the plant is full of vim and vigor, those cuttings will root faster and with more enthusiasm.
Supplies You’ll Need
Gathering your supplies beforehand makes the whole process smooth sailing. Here’s what I always have on hand:
- Sharp pruning shears or a clean knife: For making clean cuts.
- A small pot or propagation vessel: These can be tiny terracotta pots, plastic nursery pots, or even just a clean glass jar.
- Well-draining potting mix: I love a mix of potting soil with perlite and a bit of coco coir. For Pilea, something that dries out reasonably quickly is key.
- Rooting hormone (optional but helpful): This isn’t strictly necessary for Pilea, but it can give your cuttings an extra boost.
- Water: For water propagation or to moisten the soil.
- A spray bottle: For misting, if you find your cuttings are drying out too much.
Propagation Methods
Pilea glabra is a champion of propagation, and it’s happy to oblige with a couple of really simple methods.
1. Stem Cuttings: My Go-To
This is my absolute favorite way to make more Pilea glabra. It’s quick and effective.
- First, select a healthy stem from your mature Pilea. Look for one that has a few sets of leaves and is at least a few inches long.
- Using your sharp shears or knife, make a clean cut just below a leaf node. A leaf node is that little bump where a leaf attaches to the stem. This is where the roots will emerge.
- Remove the lower leaves from the cutting, leaving only a couple of leaves at the very top. This prevents the buried leaves from rotting.
- Now, you have two paths:
- For soil propagation: Dip the cut end in rooting hormone (if using) and then plant it directly into your prepared potting mix. Gently firm the soil around the stem.
- For water propagation: Place the cutting in a glass of clean water, ensuring the leaf nodes are submerged but the remaining leaves are above the water line. Change the water every few days to keep it fresh.
2. Division: For the Bushier Plants
If your Pilea glabra has become quite full and bushy, you might find little baby plants (pups) forming at the base. These are perfect candidates for division!
- Gently remove the entire plant from its pot.
- Carefully brush away excess soil from the root ball.
- Look for offsets or pups that are attached to the main plant by a stem and have their own roots.
- Using your fingers or a clean knife, gently separate the pup from the mother plant. Try to keep as many of its roots intact as possible.
- Pot up the divided pup into its own small pot with fresh, well-draining soil.
The “Secret Sauce” (Pro Tips)
Here are a couple of little tricks I’ve learned over the years that really help ensure success with Pilea propagation:
- Don’t let those lower leaves touch anything! Whether it’s water or soil, any submerged foliage is an invitation for rot. Always prune them off before you pot or place your cutting in water.
- Warmth is your friend. While not essential, placing your potted cuttings or water propagation vessels on a heat mat can significantly speed up root development. It mimics the cozy warmth of spring.
Aftercare & Troubleshooting
Once your Pilea glabra cuttings have developed a decent root system (this usually takes a few weeks for stem cuttings, and you’ll see roots forming in water), it’s time to treat them as tiny, precious plants.
- For soil-rooted cuttings: Continue to water them when the top inch of soil feels dry. They might look a bit droopy at first, but give them time to adjust.
- For water-rooted cuttings: Once you have about ½ to 1 inch of roots, gently transplant them into a small pot filled with your well-draining potting mix. Water thoroughly after planting.
Now, what if things go wrong? The most common issue you’ll see is rot. If your cutting turns mushy and black, it’s usually a sign of too much moisture or insufficient air circulation. If you notice this, try to salvage any healthy parts of the stem and start again, ensuring better drainage and a lighter hand with the watering. Yellowing leaves on a cutting can also indicate stress or too much direct sunlight.
A Encouraging Closing
See? Propagating Pilea glabra is such an accessible and rewarding way to fill your home with these lovely plants, or to share the joy with others. The most important ingredients are a little patience and a lot of enthusiasm. Don’t be discouraged if your first attempt isn’t perfect – every gardener has had their share of experiments that didn’t quite pan out! Just keep trying, enjoy the process, and celebrate those tiny roots when they finally appear. Happy propagating!
Resource:
https://identify.plantnet.org/k-world-flora/species/Pilea%20glabra%20S.Watson/data