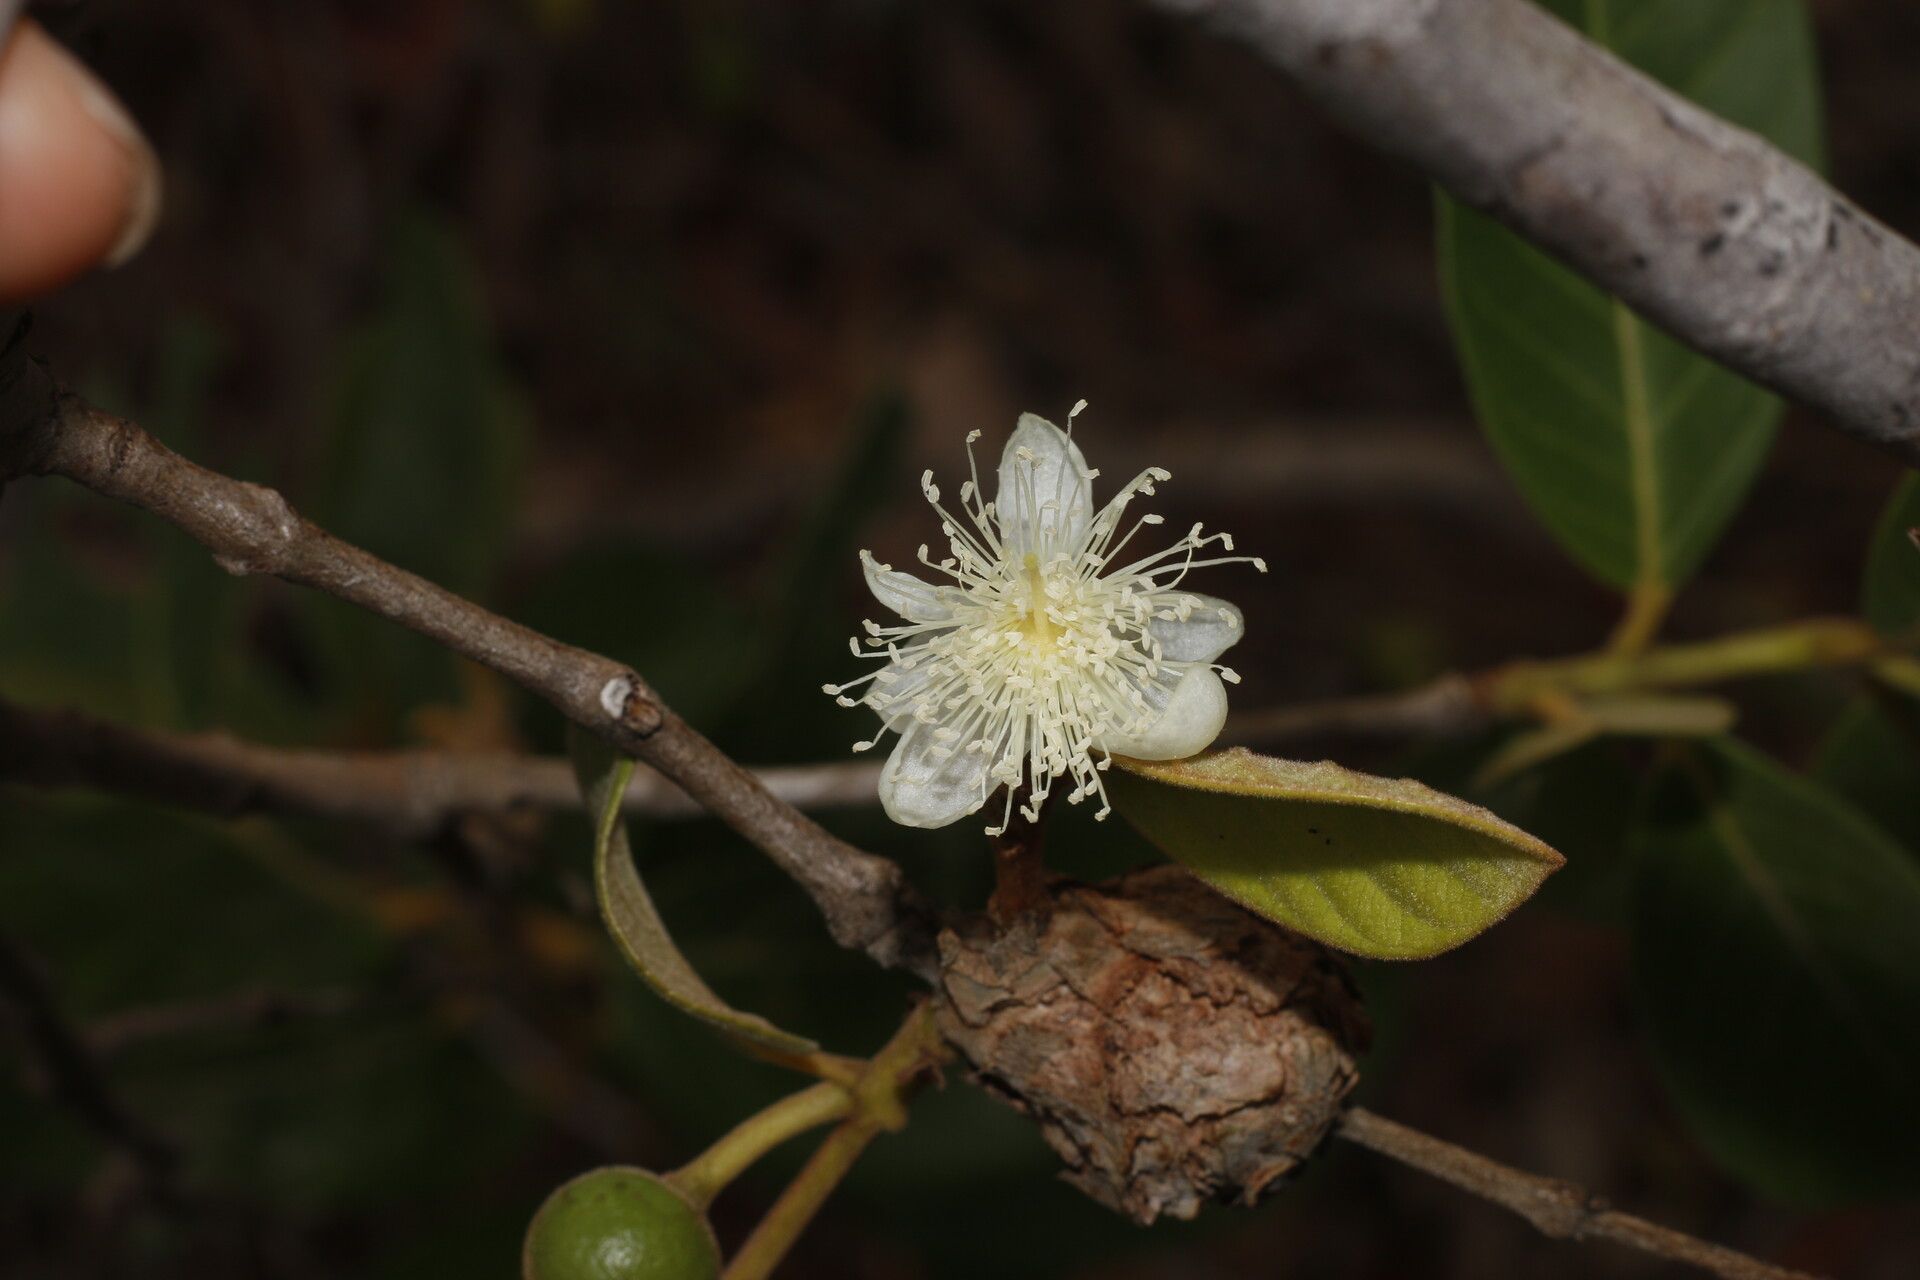
Oh, hello there! Pull up a chair and let’s chat about a little gem I’ve come to adore over the years: Psidium guineense, also known as Brazilian Guava or Suriname Cherry. If you’re looking for a rewarding gardening project that yields something truly special – a plant that gifts you with lovely foliage, charming flowers, and eventually, delicious little fruits – then you’re in for a treat. Propagating Psidium guineense from scratch can feel a bit like magic, and I promise, it’s not as daunting as it might sound. For beginners, I’d say it’s moderately easy. A little patience and a few key steps will see you well on your way.
The Best Time to Start
My favorite time to begin propagating Psidium guineense is late spring to early summer. Why? Because the plant is in a vigorous growth phase then. New, semi-hardwood growth is ideal. You’re looking for stems that are firm but not yet woody and brittle. This active growth means the plant is more receptive to forming roots.
Supplies You’ll Need
Here’s what I always have on hand when I’m ready to get my propagation on:
- Sterile pruning shears or a sharp knife: Clean cuts are happy cuts.
- Rooting hormone powder: A little boost never hurts. Look for one with IBA.
- Well-draining potting mix: I like a blend of peat moss, perlite, and a bit of compost. You can buy pre-made cactus/succulent mixes too.
- Small pots or seedling trays: Ensure they have drainage holes!
- Plastic bags or a clear plastic dome: To create a humid environment.
- Watering can with a fine rose or a spray bottle: For gentle watering.
- Optional: Heating mat: This can speed things up considerably.
Propagation Methods
I find stem cuttings to be the most reliable and straightforward method for Psidium guineense.
- Take Your Cuttings: Using your clean pruning shears, select healthy stems that are about 4-6 inches long. Make your cut just below a leaf node (where a leaf attaches to the stem). Remove the lower leaves, leaving just 2-3 at the very top. This reduces water loss and prevents leaves from rotting in the soil.
- Apply Rooting Hormone: Dip the cut end of the stem into your rooting hormone powder. Tap off any excess.
- Plant Your Cuttings: Fill your small pots or trays with your prepared potting mix. Make a small hole in the center of each pot with your finger or a pencil. Gently insert the cut end of the stem into the hole, ensuring the rooting hormone stays in place. Firm the soil gently around the base of the cutting.
- Create a Humid Environment: Water the soil thoroughly but gently. Then, place a clear plastic bag over the pot, securing it with a rubber band or placing it over the entire tray. This creates a mini-greenhouse effect, keeping the humidity high, which is crucial for preventing cuttings from drying out before they root. If you have a dome, just pop that on top.
The “Secret Sauce”
Now, for a couple of little tricks I’ve picked up along the way:
- Don’t let the leaves touch the water: If you opt for a water propagation method (which is less common but can work for Psidium guineense if you’re extremely diligent about water changes), make absolutely sure that no leaves are submerged. Rot sets in incredibly fast if they are. Only the stem should be in the water, ideally with at least one leaf node submerged for rooting.
- Use bottom heat when you can: If you have a propagation mat, placing your pots on it can make a world of difference. Consistent warmth at the base of the cutting encourages root development significantly faster. I’ve seen cuttings that might take months without it root in just a few weeks with bottom heat.
Aftercare & Troubleshooting
Once your cuttings are planted, keep them in a bright, indirect light location. Avoid direct sun, as this can scorch the delicate leaves. Check the soil moisture regularly – it should be consistently moist but never waterlogged.
You’ll know your cuttings have rooted when you gently tug on them and feel resistance, or when you see new leaf growth emerge. This can take anywhere from 4 weeks to a couple of months.
The main culprit for failure here is rot. If your cuttings start to look mushy, blacken, or just wilt away, it’s usually due to overwatering and poor air circulation. If you see the very tip of the cutting looking dark and soft, that’s a clear sign of rot. Sometimes, you can try to salvage it by cutting off the rotten part and repotting in fresh, drier medium, but often it’s a lost cause.
A Encouraging Closing
Propagating plants is a journey of observation and patience. Don’t get discouraged if your first few attempts aren’t perfect. Each cutting you take is a lesson learned. Enjoy the process of nurturing these small beginnings, and soon you’ll have a whole new generation of Psidium guineense to call your own! Happy gardening!
Resource:
https://identify.plantnet.org/k-world-flora/species/Psidium%20guineense%20Sw./data