Oh, hello there! Grab your favorite mug, and let’s chat about plant babies. Today, we’re diving into the wonderful world of propagating Anemonastrum canadense, also known as the Canada Anemone. If you’ve ever admired their delicate, star-shaped white flowers dancing above dainty foliage, you’ll understand why I’m so excited about sharing this with you.
Why You’ll Love Propagating Canada Anemone
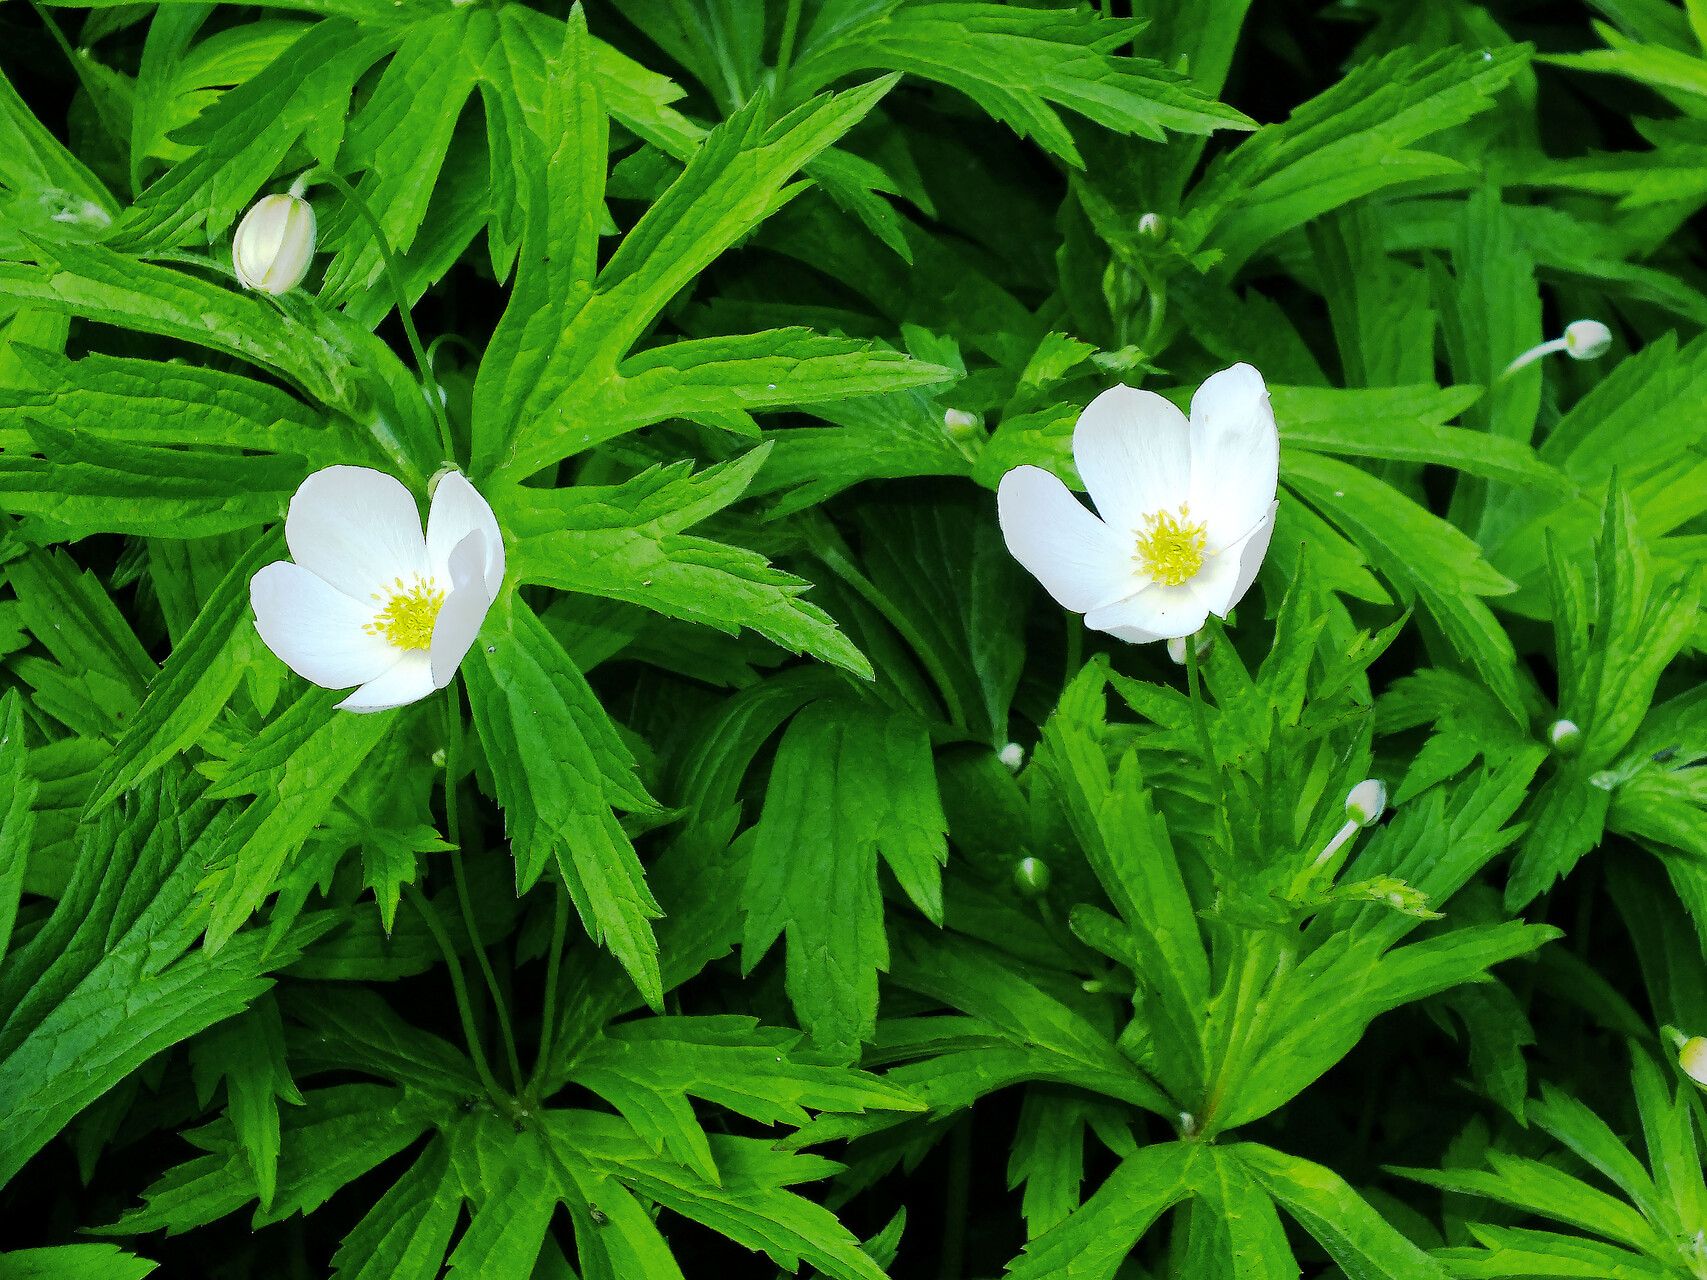
Canada Anemone is a lovely native to North America, bringing a touch of wild charm to any garden. Its frothy blooms are a real treat in late spring and summer, and it has a pleasing, spreading habit that can fill in spaces beautifully. The most rewarding part of propagating this beauty? You get to expand your own patch of that gorgeous bloom for free! And guess what? If you’re a beginner gardener, you’ll be happy to know that Canada Anemone is quite forgiving when it comes to propagation. It’s a joy to work with.
When the Magic Happens: The Best Time to Start
For Canada Anemone, spring is your absolute best friend for propagation. Wait until the danger of frost has truly passed and the plant is actively starting to send up new growth. You’re looking for that vibrant energy that tells the plant it’s ready to stretch and expand. This pre-summer surge is when they’re most vigorous and have the best reserves to put into creating new plants.
Your Propagation Toolkit
Before we get our hands dirty, let’s make sure we have everything we need. A little preparation goes a long way!
- Sharp Pruning Shears or a Knife: Clean cuts are essential for preventing disease.
- Rooting Hormone (Optional, but Recommended): While not strictly necessary, it can give your cuttings a helpful boost. Look for one with a fungicide.
- Well-Draining Potting Mix: I like a blend of equal parts peat moss (or coco coir), perlite, and a good quality potting soil. This ensures moisture retention without waterlogging.
- Small Pots or Seed Trays: Clean pots are crucial! I often reuse old ones after a good scrub.
- Plastic Bags or a Clear Cloche: This will create a humid environment for your cuttings.
- Watering Can with a Fine Rose: Gentle watering is key.
- Labels and a Marker: Don’t forget to mark what you’ve planted and when!
Growing New Lives: Propagation Methods
Canada Anemone is wonderfully amenable to a couple of propagation techniques. Let’s explore them.
Method 1: Stem Cuttings
This is probably my go-to for Canada Anemone because it’s quite reliable.
- Select Your Shoots: On a healthy, established plant, look for young, non-flowering stems. You want stems that are flexible but not too soft.
- Make the Cut: Using your clean shears or knife, make a clean cut just below a leaf node. A node is where a leaf attaches to the stem. Aim for cuttings that are about 4-6 inches long. Remove any lower leaves, leaving just a couple at the top.
- Dip in Rooting Hormone: If you’re using rooting hormone, dip the cut end of the stem into the powder or gel, tapping off any excess.
- Plant Them Up: Fill your pots with your prepared potting mix. Make a small hole in the center with your finger or a pencil, and gently insert the cutting. Firm the soil gently around the base to ensure good contact.
- Water Gently: Water thoroughly but gently, ensuring the soil is moist but not soggy.
- Create a Mini Greenhouse: Cover the pot loosely with a plastic bag, or place it in a larger clear container to trap humidity. Make sure the leaves don’t touch the plastic if possible – this can lead to rot.
- Find a Bright Spot: Place the pots in a bright location that receives indirect sunlight. Avoid direct sun, which can scorch the tender cuttings.
Method 2: Division
This is often the easiest and quickest way to get new plants from established clumps.
- Dig Gently: In spring, when the plant is actively growing, carefully dig around the base of an established clump. You don’t need to lift the entire thing; just get enough to expose its root system.
- Identify Natural Breaks: You’ll often see where the plant naturally wants to divide. Look for sections that have their own shoots and roots.
- Separate the Divisions: Using your hands or a trowel, gently pull or cut the clump into smaller sections. Each division should have at least one or two shoots and a decent amount of roots.
- Replant Immediately: I like to have my new planting holes ready before I start dividing. Plant the divisions back into the ground or into pots filled with good soil. They should be planted at the same depth they were growing before.
- Water Well: Give them a good watering to help them settle in and reduce transplant shock.
The “Secret Sauce”: My Insider Tips
Over the years, I’ve learned a few little tricks that really make a difference, especially with plants that can be a bit sensitive.
- Bottom Heat is Your Friend: If you’re doing stem cuttings, popping them on a seedling heat mat can significantly speed up root development. Just ensure the soil temperature stays around 70-75°F (21-24°C). It mimics that lovely warmth of late spring.
- Don’t Be Afraid of the Dormant Season (for Division): While spring division is excellent, you can also divide clump-forming perennials in the fall, after the heat of summer has passed. Just ensure you give them enough time to establish roots before the ground freezes.
- Keep It Humid, But Ventilate: That plastic bag or cloche is important for humidity, but don’t forget to ventilate! Open the bag for a few minutes each day, or lift the lid of your cloche. This prevents fungal issues from setting in.
Aftercare and Troubleshooting
Once your cuttings have started to root (you might see new leaf growth or feel gentle resistance when you tug lightly), or your divisions are settled, it’s time for a little tender loving care.
- Gradual Acclimation: If you used a plastic bag or cloche, gradually introduce your new plants to drier air by opening the cover more and more over a few days.
- Consistent Moisture: Keep the soil consistently moist but never waterlogged. In the heat of summer, you might need to water more frequently.
- Transplanting: Once the roots are well-established and the plant is growing vigorously, you can transplant your new Canada Anemones into their final garden home or larger pots.
Now, what if things go wrong? The most common culprit for unhappy cuttings is rot. If your cuttings turn mushy or black, it’s usually a sign of too much moisture and not enough air circulation, or perhaps overzealous use of rooting hormone that gets bogged down. Discard any rotted material immediately to prevent it from spreading. Don’t be discouraged if you lose a few; it’s all part of the learning process!
Go Forth and Grow!
Propagating Canada Anemone is such a rewarding way to fill your garden with these delightful blossoms. Be patient, observe your plants, and don’t be afraid to experiment a little. Every gardener has their own little touches, and you’ll discover yours too. Happy propagating, and enjoy the abundance of flowers that will soon grace your yard!
Resource:
https://identify.plantnet.org/k-world-flora/species/Anemonastrum%20canadense%20(L.)%20Mosyakin/data