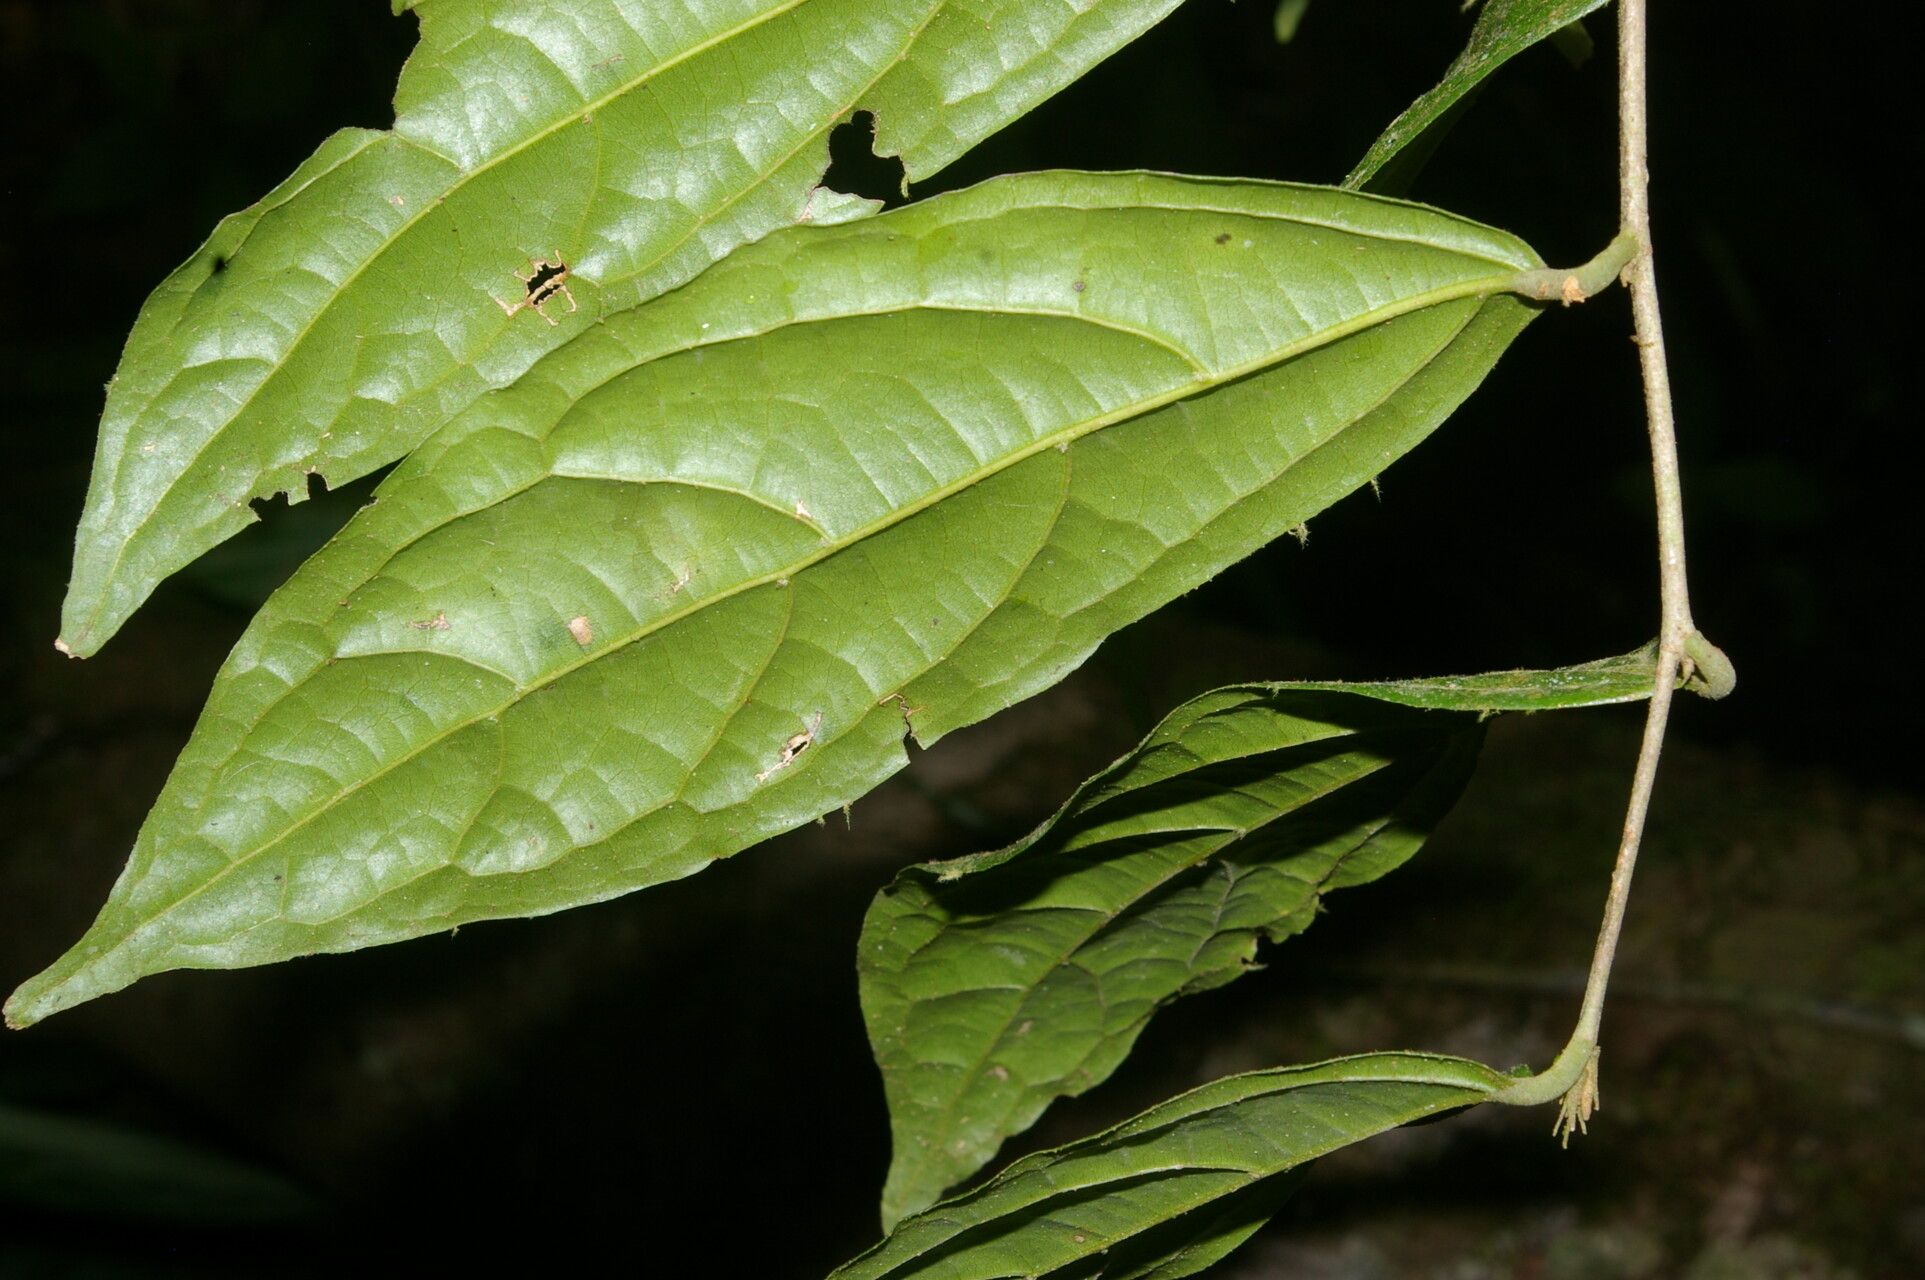
Oh, hello there! It’s so lovely to have you join me today. We’re going to dive into the wonderful world of propagating Quararibea yunckeri. You know, this stunner of a plant, with its elegant form and delightful blooms, is truly a joy to have in any collection. And the best part? Nurturing a brand new plant from a tiny piece of its parent is one of the most rewarding experiences a gardener can have.
Now, if you’re wondering if Quararibea yunckeri is a beginner-friendly plant to propagate, I’d say it’s a moderate challenge. It’s not an absolute walk in the park, but with a little care and attention, you’ll absolutely be successful. Think of it as a fun project that will teach you a lot!
The Best Time to Start
My favorite time to get my hands dirty with Quararibea yunckeri propagation is in the late spring or early summer. This is when the plant is really in its active growing phase. The stems are full of vigor, and that energy translates into a much higher chance of successful rooting. Look for new growth that’s matured a bit – not the super soft, floppy tips, but the slightly firmer, yet still pliable, young stems.
Supplies You’ll Need
Gathering your tools before you begin makes the whole process so much smoother. Here’s what I always have on hand:
- Sharp, clean pruning shears or a sterile knife: This is crucial for making clean cuts that heal well.
- Rooting hormone powder or gel: This little helper significantly boosts your success rate by encouraging root development.
- Well-draining potting mix: I like a blend of equal parts peat moss or coco coir, perlite, and some coarse sand. This gives the roots plenty of air and prevents waterlogging.
- Small pots or seed trays: Clean containers are a must! Anything from 3-4 inch pots to seedling trays will work.
- Plastic bags or a humidity dome: To create that humid environment our cuttings crave.
- A spray bottle: For gentle misting.
- A gentle heat mat (optional but recommended): This provides bottom warmth, which is like a cozy blanket for developing roots.
Propagation Methods
We’re going to focus on stem cuttings, as this is generally the most reliable way for Quararibea yunckeri.
Stem Cuttings:
- Select your stem: As I mentioned, choose a healthy, semi-hardwood stem from your mature plant during the active growing season. You’re looking for a length of about 4-6 inches.
- Make the cut: Using your sterilized shears or knife, make a clean cut just below a leaf node. A leaf node is that little bump on the stem where a leaf grows from – this is where roots will emerge!
- Prepare the cutting: Gently remove the lower leaves from the cutting. You want to leave just a few leaves at the top to help with photosynthesis. If the remaining leaves are very large, I like to cut them in half. This reduces water loss while still allowing for some energy production.
- Apply rooting hormone: Dip the cut end of the stem into your rooting hormone, tapping off any excess.
- Plant the cutting: Make a small hole in your well-draining potting mix with your finger or a pencil. Insert the prepared cutting into the hole, gently firming the soil around it. Make sure the leaf nodes you removed are buried beneath the soil surface.
- Water gently: Water the potting mix until it’s evenly moist but not soggy.
- Create the humidity chamber: Place the pot inside a clear plastic bag, making sure the bag doesn’t touch the leaves too much. You can use stakes to prop it up. Alternatively, use a humidity dome.
- Provide light and warmth: Place the pot in a bright, indirect light location. If you have a heat mat, place the pot on it now. This consistent warmth from below is a real game-changer.
The “Secret Sauce” (Pro Tips)
Now, for a little insider knowledge! These small details can make all the difference.
- Wipe away excess hormone: After dipping the cutting in rooting hormone, give the dipped end a gentle tap on the rim of the container. This removes any thick globs, which can sometimes hinder root development instead of helping it.
- Don’t rush the transplant: I know it’s tempting to peek every day, but try to resist! You’ll know your cutting has rooted when you see new leaf growth and perhaps a slight resistance when you gently tug on the stem. It can take anywhere from 4-8 weeks or sometimes longer. Patience is our friend here.
- Freshness is key: Try to get your cuttings planted as soon as possible after taking them from the parent plant. If you absolutely must wait a day, you can temporarily stick the cut end in a small amount of water, but don’t leave them in water for too long, as this can lead to rot once you pot them up.
Aftercare & Troubleshooting
Once you see signs of happy new growth, it’s time to adjust their care. It’s important to gradually acclimate your new little plant to normal room humidity. Start by opening the plastic bag for a few hours each day, slowly increasing the time until you can remove it completely. Continue to keep it in bright, indirect light and water when the top inch of soil feels dry.
Now, what if things don’t go as planned? A common sign of trouble is if the cutting starts to wilt, yellow, and then eventually turn black and mushy. This is usually a sign of rot, often caused by too much moisture and not enough air circulation. If you see this, unfortunately, it’s usually best to discard the cutting and start again. Don’t be discouraged! You can always try another one.
Remember, plant propagation is a journey, not a race. Every attempt teaches you something new. Be patient with your Quararibea yunckeri, give it the right conditions, and you’ll soon be rewarded with your very own baby plant. Happy propagating!
Resource:
https://identify.plantnet.org/k-world-flora/species/Quararibea%20yunckeri%20Standl./data