Hello there, fellow plant enthusiasts! It’s so lovely to have you join me in my little corner of the garden world today. We’re going to talk about a plant that’s been capturing my attention lately, and one that I find incredibly rewarding to multiply: Salacia longipes.
Why Grow and Propagate Salacia longipes?
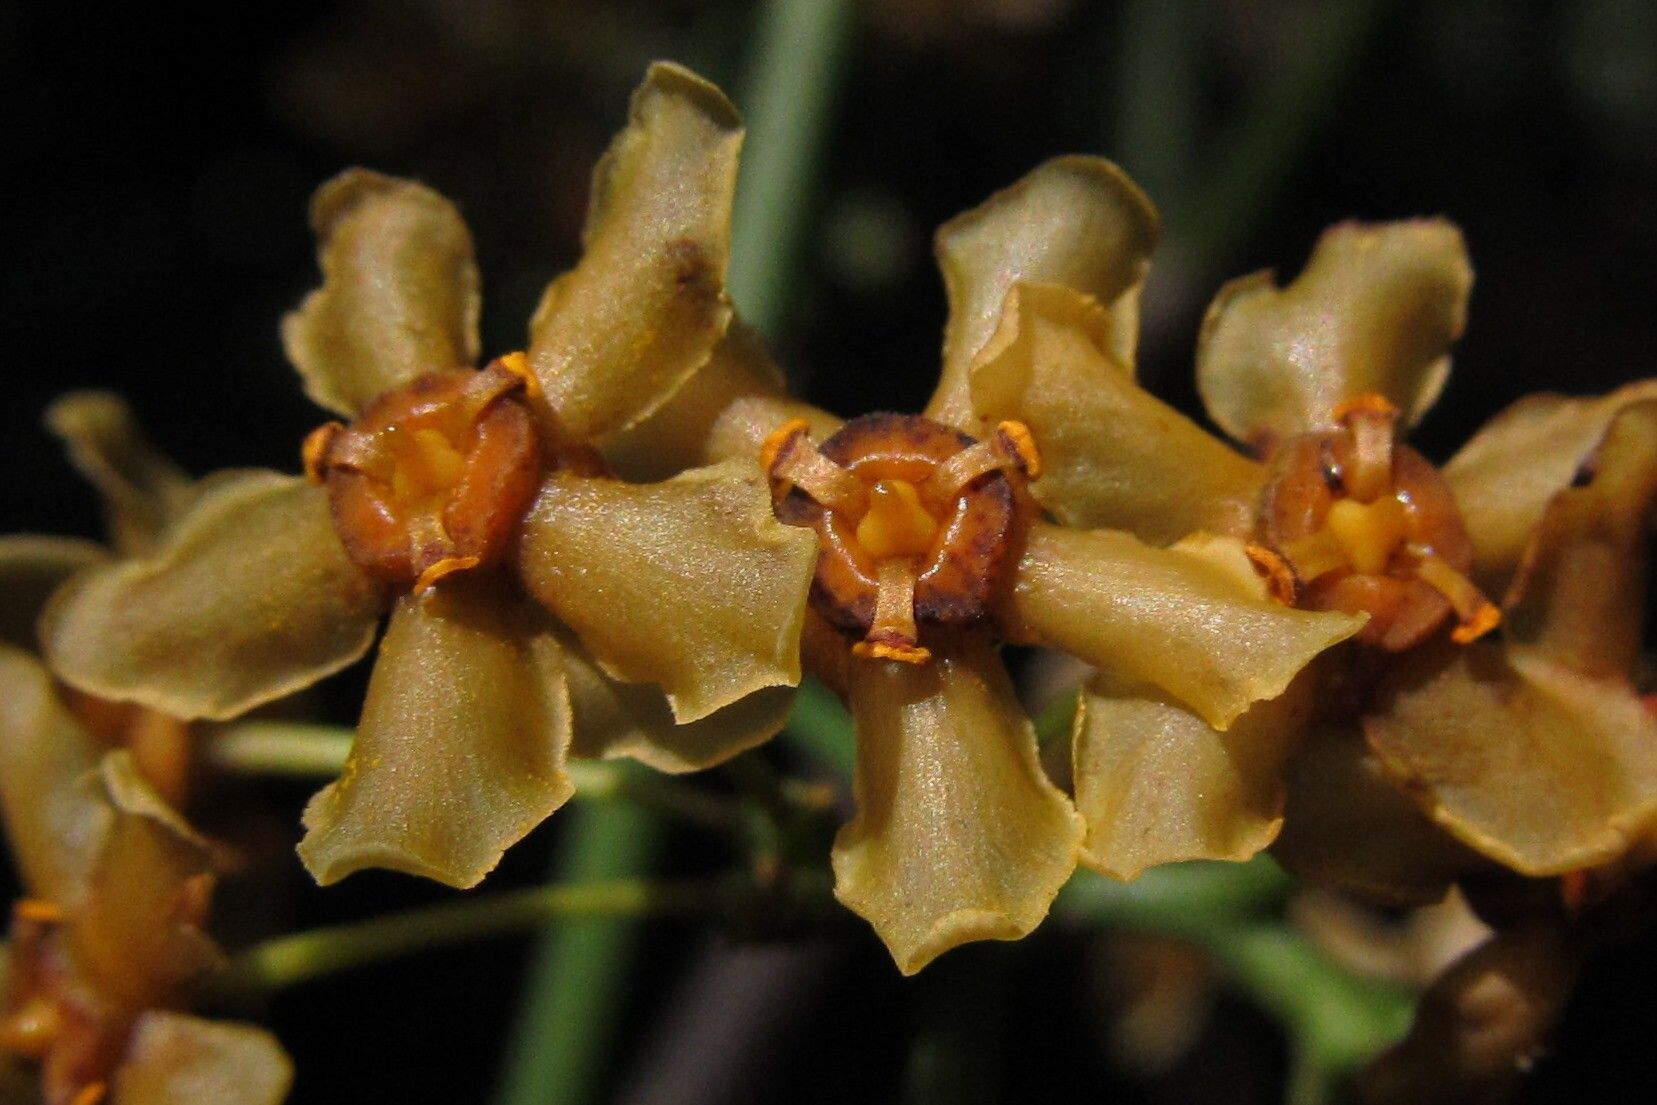
Salacia longipes has this wonderful, almost whimsical charm. Its glossy leaves and the promise of delicate, often fragrant, blossoms are such a delight. And the best part? Being able to create more of these beauties from a single parent plant is immensely satisfying. It’s a wonderful way to fill your space or even share the love with fellow gardeners. Now, if you’re new to the plant propagation game, I’d say Salacia longipes leans more towards the “intermediate” side. It’s not the absolute easiest, but with a little care and attention, you’ll be successful.
The Best Time to Start
For the highest success rate with Salacia longipes, I always aim to take cuttings in the late spring or early summer. This is when the plant is actively growing, and its energy is really flowing. You’re looking for new, yet firm, growth on the parent plant. Avoid anything that’s still super soft and floppy, or woodier stems that have been around for ages.
Supplies You’ll Need
Gathering your supplies beforehand makes the whole process smoother. Here’s what I usually have on hand:
- Sharp, clean pruning shears or a clean knife: For taking precise cuttings.
- Rooting hormone (optional but recommended): This can really give your cuttings a boost.
- Well-draining potting mix: A blend of peat moss, perlite, and a bit of compost works wonders. Or, pick up a specialized seedling or cutting mix.
- Small pots or trays: Clean containers are essential to prevent disease.
- Plastic bags or a propagator: To create a humid environment.
- Watering can with a fine rose attachment: For gentle watering.
Propagation Methods for Salacia longipes
While you might find other methods discussed, I’ve had the most consistent success with stem cuttings. This is where we’ll focus our efforts.
Stem Cuttings: Step-by-Step
- Take Your Cuttings: Using your clean shears, select a healthy stem and cut a piece about 4-6 inches long. Make your cut just below a leaf node (where a leaf joins the stem). Remove most of the lower leaves, leaving just a couple at the very top. This reduces water loss.
- Prepare the Cutting: If you’re using rooting hormone, dip the cut end of the stem into the powder or gel. Tap off any excess.
- Plant Your Cuttings: Fill your small pots or trays with your well-draining potting mix. Make a small hole in the center with your finger or a pencil. Gently insert the cut end of your Salacia cutting into the hole, ensuring at least one leaf node is buried in the soil. Firm the soil gently around the stem.
- Provide Humidity: Water the soil thoroughly until it’s evenly moist but not waterlogged. Then, cover the pot or tray with a clear plastic bag, or place it inside a propagator. Make sure the leaves don’t touch the sides of the bag if possible – this can encourage rot. Poke a few small holes in the bag for ventilation.
The “Secret Sauce” (Pro Tips)
Here are a few little tricks I’ve picked up over the years that can really make a difference:
- Bottom Heat is Your Friend: If you have access to a heat mat, place your pots on it. This gentle warmth from below encourages root development much faster and more reliably than just relying on ambient room temperature. It’s a game-changer, especially for plants that can be a bit slow to root.
- Don’t Overwater! This is a classic mistake. It’s better to have the soil be slightly too dry than too wet. Overwatering is the quickest way to invite fungal diseases and rot, which is the enemy of any new cutting. Let the top inch of soil dry out before watering again.
- Be Patient with Mist: If you’re not using a plastic bag or propagator, misting your cuttings regularly can help maintain humidity. However, avoid misting late in the day, as damp leaves overnight can also lead to rot.
Aftercare & Troubleshooting
Once your cuttings have been planted, move them to a bright location out of direct sunlight. Keep the soil consistently moist but not soggy. After a few weeks (sometimes longer!), you should start to see signs of new growth. This is a good indicator that roots have formed. You can gently tug on the cutting – if there’s resistance, it’s a sign roots are developing.
The most common issue you might encounter is rot. If you see your cutting turning brown and mushy, or if it falls over, it’s likely rotted. This is usually due to too much moisture and poor air circulation. Don’t despair if it happens! Just discard the rotted cutting and start again, being extra mindful of watering and humidity levels.
Happy Propagating!
Propagating Salacia longipes is a journey, and like all gardening endeavors, it requires a bit of patience and a lot of observation. Don’t be discouraged if your first attempt isn’t perfect. Each little cutting is a chance to learn and grow alongside your plants. Enjoy the process, and soon you’ll have a whole new collection of these beautiful plants to admire!
Resource:
https://identify.plantnet.org/k-world-flora/species/Salacia%20longipes%20(Oliv.)%20N.Hallé/data