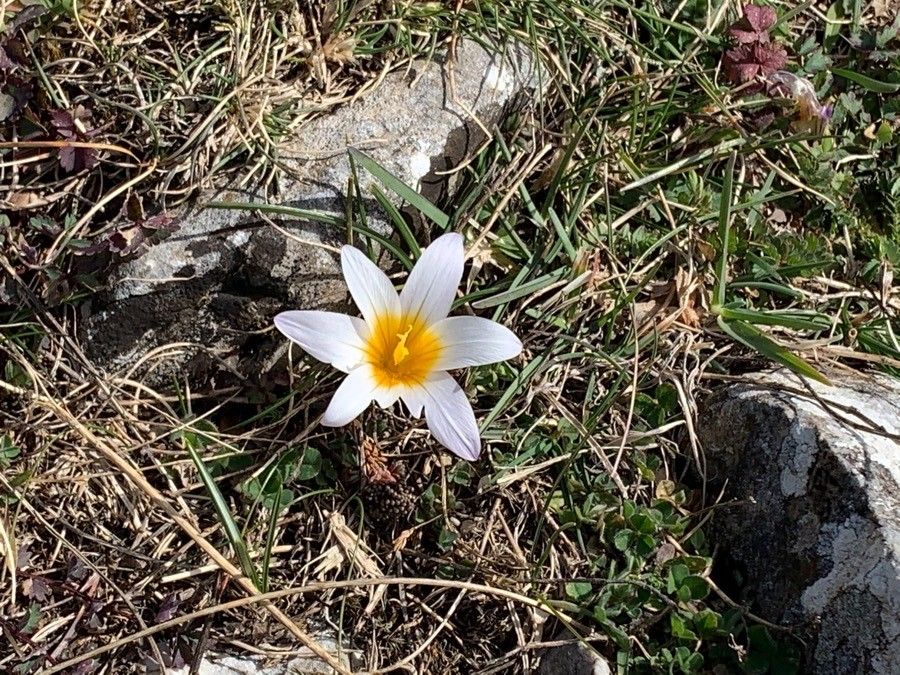
Oh, Romulea arnaudii! If you’re not familiar with this little gem, get ready for a treat. These dainty, star-shaped flowers, often in shades of purple, pink, or white, are an absolute delight in the garden. They have this way of popping up, a cheerful surprise after a long winter. Propagating them is a wonderful way to share them with friends or simply expand your own collection. Now, I’ll be honest, Romulea arnaudii isn’t the absolute easiest plant for a complete beginner to propagate, but with a little patience and these tips, you can absolutely succeed.
The Best Time to Start
For Romulea arnaudii, spring is truly your golden window. This is when the plant is actively growing after its dormancy period and has the most energy to pull from. You’ll want to look for plants that are just finishing their bloom cycle or are in their active vegetative growth phase. Trying to propagate from them when they’re completely dormant in the heat of summer or the chill of winter is just asking for disappointment.
Supplies You’ll Need
Gathering your supplies beforehand makes the whole process much smoother. Here’s what you’ll want:
- Sharp, sterile pruning shears or a sharp knife: For clean cuts that minimize disease.
- Peat-free seed starting mix or a fine, well-draining potting mix: Romuleas hate soggy feet, so good drainage is key. A mix with perlite or grit is excellent.
- Small pots or trays: Nothing too big, as happy roots don’t like being spread too thin at first.
- Rooting hormone powder (optional but helpful): This can boost your success rate, especially for cuttings.
- A spray bottle: For gentle misting to keep things humid.
- Labels: Trust me, you’ll thank yourself later for labeling your efforts!
- A dibber or pencil: To make holes for planting.
Propagation Methods
Romulea arnaudii can be propagated a couple of ways, but for home gardeners, division is often the most reliable and straightforward method.
Seed Division (The Most Common Method)
Romuleas, like many bulbs and corms, produce small offsets, often called cormels, around their base.
- Wait for the right time: As I mentioned, after flowering and as the foliage begins to yellow and die back in late spring or early summer is perfect. This indicates the plant is entering its dormancy.
- Gently excavate: Carefully dig up the main clump of Romulea arnaudii. I like to use a trowel or even just my hands to loosen the soil around the edges.
- Separate the corms: Look for the small, bulb-like structures (cormels) attached to the main corm. Gently twist or cut these away from the parent plant. They’ll often be found nestled at the base or sides.
- Dry them out: Before replanting, allow the separated cormels to air dry in a cool, dry, and shaded spot for a few days. This helps them develop a protective outer layer and reduces the risk of rot.
- Plant them up: Fill your small pots with your well-draining mix. Use your dibber or pencil to make a small hole. Place each cormel about 1-2 inches deep.
- Water lightly: Give them a gentle watering. You don’t want them waterlogged.
The “Secret Sauce” (Pro Tips)
Here are a few things I’ve learned over the years that can make a real difference:
- Don’t rush the drying: That few days of drying out after separation is crucial. It’s a small step, but it’s the difference between a healthy new plant and a mushy failure. The cormels need to form a bit of a dry “skin.”
- Mimic their natural environment: Romuleas often grow in sandy, well-drained soils. If your potting mix seems too rich, feel free to add a good amount of horticultural grit or coarse sand to ensure excess moisture drains away quickly.
- Be patient with germination/establishment: Cormels can take a while to sprout. Don’t be tempted to dig them up too soon to “check” on them. They might just be gathering their strength underground.
Aftercare & Troubleshooting
Once your cormels are planted, keep the soil consistently lightly moist, but never soggy. Place the pots in a bright spot, but avoid harsh direct sun, especially if it’s very hot. You’re looking for that gentle warmth that encourages growth.
The most common sign of failure is rot. If you see your cormels turning mushy and black, it’s almost always due to too much moisture or not enough drainage in the soil. If you see this, immediately remove the affected cormels and try to dry out the remaining soil. Sometimes, you might see the foliage start to yellow and die back – this is normal as the plant expends energy to establish. If the leaves are wilting or looking generally unhealthy, assess your watering and light conditions.
A Encouraging Closing
Propagating Romulea arnaudii might require a bit more finesse than a common houseplant, but the reward of seeing those delicate blooms emerge from a plant you nurtured yourself is incredibly satisfying. Be patient, trust the process, and don’t be discouraged if your first attempt isn’t perfect. Every gardener learns through doing, and I’m cheering you on to success! Happy planting!
Resource:
https://identify.plantnet.org/k-world-flora/species/Romulea%20arnaudii%20Moret/data