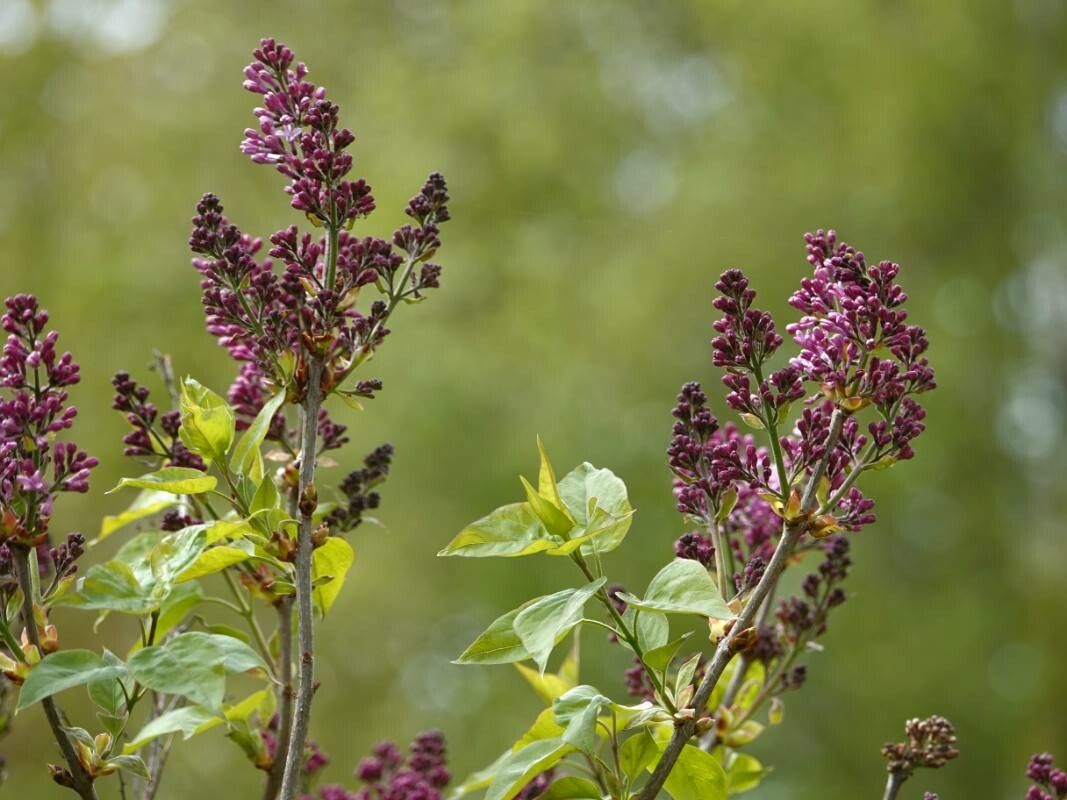
Hello there, fellow plant lovers! It’s so nice to have you join me today. We’re going to dive into something particularly delightful: propagating the lovely Syringa josikaea, also known as the Hungarian Lilac. If you’ve ever enjoyed the subtle beauty and sweet fragrance of these elegant lilacs, you know how special they are. Growing your own from cuttings or divisions is incredibly rewarding. For those of you just starting out, I find that propagating lilacs is a good learning curve – not too frustrating, but it definitely teaches you to pay attention.
The Best Time to Start
When it comes to getting the most bang for your buck with propagating lilacs, late spring to early summer is your golden window. This is when the plant is actively growing, and you can take what are called semi-hardwood cuttings. These cuttings are firm enough to hold their shape but still flexible enough to root easily. Waiting until the plant has finished its main flush of flowering is ideal.
Supplies You’ll Need
Before we get our hands dirty, let’s gather our essentials. Having everything ready makes the process so much smoother:
- Sharp Pruning Shears or a Knife: Clean cuts are crucial for good rooting.
- Rooting Hormone: A powder or gel form works well. This really gives your cuttings a boost.
- Potting Mix: A well-draining mix is key. I like a blend of peat moss, perlite, and a bit of coarse sand. About equal parts is a good starting point.
- Small Pots or Trays: With drainage holes, of course!
- Clear Plastic Bags or a Propagator: To create a humid environment.
- Water: For misting and watering.
- (Optional) Bottom Heat Mat: This can significantly speed up the rooting process.
Propagation Methods
There are a couple of ways to go about this, but my go-to for Syringa josikaea is stem cuttings. It’s reliable and generally gives great results.
Stem Cuttings:
- Select Your Cuttings: Look for healthy, vigorous stems on your lilac that are about pencil-thick. You want stems that have started to firm up but aren’t woody and old.
- Take the Cuttings: Using your clean, sharp shears, cut sections of stem about 4-6 inches long. Make your cut just below a leaf node (where a leaf attaches to the stem). The node is where the magic happens, where roots will form.
- Prepare the Cuttings: Remove the lower leaves from the cutting, leaving just a few at the very top. This helps prevent them from rotting in the moist environment. If the remaining leaves are very large, you can even cut them in half. This reduces water loss through transpiration.
- Apply Rooting Hormone: Dip the bottom of each cutting into your rooting hormone, tapping off any excess.
- Pot Them Up: Gently insert the bottom of each treated cutting into your prepared potting mix. Make sure the nodes are buried in the soil. Firm the soil gently around the stem.
- Create Humidity: Water the soil lightly. Then, cover the pot or tray with a clear plastic bag, or place it inside a propagator. Ensure the leaves don’t touch the plastic if possible; this can lead to rot. If you have a bottom heat mat, place the pots on it now.
Division (for more established plants):
If you have a mature, clump-forming Syringa josikaea, you can also propagate it by division. This is best done in early spring as growth begins or in fall after the leaves drop.
- Dig Carefully: Gently dig around the base of the established clump.
- Separate the Roots: Carefully pull the plant apart, or use a clean spade to divide it into sections. Each section should have plenty of healthy roots and at least one shoot.
- Replant Immediately: Plant the divisions in their new locations or in pots with fresh soil. Water them well.
The “Secret Sauce” (Pro Tips)
Now, for a couple of little tricks I’ve picked up over the years that can make a big difference:
- The “Wound” Trick: For slightly tougher cuttings, on the side opposite the stem where you’ll dip in the rooting hormone, you can lightly scrape away a very thin sliver of bark (about 1/2 inch long) with your knife. This exposes more of the cambium layer, which can encourage root formation. Do this gently!
- Bottom Heat is Your Friend: Seriously, if you can swing it, a bottom heat mat is a game-changer for propagation. It keeps the soil temperature consistently warm, which is exactly what many cuttings need to kickstart root growth. I find it speeds things up considerably.
- Don’t Be Afraid to “Sacrifice” a Few: Sometimes, out of a batch of cuttings, only some will take. That’s okay! Learn from what you see – did they rot? Did they dry out? Every little setback is a learning opportunity.
Aftercare & Troubleshooting
Once your cuttings have been potted up and are happily ensconced in their humid environment, patience is key. Check the soil moisture regularly. You want it to be consistently moist but not waterlogged. Mist the leaves occasionally if they look a bit droopy, especially if you don’t have a very tight-fitting cover.
You’ll start to see signs of success when new leaves begin to emerge from the top of the cutting. This usually takes several weeks, sometimes longer. Once you see good new growth, you can start to gradually acclimate them to lower humidity by opening the plastic bag a little more each day for a week or two.
The most common problems you’ll encounter are rot and drying out. If you see your cuttings turning black and mushy, it’s usually a sign of too much moisture and not enough air circulation. If they look shriveled and dry, they’ve gone too long between waterings. Keep an eye on that soil moisture!
A Little Encouragement
Propagating lilacs is a wonderful way to expand your garden and share these beautiful plants with friends. Don’t be discouraged if your first attempt isn’t perfect. Gardening is a journey, and the most important thing is to enjoy the process of nurturing new life. Happy propagating!
Resource:
https://identify.plantnet.org/k-world-flora/species/Syringa%20josikaea%20J.Jacq.%20ex%20Rchb./data