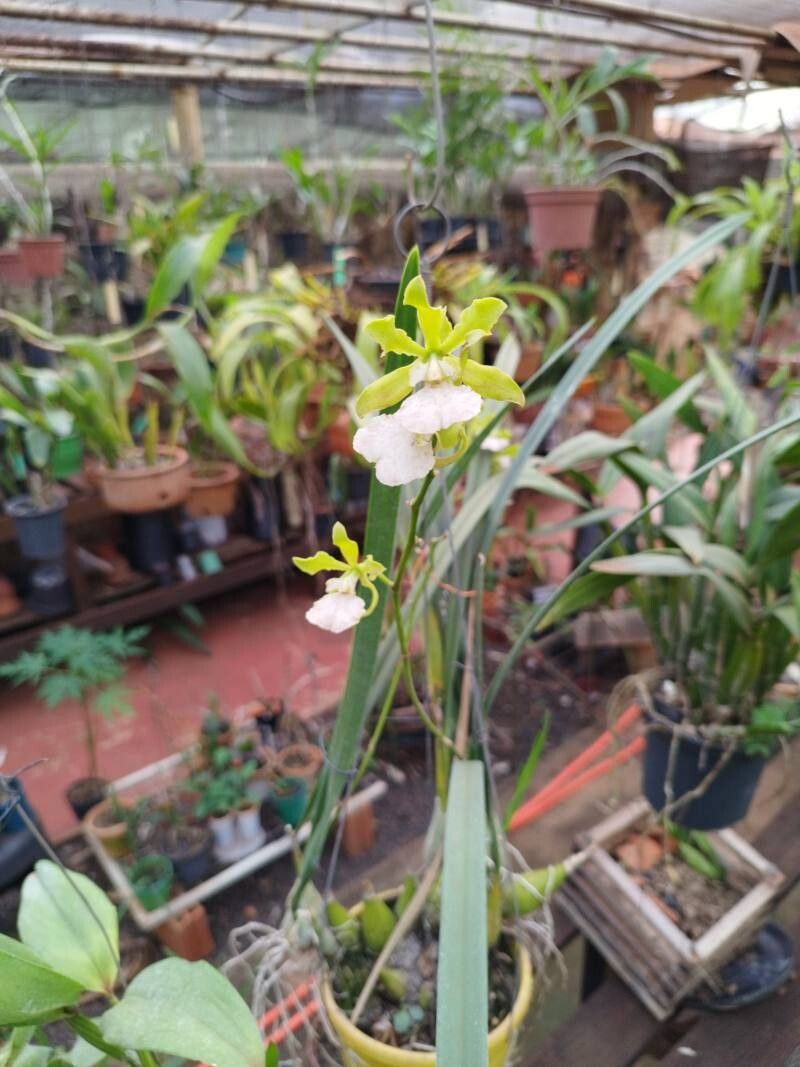
Hello fellow plant lovers! Today, we’re diving into the wonderful world of Encyclia randii. This lovely orchid, with its delicate, often fragrant blooms, is a real charmer. Bringing a new one to life through propagation is a deeply satisfying experience. It feels like a little garden magic! Now, if you’re new to orchid propagation, Encyclia randii can present a touch of a learning curve, but don’t let that deter you. With a little patience and these tips, you’ll be well on your way.
The Best Time to Start
For Encyclia randii, the absolute best time to propagate is after the plant has finished flowering. This usually happens in the late spring or early summer. Your orchid will be in active growth, and has the energy reserves to put into developing new roots and shoots. Trying to propagate while it’s in bloom or during its resting period just won’t yield the same enthusiastic results.
Supplies You’ll Need
To get your propagation station ready, here’s what you’ll want to have on hand:
- Sharp, sterilized pruning shears or a clean knife: For making clean cuts. Sterilize with rubbing alcohol or a bleach solution between cuts.
- Orchid Bark Mix: A well-draining mix is crucial. Look for a blend with medium-grade bark, perlite, and charcoal.
- Small pots or community trays: Enough to house your new propagations. Make sure they have drainage holes!
- Hormone rooting powder (optional but recommended): This can give your cuttings a nice boost.
- Orchid fertilizer: A gentle, balanced formula.
- Watering can with a fine spray nozzle: For gentle watering.
- Sphagnum moss (optional): For certain propagation methods.
Propagation Methods
The most reliable way to propagate Encyclia randii is through division. This method works best for mature plants that have developed multiple pseudobulbs.
- Gently remove the orchid from its pot. If it’s really stuck, you might need to gently break the pot or soak the root ball for a bit.
- Carefully clean away old growing medium. You want to get a good look at the rhizome, which is the creeping stem that connects the pseudobulbs.
- Identify divisions. Look for sections of the rhizome that have at least two or three healthy-looking pseudobulbs and a good root system attached.
- Make the cut. Using your sterilized shears or knife, make a clean cut through the rhizome, separating the division. Ensure each new piece has enough pseudobulbs and roots to sustain itself.
- Pot up your new plants. Place each division into its own pot with fresh, well-draining orchid bark mix. Make sure the base of the pseudobulbs is at the surface of the mix.
- Water lightly. Just enough to settle the mix, don’t drench it.
The “Secret Sauce” (Pro Tips)
Here are a couple of things I’ve learned over the years that make a big difference:
- Don’t be afraid to trim back old, dead roots. While it seems counterintuitive, sometimes removing the tired, shriveled roots from the division before repotting can encourage the plant to focus its energy on growing new, healthy ones.
- A little bit of cinnamon can be your friend. After making a cut on the rhizome, I like to dust the cut surface with a thin layer of ground cinnamon. It acts as a natural fungicide and can help prevent rot from setting in. Just a dusting, mind you!
Aftercare & Troubleshooting
Once your divisions are potted, place them in a location with bright, indirect light and good air circulation. Avoid direct sun, which can scorch the leaves. Water when the potting medium is nearly dry – this is crucial for orchids. You can start a very diluted orchid fertilizer about a month after repotting, once you see signs of new growth.
The most common issue you might encounter is rot. This usually happens if the plant is kept too wet, especially if air circulation is poor. Signs of rot include mushy, black pseudobulbs or roots. If you see this, you’ll need to act quickly. Remove the affected parts with your sterilized tools, and consider repotting in fresh, drier medium. Sometimes, a division can just be weak and fail to thrive, and that’s okay too. It’s part of the learning process!
Don’t get discouraged if not every single propagation is a roaring success right away. Gardening, and especially orchid growing, is a journey of learning and observation. Be patient with your new Encyclia randii divisions, give them good care, and celebrate every new leaf and root. Happy growing!
Resource: