Hello plant lovers!
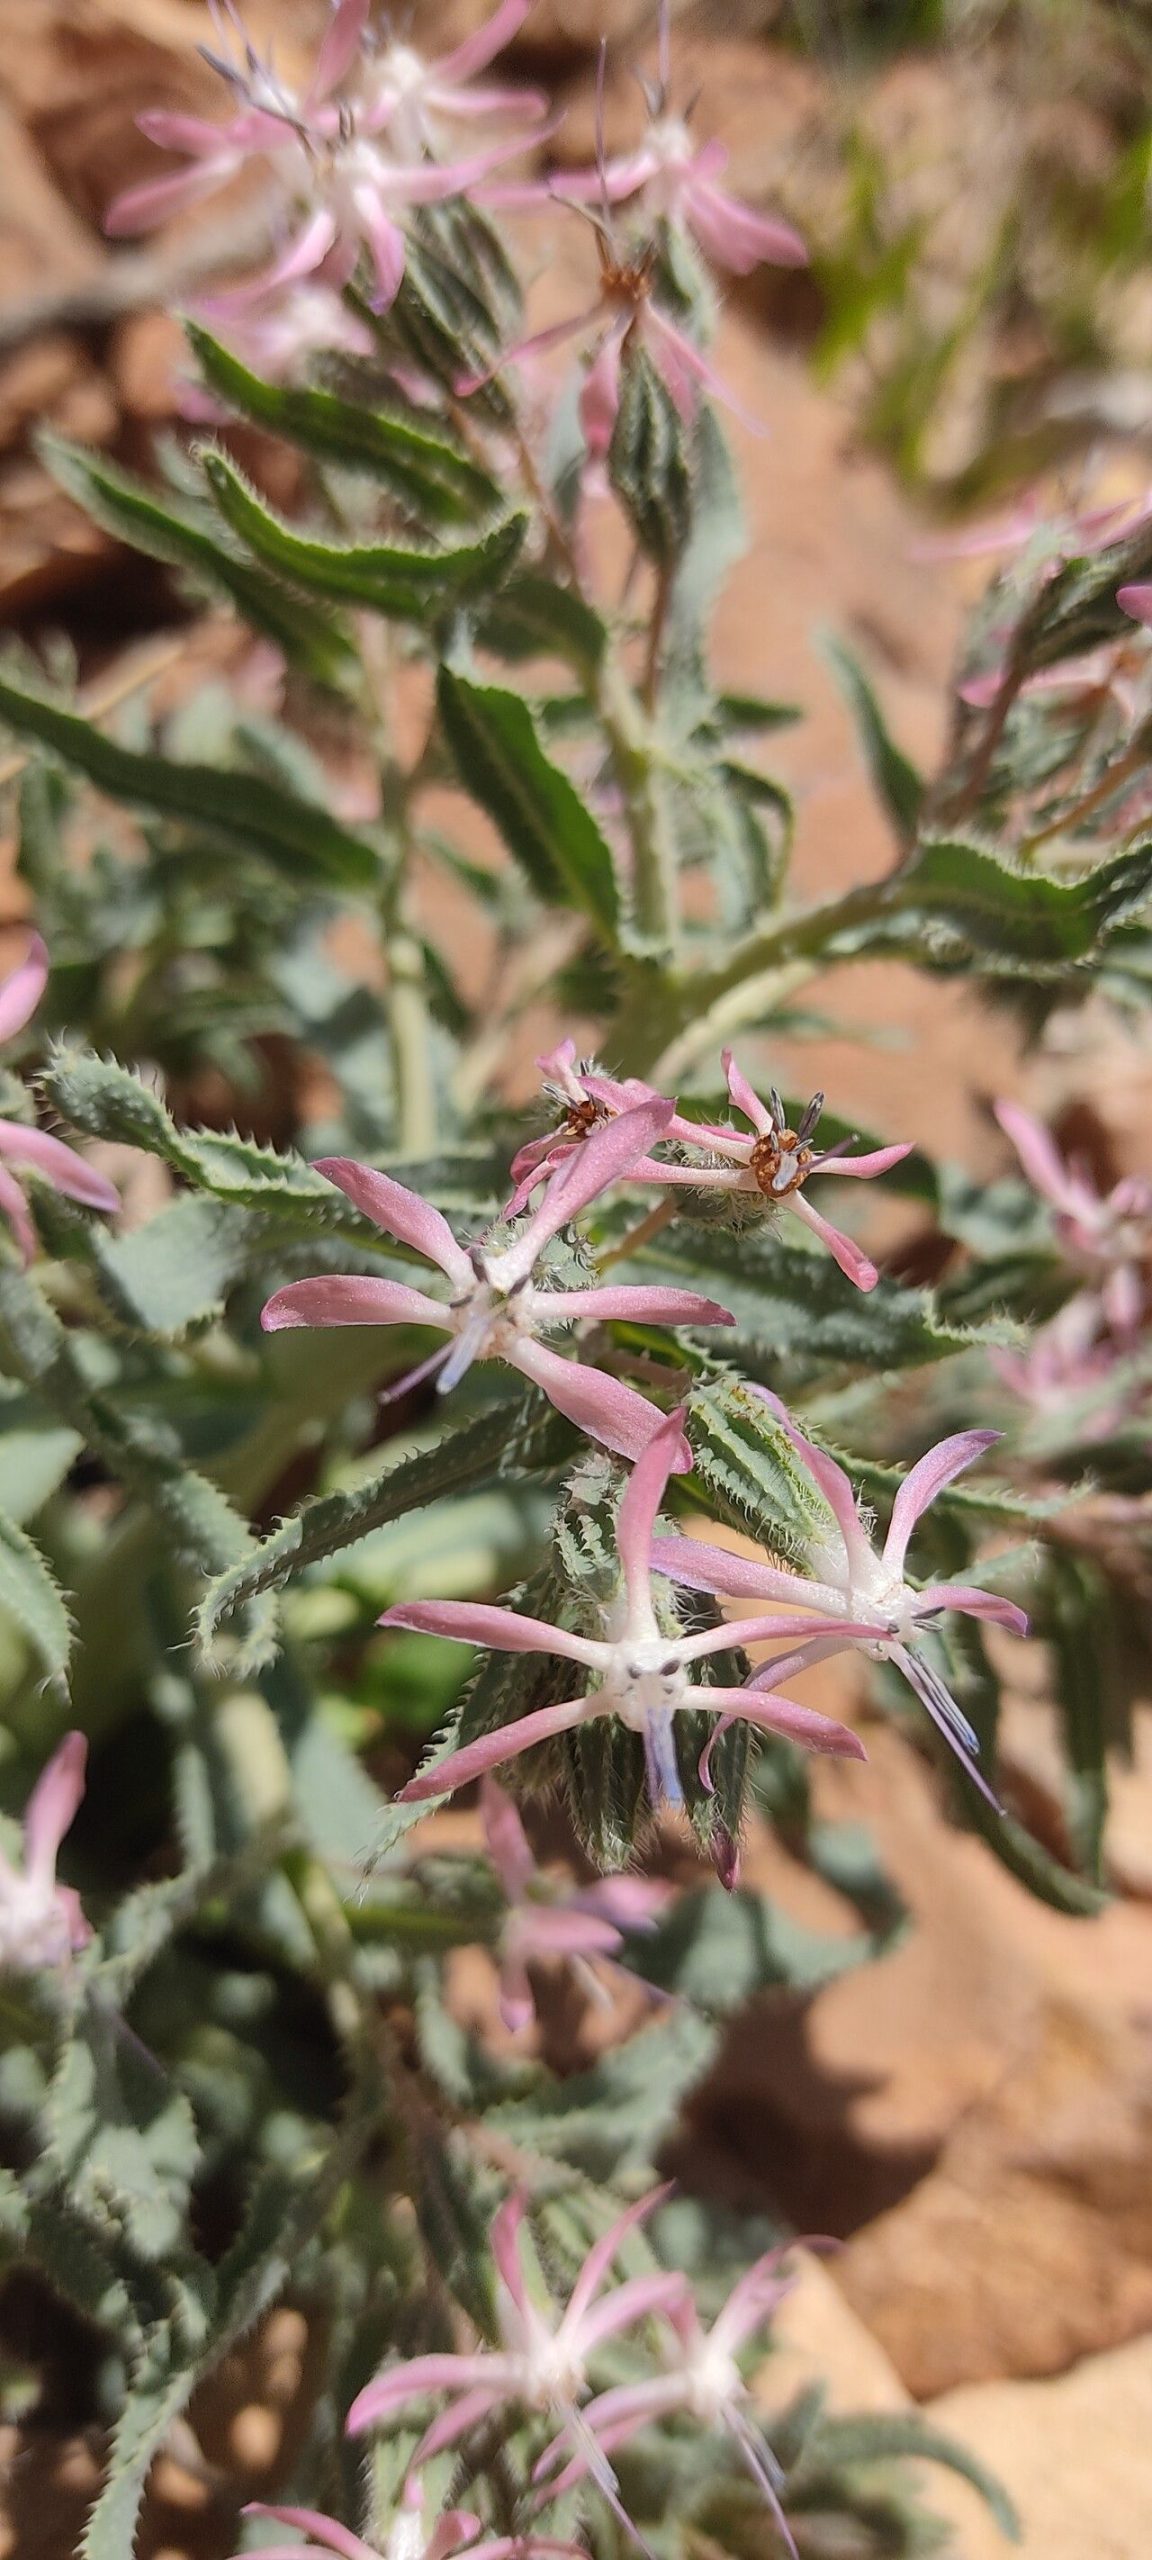
I’m so excited to chat with you today about a truly special plant: Moltkia ciliata, often known as Blue Hyssop. Its delicate, sapphire-blue flowers are an absolute showstopper in the garden, and there’s something incredibly satisfying about creating new life from an existing plant. If you’re looking to expand your collection of this beauty, or share it with friends, propagation is the way to go! Now, I won’t lie, Moltkia ciliata can be a little bit particular. It’s not quite a “stick it in the ground and it grows” kind of plant for beginners, but with a bit of care and attention, you can absolutely master it. Let’s get growing!
The Best Time to Start
For the highest chance of success, I always recommend propagating Moltkia ciliata in late spring or early summer. This is when the plant is actively growing, and the stems have matured just enough to be receptive to forming roots. You’re looking for slightly woody, but not fully mature, growth. Think of it as the “just right” stage – not too soft and floppy, and not too hard and brittle.
Supplies You’ll Need
Gathering your supplies beforehand makes the whole process much smoother. Here’s what I always have on hand:
- Sharp, clean pruning shears or a sharp knife: Essential for making clean cuts.
- Rooting hormone: While not strictly mandatory for every plant, for Moltkia ciliata, I find it really gives cuttings a helpful boost. Look for one formulated for stem cuttings.
- A well-draining potting mix: A good blend for us is usually one part peat moss, one part perlite, and one part coarse sand. Or, a good quality seed-starting mix amended with extra perlite will work too.
- Small pots or trays: About 3-4 inch pots are perfect for starting out. Make sure they have drainage holes!
- Plastic bags or a clear propagator: To create a mini-greenhouse effect.
- Watering can with a fine rose: For gentle watering.
Propagation Methods
The most reliable way I’ve found to propagate Moltkia ciliata is through stem cuttings.
- Taking the Cuttings: With your clean shears, select healthy, non-flowering shoots from your established plant. Cut a 4-6 inch piece just below a leaf node (where a leaf attaches to the stem). You want to ensure each cutting has at least two or three nodes.
- Preparing the Cuttings: Gently remove the lower leaves from the stem, leaving just a few at the top. This prevents them from rotting in the soil or water. If your cutting is particularly long, you can even cut a few of the top leaves in half to reduce water loss.
- Applying Rooting Hormone: Dip the cut end of each stem into your rooting hormone powder. You want a light, even coating. Tap off any excess.
- Planting the Cuttings: Fill your small pots with your prepared potting mix. Make a small hole in the center of the soil with your finger or a pencil. Carefully insert the prepared cutting into the hole, ensuring the nodes are buried in the soil. Gently firm the soil around the stem.
- Watering and Covering: Water the soil thoroughly but gently until you see water drain from the bottom of the pot. Now, the crucial step! Cover the pot with a clear plastic bag or place it in a propagator. This will help maintain high humidity, which is key for cuttings. You can use a bamboo skewer or two to prop up the bag so it doesn’t touch the leaves.
The “Secret Sauce” (Pro Tips)
Here are a couple of things I’ve learned over the years that really make a difference:
- Bottom Heat is Your Friend: If you have the space, placing your pots on a gentle heated propagator mat can significantly speed up root development. Moltkia ciliata just loves a little warmth from below.
- Don’t Overwater, Just Keep Moist: This is a tricky balance! You want the soil to remain consistently moist but never waterlogged. Check the soil regularly. If it feels dry to the touch, give it a light watering. Rot is the enemy here, so err on the side of slightly drier than too wet.
- A Touch of Air Circulation: While you need humidity, a completely sealed environment can encourage mold. Occasionally lift the plastic bag for a few minutes each day to allow for some air exchange.
Aftercare & Troubleshooting
Once your cuttings have been in their cozy, humid environment for about 4-6 weeks, it’s time to check for roots. You can gently tug on a cutting – if you feel resistance, roots have likely formed. You might also see new leaf growth emerging at the top.
Once roots appear, gradually acclimatize your new plants to drier air by slowly opening the plastic bag or propagator over a week or so. Continue to keep the soil consistently moist. When they’re sturdy enough to handle, you can repot them into slightly larger containers with fresh, well-draining soil.
What if things go wrong? The most common issue is stem rot. If you see your cuttings turning mushy or black, it’s usually a sign of too much moisture and not enough air circulation. Unfortunately, these are usually lost causes. Prevention is key here – ensure excellent drainage and don’t overwater! Another sign of trouble can be wilting, which might mean not enough humidity or that the cutting itself wasn’t healthy to begin with.
A Encouraging Closing
Propagating Moltkia ciliata is a wonderful way to enjoy this plant more fully. Be patient with yourself and the process. Some cuttings will root quicker than others, and some might not make it. That’s all part of gardening! Celebrate every success, learn from every challenge, and most importantly, enjoy the journey of nurturing these beautiful new plants. Happy gardening!
Resource: