Hello, fellow plant lovers!
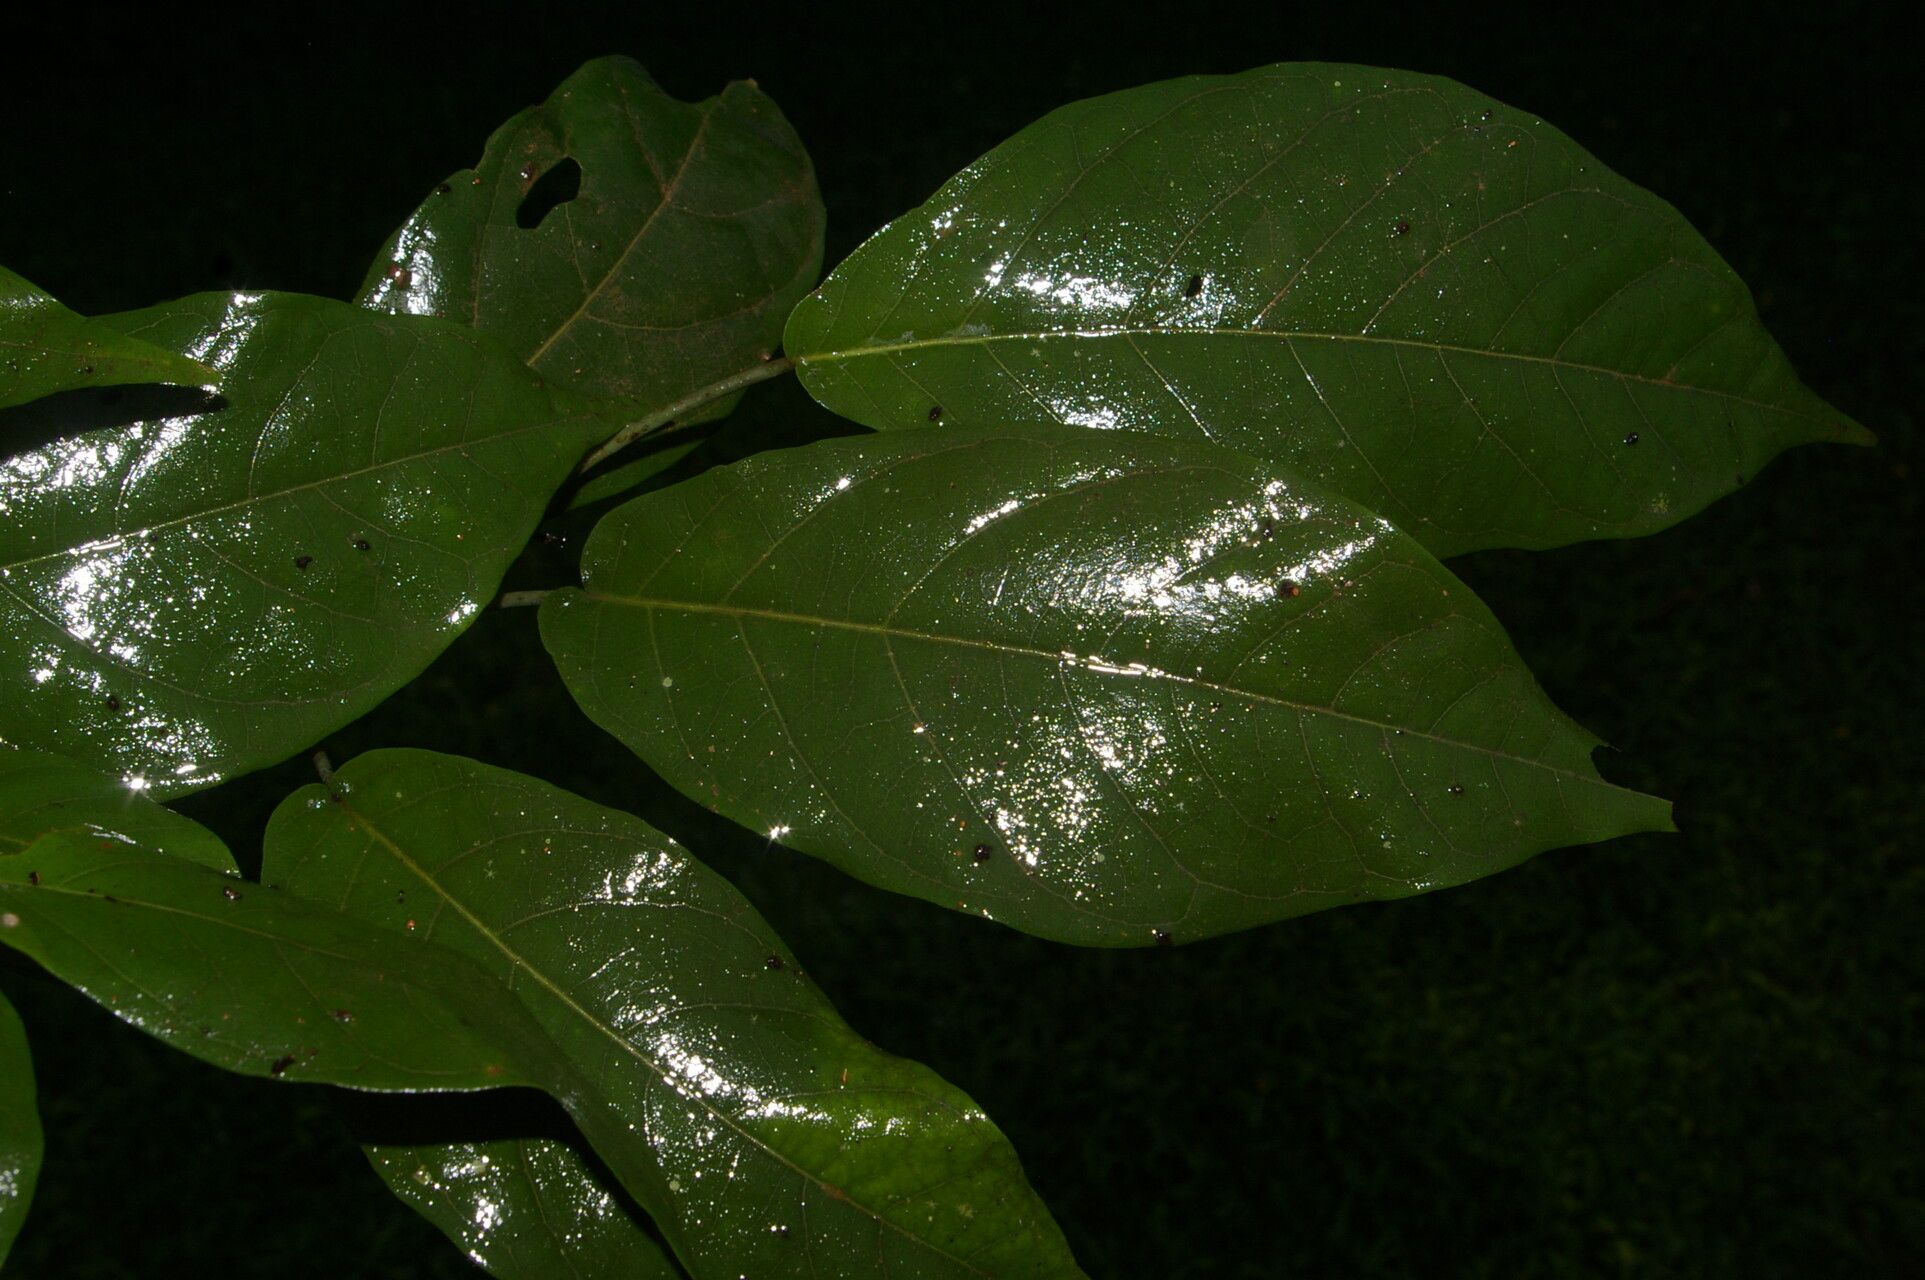
I’m so excited to chat with you today about a real gem in the tropical garden world: Coccoloba obovata. You might know it by its common name, Oval-Leaf Seagrape, and oh, what a beauty it is! Its broad, glossy leaves are simply stunning, and when it’s happy, it can produce delicate, cascading flower spikes followed by lovely, grape-like clusters. Growing these from scratch is incredibly satisfying – watching a tiny cutting transform into a robust plant tells a story of resilience and growth right in your own hands. Now, for the good news: Coccoloba obovata can be a bit of a project, but it’s by no means impossible for a beginner with a little patience and the right approach. Let’s dive in!
The Best Time to Start
For the best chance of success, aim to propagate Coccoloba obovata in the late spring or early summer. This is when the plant is actively growing, and its stems are full of life and energy. You’re looking for young, tender growth that snaps cleanly when bent, rather than woody, old stems. Think of it as catching the plant at its most vigorous!
Supplies You’ll Need
To get your propagation station set up, gather these essentials:
- Clean, sharp pruning shears or a knife: For making precise cuts.
- Rooting hormone (powder or gel): This really gives your cuttings a boost.
- Well-draining potting mix: A good recipe is equal parts peat moss or coco coir, perlite, and compost. Avoid heavy, dense soils.
- Small pots or propagation trays: With drainage holes, of course!
- Clear plastic bags or a propagator: To create a humid environment around your cuttings.
- Gardening gloves: Always a good idea!
- Watering can or spray bottle: For gentle moisture.
Propagation Methods
The most reliable way to multiply your Coccoloba obovata is through stem cuttings. It’s really quite straightforward once you get the hang of it.
- Select Your Cuttings: Choose a healthy, semi-hardwood stem that’s about 4-6 inches long. You want a section that has new growth at the tip but has started to firm up a little, not floppy green.
- Make the Cut: Using your clean shears, make a clean cut just below a leaf node (where a leaf attaches to the stem). This is where the magic of root formation is most likely to happen.
- Prepare the Cutting: Gently remove the lower leaves, leaving just one or two at the very top. This prevents them from rotting in the soil and encourages the plant to focus its energy on root development. If the top leaves are very large, you can even cut them in half to reduce water loss.
- Apply Rooting Hormone: Dip the cut end of the stem into your rooting hormone. Tap off any excess.
- Plant Your Cuttings: Fill your pots or trays with your prepared potting mix. Make a pilot hole with your finger or a pencil so you don’t rub off the rooting hormone. Gently insert the cutting into the hole, firming the soil around it.
- Create Humidity: Water the soil gently until it’s moist but not soggy. Then, cover the pot with a clear plastic bag or place it in a propagator. Ensure the bag doesn’t touch the leaves too much. You can use stakes if needed.
The “Secret Sauce” (Pro Tips)
Here are a few little tricks I’ve learned over the years that can make a big difference:
- Bottom Heat is Your Friend: If you have the setup, placing your cuttings on a gentle heat mat can significantly speed up rooting. It mimics the warmth of a tropical summer and really encourages those roots to get going.
- Don’t Drown Them!: While humidity is crucial, overwatering is the enemy of cuttings. The soil should feel consistently moist, like a wrung-out sponge, not waterlogged. I like to check the moisture by gently probing the soil with my finger or lifting the pot to feel its weight.
- The “Sniff Test”: When you’re checking on your cuttings, take a gentle sniff of the potting mix. If it smells sour or unpleasant, that’s a sign of anaerobic conditions and potential rot. It might be time to refresh the soil or at least air things out.
Aftercare & Troubleshooting
Once your cuttings have been planted, place them in a bright spot out of direct sunlight. Consistent warmth and humidity are key during this rooting phase.
Be patient! It can take several weeks to a few months for Coccoloba obovata cuttings to develop a strong root system. You’ll know they’ve rooted when you see new growth emerging from the top or feel gentle resistance when you give the cutting a slight tug.
The biggest culprit for failure is rot. If you notice your cuttings turning black and mushy, or if they detach easily from the stem, that’s usually a sign of too much moisture and not enough air circulation or heat. Don’t be discouraged if some don’t make it; it’s all part of the learning process! Just remove the affected cuttings and try again.
A Warm Closing
Propagating Coccoloba obovata is a rewarding journey. It’s a chance to connect with nature on a deeper level, to understand the life cycle of these beautiful plants, and to ultimately fill your home and garden with more greenery. Trust your instincts, be patient with the process, and enjoy every moment of your plant-parenting adventure. Happy propagating!
Resource:
https://identify.plantnet.org/k-world-flora/species/Coccoloba%20obovata%20Kunth/data