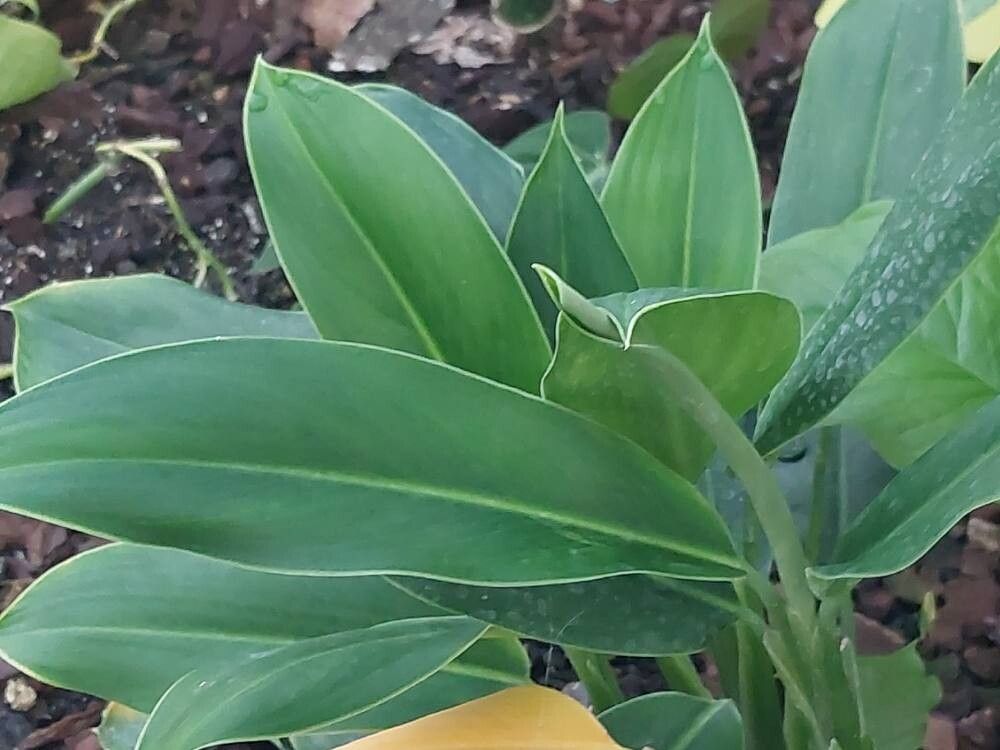
Hello fellow plant enthusiasts! Today, we’re diving into the wonderful world of propagating Stenospermation popayanense. This tropical beauty, with its elegant, lance-shaped leaves and striking architectural form, is a real showstopper. If you’ve ever admired one in a friend’s home or a botanical garden, you’ll know exactly what I mean. Getting more of these stunning plants for yourself or to share is incredibly satisfying. Honestly, for a tropical aroid explorer, this one isn’t overly fussy, making it a rewarding project even if you’re dipping your toes into propagation for the first time.
The Best Time to Start
When it comes to Stenospermation popayanense, the springtime is your sweet spot. As the days lengthen and the plant enters its most vigorous growing phase, it’s primed to produce fresh shoots that will root beautifully. Think of it as your plant getting a burst of energy after a winter nap – perfect for multiplication!
Supplies You’ll Need
Here’s what you’ll want to have on hand for a smooth propagation session:
- Sharp Pruning Shears or a Clean Knife: Essential for making clean cuts.
- Well-Draining Potting Mix: A blend of perlite, orchid bark, and peat moss works wonders. You can also use a good quality potting soil mixed with plenty of perlite to ensure aeration.
- Small Pots or Propagation Trays: Anything that can hold your cuttings and soil.
- Rooting Hormone (Optional but Recommended): A great boost for encouraging root development. I prefer a powder form.
- Clear Plastic Bag or Humidity Dome: To create a mini greenhouse environment.
- Water: For watering and, of course, if you opt for water propagation.
- Rubbing Alcohol: To sterilize your tools between cuts.
Propagation Methods
We’ve got a couple of trusty ways to get more Stenospermation popayanense going. Let’s break them down.
Stem Cuttings
This is my go-to method for these plants.
- Select a Healthy Stem: Look for a mature, healthy stem that has at least two to three nodes (where the leaves emerge). Make sure it’s not too woody but also not super soft and new.
- Make the Cut: Using your clean, sharp pruning shears or knife, make a cut just below a node. This is where the magic usually happens, as roots are more likely to form from these points. Sterilize your tool with rubbing alcohol before making your cut.
- Prepare the Cutting: Gently remove any lower leaves that would end up buried in the soil. You want to expose the nodes.
- Apply Rooting Hormone (Optional): Dip the cut end into your rooting hormone powder, tapping off any excess.
- Pot It Up: Fill a small pot with your well-draining potting mix. Make a small hole in the center and insert the cut end of your stem cutting. Gently firm the soil around the base.
- Water Gently: Water the soil thoroughly but avoid waterlogging.
- Create Humidity: Cover the pot with a clear plastic bag or place it under a humidity dome. This keeps the moisture high, which is crucial for cuttings to root. You can prop up the bag with a stick or two so it doesn’t touch the leaves.
Water Propagation
This is a bit more hands-off initially and visually satisfying to see those roots grow.
- Take Your Cutting: Follow steps 1-3 above for taking a healthy stem cutting with at least one to two nodes.
- Place in Water: Fill a clean jar or glass with room-temperature water. Place your cutting in the water, ensuring at least one node is submerged. Crucially, make sure no leaves are submerged in the water.
- Find a Spot: Place the jar in a bright location with indirect sunlight.
- Change the Water: Change the water every few days or when it starts to look cloudy. This prevents bacterial growth.
The “Secret Sauce” (Pro Tips)
Over the years, I’ve learned a few little tricks that can really help your cuttings thrive.
- Bottom Heat is Your Friend: Especially for stem cuttings planted in soil, popping them on a seedling heat mat can significantly speed up the rooting process. It mimics the warmth of the tropics and encourages those roots to get a move on.
- Don’t Rush to Pot: If you’re water propagating, wait until your roots are at least an inch or two long before moving them to soil. Strong roots in water translate to a better start in their new home.
- Air Circulation Matters: Even with the humidity dome, it’s a good idea to open the bag or dome for a few minutes each day to allow for some fresh air exchange. This helps prevent fungal issues.
Aftercare & Troubleshooting
Once you see new growth emerging from your cutting, it’s a sign that roots have developed!
- For Soil Cuttings: Gradually acclimate your new plant to its environment by slowly removing the plastic bag or humidity dome over a week. Start by opening it for a few hours each day. Continue to keep the soil evenly moist but not soggy.
- For Water Cuttings: Once you have a good root system, you can pot your cutting into your well-draining potting mix. Water it well and treat it much like you would a newly potted soil cutting.
- Troubleshooting: The most common issue you might face is rot. If a cutting turns mushy and black, it’s usually a sign of too much moisture or not enough air circulation. If you see this, remove the affected part immediately and try to improve ventilation or adjust your watering. Yellowing leaves can sometimes mean it needs a bit more light, or conversely, too much direct sun. Observe your plant closely!
Happy Propagating!
Watching a new plant unfurl its first leaves from a tiny cutting is such a rewarding experience. Be patient with your Stenospermation popayanense cuttings. Some might take longer than others, and that’s perfectly normal. Celebrate each success, learn from any setbacks, and most importantly, enjoy the journey of growing your own green paradise. Happy propagating!
Resource:
https://identify.plantnet.org/k-world-flora/species/Stenospermation%20popayanense%20Schott/data