Hello fellow garden enthusiasts!
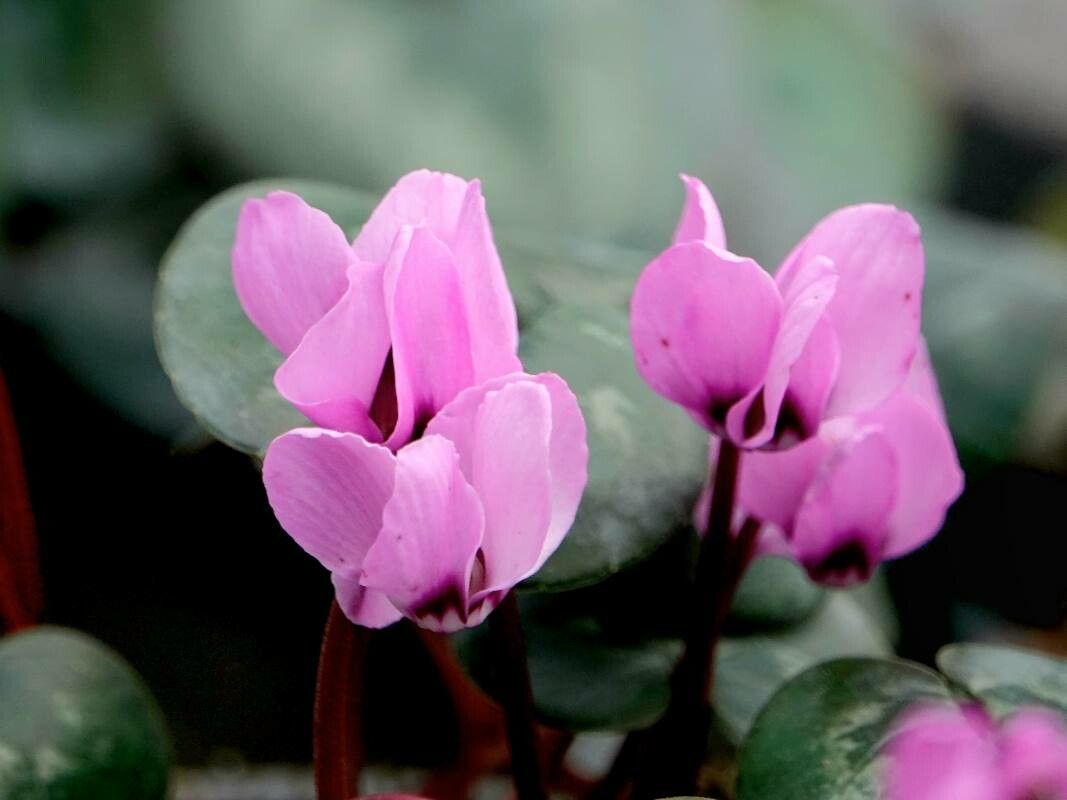
If you’ve ever been captivated by the delicate, jewel-toned blooms of Cyclamen coum, you know the quiet joy they bring to a shady corner, especially when much of the garden is still sleeping. These charming little plants, often called Eastern cyclamen or hardy cyclamen, unfurl their petals in the cooler months, adding a welcome splash of color. Propagating them yourself is a wonderfully rewarding endeavor, allowing you to multiply that beauty and share it with friends. While some cyclamen can be a bit finicky, I find Cyclamen coum to be a surprisingly amiable plant to propagate, making it a great project for many gardeners.
The Best Time to Start
For Cyclamen coum, the magic happens in late spring or early summer, right after the plant has finished flowering and its leaves begin to yellow and die back. This is its dormant period, and it’s when the plant is most receptive to being divided or when its seeds are ready to be collected. Trying to propagate while it’s actively growing and blooming can stress the plant.
Supplies You’ll Need
Here’s what I usually gather before I get started:
- Sharp pruning shears or a clean knife: For making clean cuts.
- Well-draining potting mix: A blend of peat moss, perlite, and a little compost works wonders. You can also buy specific cyclamen or seed starting mixes.
- Small pots or seed trays: Whatever you have on hand will do, as long as they have drainage holes.
- Watering can with a fine rose attachment: For gentle watering.
- Labels and a waterproof pen: So you don’t forget what you planted where!
- Rooting hormone (optional, but helpful for cuttings): A dip of this can give your cuttings a boost.
Propagation Methods
Cyclamen coum is primarily propagated by division or seeds. Stem cuttings aren’t really a thing with this type of cyclamen.
Division: Multiplying Your Corms
This is my go-to method for increasing my stock of Cyclamen coum.
- Dig gently: Once the foliage has faded, carefully dig up the entire plant, corm and all. Be very gentle not to damage the corm.
- Clean the corm: Gently brush off excess soil from the corm. You’ll see the main central bud on top and smaller offsets, or tubers, attached to the sides.
- Divide with care: Using your clean knife or shears, carefully cut the corm into sections. Ensure each section has at least one growth bud. If you have very distinct, naturally separated offsets, you can gently pull them apart.
- Let them air dry (briefly): For a few hours, let the divisions sit on a dry surface. This helps to callus over any cut surfaces and reduces the risk of rot.
- Pot them up: Plant each division in its own pot, with the top of the corm just at or slightly above the soil surface.
Seeds: A Patient Gardener’s Reward
Growing from seed is a longer process but incredibly satisfying.
- Collect seeds: After flowering, you’ll see seed pods form. Let these mature and dry on the plant until they split open. Collect the small, dusty seeds.
- Sowing: Sow the seeds thinly on the surface of your well-draining seed mix in a pot or tray. Do not cover them deeply; a very light dusting of fine grit or vermiculite is enough.
- Moisture is key: Keep the seed mix consistently moist but not waterlogged. I like to place the pots in a shallow tray of water and let them soak up moisture from the bottom until the surface is damp.
- Cool, dark conditions: Cover the pot with a clear lid or plastic wrap to maintain humidity. Place it in a cool, dark spot. Germination can take anywhere from a few weeks to several months. Be patient!
- First true leaves: Once seedlings appear and have their first set of true leaves, you can carefully prick them out and transplant them into individual small pots.
The “Secret Sauce” (Pro Tips!)
Here are a few little tricks I’ve learned over the years:
- Don’t be afraid of the dormant corm: Those fleshy lumps might not look like much, but they’re packed with potential. Handle them with respect, but know they can take a bit of gentle manipulation.
- A touch of bottom heat helps seeds: If you’re sowing seeds, especially in a cooler greenhouse, a gentle heating mat underneath the seed tray can really encourage germination. Just keep it mild, around 60-65°F (15-18°C).
- Think “airy” for divisions: When planting your divided corms, ensure the top of the corm is exposed to air. This prevents moisture from settling and causing rot.
Aftercare & Troubleshooting
Once your new cyclamen divisions or seedlings are potted, water them gently. For divisions, you can water sparingly until you see new growth. For seedlings, maintain that consistent moisture.
Rot is the most common foe here. Signs of rot include a soft, mushy corm or wilting, yellowing leaves that don’t seem to be related to dormancy. The best way to prevent it is through excellent drainage and avoiding overwatering. If you suspect rot on a division, you may need to cut away the affected parts with a sterile knife and let the remaining healthy bits callus over again.
A Closing Thought
Propagating Cyclamen coum is a journey, not a race. It requires a bit of patience, a keen eye, and a gentle hand. But oh, the satisfaction of watching those tiny sprouts emerge or seeing your divided corms burst into bloom! Trust your instincts, enjoy the process, and soon you’ll have more of these delightful flowers to brighten your world. Happy gardening!
Resource:
https://identify.plantnet.org/k-world-flora/species/Cyclamen%20coum%20Mill./data