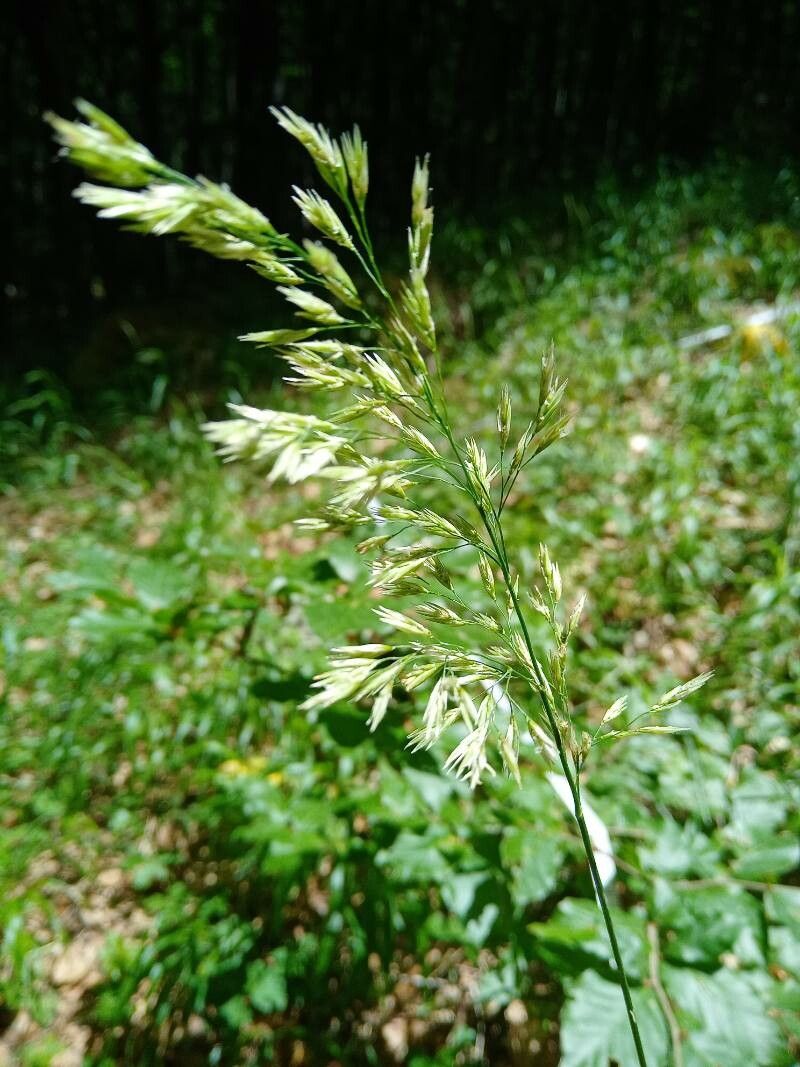
Oh, Festuca drymeja! Isn’t she a beauty? That silvery-blue foliage just dances in the breeze, adding such an elegant touch to any garden. If you’ve got a clump that’s thriving, you might be thinking about getting more of this lovely grass. Trust me, propagating it yourself is incredibly satisfying. It’s one of those plants that’s not overly fussy, so even if you’re just dipping your toes into propagation waters, Festuca drymeja is a pretty forgiving friend to start with.
When to Get Your Hands Dirty
The absolute best time to tackle this project is in the spring, as soon as the danger of hard frost has passed. The days are getting longer, and our little Festuca is just waking up and ready to put on a growth spurt. This is when it has the most energy to bounce back and start putting out new roots, giving you the best chance of success.
Your Propagation Toolkit
Before we dive in, let’s gather our supplies. Having everything ready makes the process so much smoother:
- Sharp, clean pruning shears or a sharp knife: Essential for making clean cuts.
- Well-draining potting mix: A good quality mix designed for succulents or cacti works wonderfully, or you can create your own by blending potting soil with perlite or pumice.
- Small pots or trays: Choose something that fits the size of the cuttings or divisions you’ll be taking. Ensure they have drainage holes!
- Rooting hormone (optional but recommended): This can give your cuttings an extra boost. There are powder and liquid forms available.
- A watering can with a fine rose or a spray bottle: For gentle watering.
- Labels and a marker: So you don’t forget what you planted!
- A light source: A sunny windowsill or grow lights if natural light is limited.
- Bottom heat (optional but helpful): A seedling heat mat can speed up root development.
Getting Your New Festucas Started
For Festuca drymeja, division is honestly your easiest and most reliable route. While you could try stem cuttings, the grass nature of this plant makes division far more straightforward.
Propagating by Division:
- Prepare the Mother Plant: Water your existing Festuca drymeja plant thoroughly a day or two before you plan to divide it. This helps keep the soil moist and makes the root ball easier to handle.
- Gently Excavate: Carefully dig up the entire clump. You can then turn it onto its side.
- The Big Split: Using your clean pruning shears or knife, gently separate the clump into smaller sections. You want each section to have a healthy amount of roots and at least a few shoots or emerging leaves. Don’t be afraid to get in there; just be mindful of the roots. If it’s a bit tough, you can use your hands to tease apart the roots.
- Potting Up: Fill your small pots with the well-draining potting mix. Make a little hollow in the center for the roots.
- Plant Away: Place each divided section into a pot, ensuring the roots are well spread out. Cover with more soil, pressing down gently to secure it. The crown of the plant (where the leaves meet the roots) should be at soil level.
- Water In: Water the newly potted divisions thoroughly.
The “Secret Sauce” for Success
Now for a couple of insider tricks that have always worked for me:
- Don’t Overshadow: When placing your new divisions, make sure they get bright, indirect light. Too much direct sun right away can scorch those tender new shoots that are trying to find their footing. A bright windowsill is usually perfect.
- Humidity Hint: While we want good drainage, a little humidity can be your friend in the initial rooting phase. You can achieve this by placing the pots in a shallow tray of water, but ensure the soil level doesn’t touch the water directly. This creates a humid microclimate around the plants without risking waterlogged roots. Alternatively, a gentle misting once or twice a day works wonders.
Nurturing Your New Arrivals and What to Look For
Once your Festuca drymeja divisions are potted up, keep the soil consistently moist but not waterlogged. Think of it like a wrung-out sponge. As they start to settle in, you’ll see new shoots appearing. This is a good sign they are establishing!
The main thing to watch out for is rot. If you see leaves turning mushy and brown, or the soil feels perpetually soggy, you’re likely overwatering. Make sure your pots have excellent drainage, and adjust your watering schedule. If a division really isn’t taking, it’s usually a sign that the root system wasn’t strong enough, or it was perhaps too wet. Don’t get discouraged!
Keep Growing!
Propagating plants is a journey, and it’s so rewarding to see your efforts flourish. Be patient with your new Festuca drymeja divisions. Give them a little time, provide them with good care, and soon you’ll have more of that gorgeous blue-green beauty to enjoy. Happy gardening!
Resource:
https://identify.plantnet.org/k-world-flora/species/Festuca%20drymeja%20Mert.%20&%20W.D.J.Koch/data