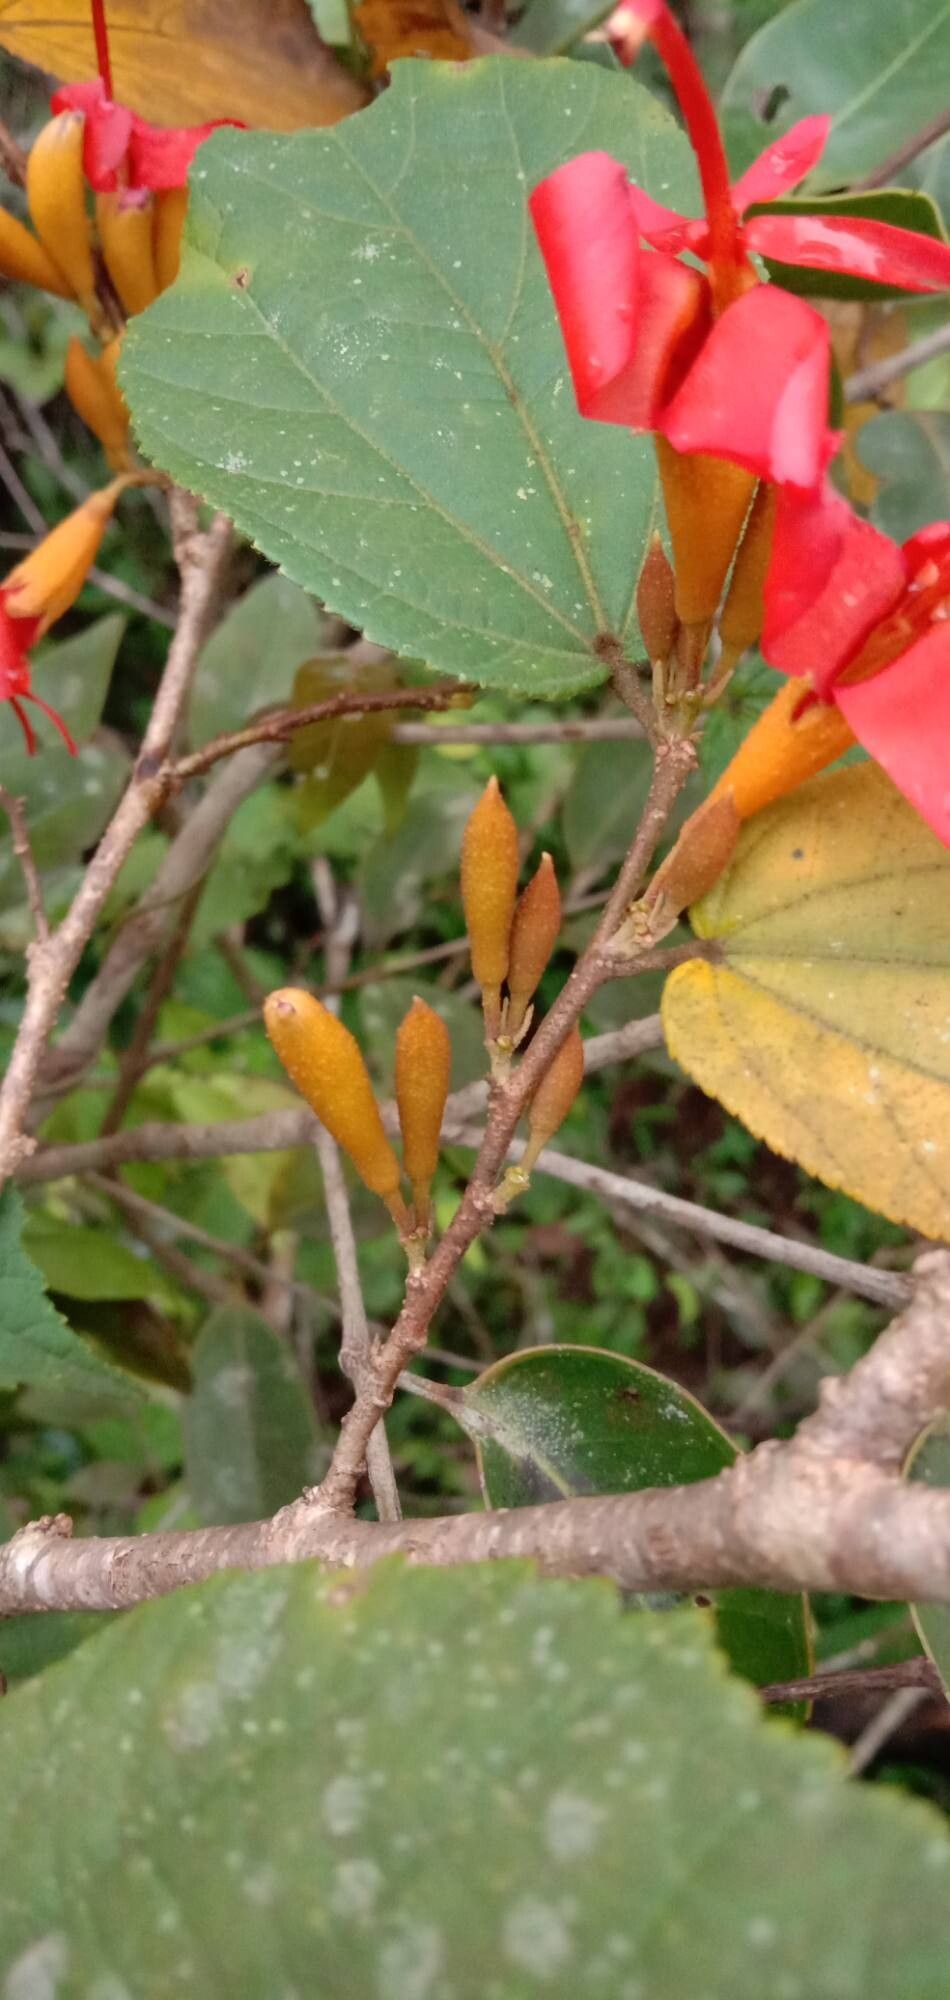
Oh, Helicteres isora! What a fascinating plant. If you’re anything like me, the twisting, architectural stems and those unique, spiraling seed pods have caught your eye. It’s a plant that just looks interesting, and truthfully, growing them from scratch is incredibly satisfying. Now, is it a walk in the park for a brand-new gardener? I’d say it’s a tad more involved than a simple pothos, but with a little guidance, absolutely achievable!
The Best Time to Start
For Helicteres isora, I’ve found the sweet spot is usually late spring to early summer. This is when the plant is in active growth, pushing out those new, enthusiastic shoots. Starting your propagation efforts then means those new babies have a whole growing season ahead of them to establish themselves.
Supplies You’ll Need
Gathering your tools beforehand makes the whole process so much smoother. Here’s what I always have on hand:
- Sharp Pruning Shears or a Knife: For clean cuts that heal better.
- Rooting Hormone: A good quality powder or gel can really boost success.
- Well-Draining Potting Mix: I usually mix equal parts peat moss, perlite, and coarse sand. You can also buy a dedicated cactus and succulent mix.
- Small Pots or Trays: For your cuttings. Make sure they have drainage holes!
- Watering Can with a Fine Rose: For gentle watering.
- Plastic Bag or Propagator Lid: To create a humid environment.
- Optional: Bottom Heat Mat: Especially helpful in cooler climates.
Propagation Methods
I find stem cuttings to be the most reliable way to go for Helicteres isora. Let’s get our hands dirty!
Stem Cuttings
- Select Your Cuttings: Look for healthy, non-flowering stems that are at least 4-6 inches long. You want to take them from new growth, not old, woody material.
- Make the Cut: Using your clean shears or knife, make a clean cut just below a leaf node (where a leaf attaches to the stem). This is where the magic of rooting usually happens.
- Prepare the Cutting: Gently remove the lower leaves. You want to expose a few inches of bare stem. If the leaves are very large, you can even cut them in half to reduce water loss.
- Apply Rooting Hormone: Dip the cut end of the stem into your rooting hormone. Tap off any excess.
- Plant the Cutting: Fill your small pots with your well-draining mix. Make a small hole with your finger or a pencil, and insert the cutting. Gently firm the soil around it.
- Water Gently: Water the potting mix thoroughly until water drains from the bottom.
- Create Humidity: Place the pot inside a plastic bag or cover it with a propagator lid. Make sure the leaves aren’t directly touching the plastic if possible. This traps moisture, which is crucial.
The “Secret Sauce” (Pro Tips)
Here are a couple of things I’ve learned over the years that can make a real difference:
- Don’t Overwater Early On: While we want humidity, a constantly soggy environment is a fast track to rot. Let the surface of the soil dry out slightly between waterings, especially before roots develop.
- Bottom Heat is Your Friend: If you can, placing your pots on a heated propagator mat can dramatically speed up root formation. It mimics the warm soil of springtime, giving those cuttings a real boost.
Aftercare & Troubleshooting
Once your cuttings have rooted (this can take anywhere from 4-8 weeks, sometimes longer), you’ll start to see signs of new growth.
- Transitioning: Once you see this new growth, you can gradually remove the humidity cover over a few days to acclimate your new plant to normal conditions.
- Watering: Continue to water when the top inch of soil feels dry.
- Light: Place your new plant in a bright, indirect light spot. Avoid harsh, direct sun as it establishes.
The most common issue you’ll encounter is rot. If your cutting turns black and mushy, or you see mold on the soil, unfortunately, it’s likely a goner. This usually happens from too much moisture and not enough air circulation. Don’t be discouraged! Try again, perhaps with a slightly drier mix or less frequent watering. Yellowing leaves can also be a sign of overwatering, while droopy, wilting leaves might indicate it’s just too dry.
Happy Propagating!
Watching that first tiny leaf unfurl on a cutting you started is truly a special feeling. Be patient with your Helicteres isora cuttings. Nature takes its time, and a little bit of nurturing goes a long way. Enjoy the process, and soon you’ll have a small jungle of these wonderful plants!
Resource:
https://identify.plantnet.org/k-world-flora/species/Helicteres%20isora%20L./data