Hello, fellow plant lovers! Today, we’re diving into the wonderful world of Lecythis persistens, often called the Monkey Pot tree. If you’ve ever admired its beautiful, often large, leathery leaves and the fascinating, urn-shaped seed pods it produces, you’re not alone! It’s a truly captivating specimen. Propagating this beauty for yourself is incredibly rewarding. Now, Lecythis persistens can be a bit of a discerning plant, so while not the easiest for a complete beginner, it’s definitely achievable with a little patience and the right approach. Trust me, seeing a new little tree sprout from your efforts is a feeling like no other.
The Best Time to Start
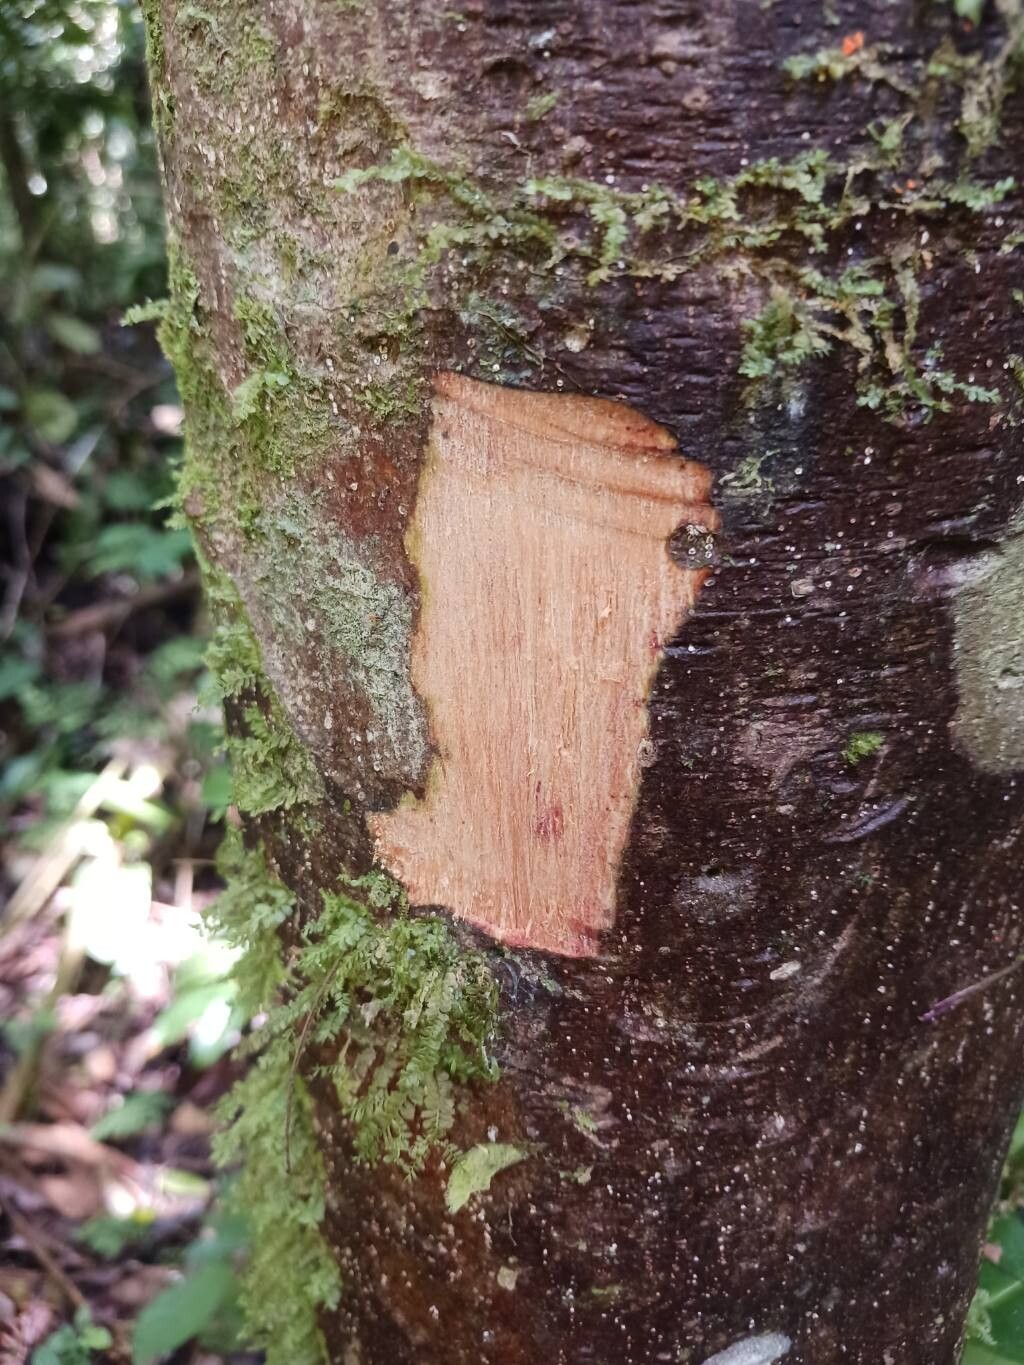
For Lecythis persistens, the sweet spot for propagation is when the plant is actively growing. Think late spring through summer. You want to take cuttings from healthy, vigorous stems that are neither brand-new, soft growth nor old, woody material. The plant is full of energy then, and your cuttings have the best chance of success.
Supplies You’ll Need
Here’s what I suggest you have on hand before you get started:
- Sharp, clean pruning shears or a knife: For making clean cuts.
- Rooting hormone: A powder or gel helps significantly with root development.
- Well-draining potting mix: I like a blend of about 50% peat moss or coco coir and 50% perlite or coarse sand. This is crucial to prevent soggy soil.
- Small pots or seedling trays: With drainage holes, of course!
- A clear plastic bag or propagation dome: To create a humid environment.
- Optional: Bottom heat mat: This can speed up root formation.
Propagation Methods
The most reliable way I’ve found to propagate Lecythis persistens is through stem cuttings. It’s a tried-and-true method for many woody plants, and it works well here.
- Select Your Cuttings: Choose a healthy, semi-hardwood stem (meaning it’s not too soft and green, but not fully mature and woody). Look for a stem that’s about 4-6 inches long and has at least two or three nodes (where leaves attach to the stem).
- Make the Cut: Using your clean shears, make a clean cut just below a node. This is where roots are most likely to emerge.
- Prepare the Cutting: Gently remove the lower leaves from the cutting, leaving about two or three at the very top. If the top leaves are very large, you can even cut them in half to reduce water loss.
- Apply Rooting Hormone: Dip the cut end of the stem into your rooting hormone, tapping off any excess.
- Plant Your Cutting: Fill your small pots with your well-draining potting mix. Make a hole in the center with your finger or a pencil. Gently insert the cutting into the hole, ensuring the node where you removed the lower leaves is buried in the soil. Firm the soil gently around the stem.
- Create Humidity: Water the soil lightly. Then, cover the pot with a clear plastic bag, creating a mini-greenhouse effect, or place it under a propagation dome. Make sure the plastic doesn’t touch the leaves.
The “Secret Sauce” (Pro Tips)
From my years of getting my hands dirty, here are a few little tricks that can make a big difference:
- Don’t Overwater: This is probably the biggest killer of cuttings. The soil should be consistently moist, not soggy. If you can squeeze water out of the soil when you pick up a handful, it’s too wet.
- Bottom Heat is Your Friend: Placing your pots on a propagation mat set to a gentle warmth (around 70-75°F or 21-24°C) really encourages those roots to form faster. It mimics the warmth you’d find coming up from the soil in nature.
- Watch for Rot, Not Just Dryness: While you don’t want your cuttings to dry out, be vigilant about signs of rot. If the stem looks mushy or discolored at the soil line, it’s likely succumbed to fungal issues. Sometimes, taking the cutting out and re-cutting it can save it, but often it’s time to try again.
Aftercare & Troubleshooting
Once your cuttings are planted, place them in a bright spot but out of direct sunlight. Direct sun can scorch the young leaves and overheat the enclosed humidity dome. Keep the soil consistently moist.
You’ll know your cutting has successfully rooted when you see new growth appearing, or if you gently tug on the cutting (don’t pull it out!) and feel resistance. This usually takes anywhere from a few weeks to a couple of months, depending on the conditions.
The most common issue you’ll face is rot. If you see browning or blackening at the base of the stem, it’s often a sign of overwatering or poor drainage. If you catch it early, you might be able to save it by letting the soil dry out a bit more and ensuring good air circulation. Yellowing leaves can sometimes mean it’s not getting enough light, or it could be a sign of stress. Don’t panic; observe your plant and adjust.
A Little Encouragement
Remember, gardening is a journey, and propagation is an art. Some cuttings will thrive, and some won’t – that’s just part of the process! Be patient with your Lecythis persistens, celebrate every tiny sign of progress, and enjoy the satisfaction of growing something beautiful from scratch. You’ve got this!
Resource:
https://identify.plantnet.org/k-world-flora/species/Lecythis%20persistens%20Sagot/data