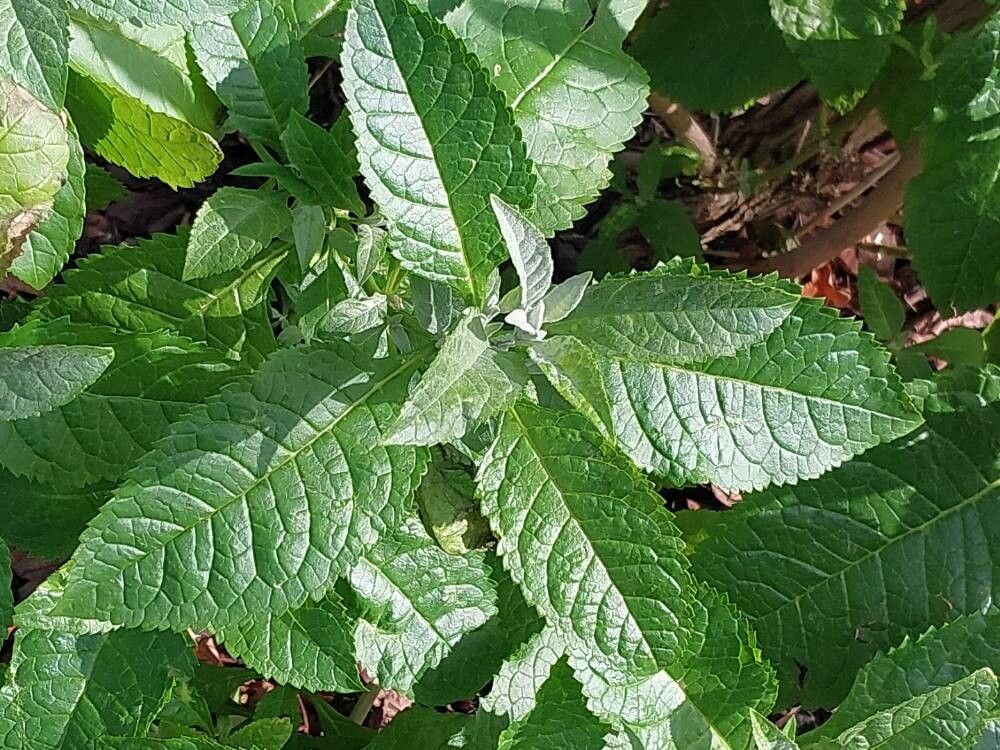
Oh, Buddleja sessiliflora! What a lovely choice to start propagating. This particular butterfly bush, often overlooked for its more flamboyant cousins, has a subtle charm. Its clusters of often fragrant, nectar-rich flowers are a magnet for pollinators, and the sturdy growth habit makes it a reliable garden performer. Best of all, propagating it is surprisingly straightforward, even for those of you just dipping your toes into the wonderful world of plant multiplication. There’s a special kind of joy in nurturing a new plant from a tiny cutting – it’s like watching a little miracle unfold right in your own home!
The Best Time to Start
For the best success with Buddleja sessiliflora, I always recommend working with semi-hardwood cuttings. This means you’re taking cuttings from stems that are no longer completely soft and green (like brand new growth) but also haven’t become fully woody and mature. The sweet spot for this is usually in late spring to mid-summer, after the initial flush of spring growth has started to mature slightly. You’ll know you’ve got the right material when the stem bends rather than snaps cleanly.
Supplies You’ll Need
Gathering your supplies before you dive in makes the whole process so much smoother. Here’s what I always have on hand:
- Sharp pruning shears or a clean, sharp knife: For making clean cuts. Don’t use dull tools; they’ll crush the stem.
- Rooting hormone (powder or gel): While not strictly mandatory for all Buddleja, it gives your cuttings a real boost.
- A good quality potting mix: I like a mix that drains well, often combining equal parts peat moss or coco coir with perlite or coarse sand. You can also buy specific seed starting or propagation mixes.
- Small pots or trays: Clean, small containers (like 4-inch pots or seedling trays) are perfect. Make sure they have drainage holes!
- A clear plastic bag or propagator lid: To create a humid environment.
- Water: For misting and watering.
Propagation Methods
We’ll focus on the most reliable method for Buddleja sessiliflora: stem cuttings. It’s tried and true!
- Taking the Cuttings: Head out to your plant with your clean shears. Look for those semi-hardwood stems. You want to take cuttings that are about 4-6 inches long. Make a clean cut just below a leaf node (where a leaf emerges from the stem). Remove any flower buds – they’ll just drain energy from the cutting.
- Preparing the Cuttings: Gently strip off the lower leaves, leaving just a few leaves at the top to catch sunlight. You can even cut the remaining leaves in half horizontally to reduce water loss.
- Applying Rooting Hormone: Dip the cut end of each stem into your rooting hormone, coating about an inch of the base. Tap off any excess.
- Planting the Cuttings: Fill your pots or trays with your prepared potting mix. Make a hole in the soil with a pencil or your finger. Carefully insert the cutting into the hole, ensuring the rooting hormone stays on the bottom. Firm the soil gently around the base to make sure the cutting is stable.
- Settling Them In: Water the potting mix thoroughly until water drains from the bottom.
- Creating Humidity: Cover the pots or trays with a clear plastic bag or propagator lid. This is crucial for keeping the humidity high, which prevents the cuttings from drying out before they can root. You can use stakes to keep the plastic from touching the leaves. Place them in a bright spot, but out of direct, scorching sunlight.
The “Secret Sauce” (Pro Tips)
Here are a few things I’ve learned over the years that really make a difference:
- Bottom Heat is Your Friend: If you have a seedling heat mat, placing your propagation trays on it can significantly speed up rooting. It encourages root development from below. You’ll notice a difference!
- Don’t Drown Your Dreams: While humidity is key, sodden soil is a recipe for rot. Let the top inch of soil dry out slightly between waterings. It’s better to be a touch dry than waterlogged.
- Be Patient with the Leaves: If you’re water propagating (which you can do with Buddleja, but it’s often less successful than soil), make absolutely sure no leaves are touching the water. They’ll rot, and that rot will travel down the stem.
Aftercare & Troubleshooting
Once your cuttings have started to root – and you’ll know this is happening when you see new leaf growth in about 4-8 weeks, or when they resist gently tugging – it’s time to start transitioning them.
Gradually remove the plastic cover over a week or two to acclimatize them to lower humidity. Continue to water them regularly, making sure the soil doesn’t dry out completely. Once they have a good root system and are showing robust growth, you can transplant them into slightly larger pots with your regular potting mix.
The most common problem you might encounter is rot. If your cuttings start to look mushy or develop black spots, they’ve likely been too wet. Unfortunately, once rot sets in, it’s hard to save them. This is why controlling moisture and ensuring good drainage is so vital.
A Little Encouraging Closing
Propagating Buddleja sessiliflora is a wonderfully rewarding journey. Don’t be discouraged if not every cutting takes. Gardening is all about experimentation and learning from each attempt. Enjoy the process, observe your little cuttings, and soon you’ll have more of these delightful plants to share with friends or fill your own garden with! Happy propagating!
Resource:
https://identify.plantnet.org/k-world-flora/species/Buddleja%20sessiliflora%20Kunth/data