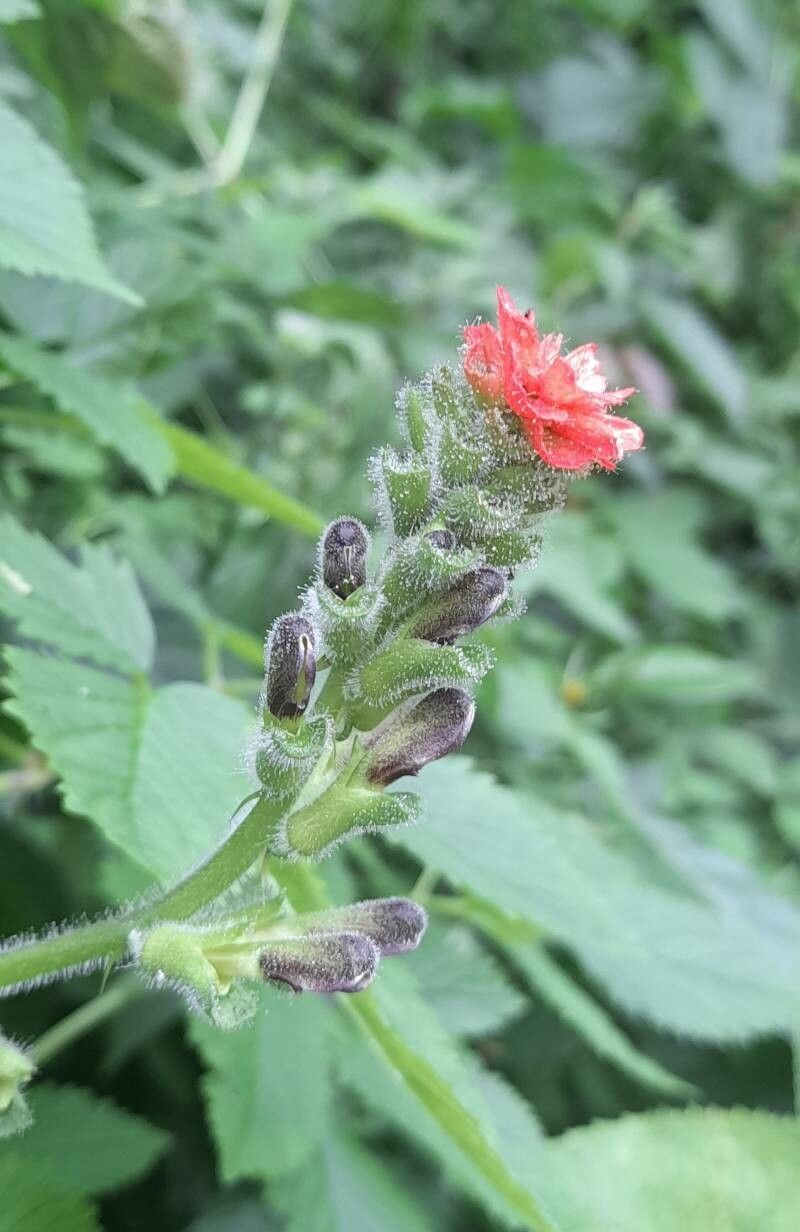
Oh, Tourrettia lappacea! Isn’t she a stunner? I remember the first time I saw her in full bloom, a cascade of vibrant orange trumpet flowers spilling over a garden wall. It’s like a little piece of sunshine, isn’t it? And the best part? You can absolutely bring that sunshine into your own garden by propagating her. It’s incredibly rewarding to watch a tiny cutting transform into a thriving plant. Honestly, while she demands a bit of attention, I wouldn’t call her a difficult plant to propagate. With a little care and a dash of patience, you’ll be sharing cuttings with friends in no time.
The Best Time to Start
When it comes to getting the best bang for your buck with Tourrettia lappacea, spring is your golden ticket. As the days lengthen and temperatures begin to warm, the plant is bursting with new growth. This vigorous new material is much more likely to root successfully than older, woodier stems. Think of it as the plant being full of energy and ready to take on the world!
Supplies You’ll Need
Here’s what I usually have on hand when I’m ready to get my hands dirty with Tourrettia cuttings:
- Sharp, clean pruning shears or a strong knife: A clean cut is crucial to prevent disease.
- Rooting hormone powder or gel: This is a great booster, especially for fussier cuttings.
- Well-draining potting mix: I often use a 50/50 blend of good quality potting soil and perlite or coarse sand.
- Small pots or seed trays: Make sure they have drainage holes!
- Watering can with a fine rose or a spray bottle: Gentle watering is key.
- Plastic bags or a propagation dome: To create a humid environment for your cuttings.
- Optional: Bottom heat mat: This can significantly speed up rooting.
Propagation Methods: Stem Cuttings
This is my go-to method for Tourrettia and it usually yields fantastic results.
- Select Your Cuttings: In spring, look for healthy, non-flowering shoots that are about 4-6 inches long. They should be flexible but not floppy – think of a young, supple shoot, not a brittle old branch.
- Make the Cut: Using your clean pruning shears, make a cut just below a leaf node (where a leaf attaches to the stem). This is where rooting hormones are most effective.
- Prepare the Cutting: Gently remove the lower leaves from the cutting. You want to leave just a couple of leaves at the very top. This reduces water loss and prevents leaves from rotting in the soil.
- Apply Rooting Hormone: Dip the cut end of the stem into your rooting hormone powder or gel. Tap off any excess.
- Potting Up: Fill your small pots or trays with your well-draining potting mix. Make a small hole in the center of the mix with your finger or a pencil.
- Insert the Cutting: Gently place the hormone-dipped end of the cutting into the hole. Firm the soil around the stem to ensure good contact.
- Water Gently: Water the potting mix thoroughly but gently. You don’t want to dislodge the cutting or create soggy conditions.
- Create Humidity: Cover the pot with a clear plastic bag (making sure it doesn’t touch the leaves) or place it under a propagation dome. This will trap moisture and create the humid environment cuttings crave. Place the pots in a bright location, but out of direct sunlight.
The “Secret Sauce” (Pro Tips)
Here are a few things I’ve learned over the years that really make a difference:
- Don’t overcrowd your cuttings. Give each one a little breathing room. This helps prevent the spread of any potential fungal issues.
- Bottom heat is your best friend. If you have a propagation mat, place your pots on it. That gentle warmth from below encourages root development like magic. You’ll be amazed at how much faster they root.
- Watch for condensation. A little bit of condensation on the inside of the plastic bag is good – it means humidity is high. If the bag is constantly dripping wet, you might want to open the bag for an hour or so to air it out to prevent rot.
Aftercare & Troubleshooting
Once you see signs of new growth – tiny leaves unfurling at the top – that’s a good indicator that roots are forming. You can gently tug on a cutting: if there’s resistance, it has likely rooted.
- Gradually Acclimate: Once roots have formed, slowly begin to acclimate your new plant to normal room humidity by gradually opening the plastic bag or dome over several days.
- Watering: Keep the soil consistently moist but not waterlogged. As the plant grows stronger, you can water it more thoroughly when the top inch of soil feels dry.
- Signs of Failure: The most common culprits are rot and dehydration. If your cutting turns black and mushy, it’s likely rot, often caused by too much moisture and poor drainage. If it wilts and dries out, it might not have rooted and has lost too much water. Don’t despair, just try again!
A Little Patience Goes a Long Way
Propagating plants is a bit like gardening itself – it’s a journey, not a race. Some cuttings will take off like wildfire, while others might be a bit more reserved. Don’t get discouraged if your first attempts aren’t perfect. Keep trying, observe your plants, and enjoy the wonder of creating new life. Happy propagating, and may your garden be filled with the cheerful blooms of Tourrettia lappacea!
Resource:
https://identify.plantnet.org/k-world-flora/species/Tourrettia%20lappacea%20(L’Hér.)%20Willd./data