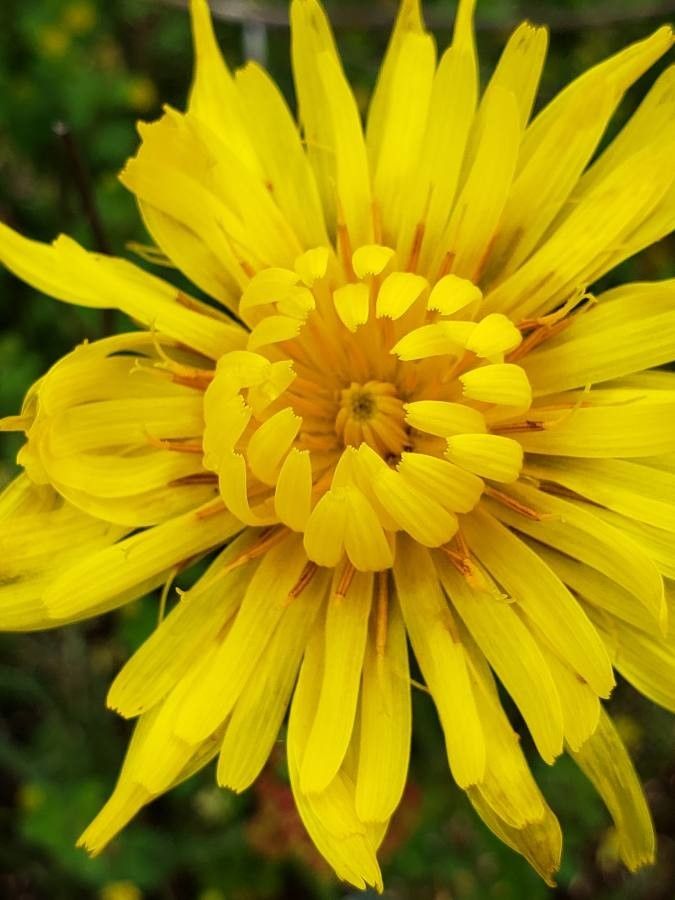
Oh, hello there! Come on in, grab a cup of tea. Let’s chat about Microseris laciniata, shall we? You know, that charming little plant with its fern-like leaves and cheerful yellow blooms that seem to bob and dance in the breeze. It’s a delight in any garden, offering a touch of wild beauty and a lovely texture. And best of all? Sharing that beauty is incredibly rewarding. If you’ve admired it in a friend’s garden or seen its unique charm in a nursery, you’ll be happy to know that propagating Microseris laciniata is quite doable, even for those just starting their green-thumb journey. It’s not overly fussy, thankfully!
The Best Time to Start
For the highest success rate, spring is your best bet. When the plant is actively growing after the chill of winter, it has more energy to put into producing healthy cuttings or divisions. Aim for a time when your new plant is actively pushing out fresh growth.
Supplies You’ll Need
Here’s what you’ll want to have on hand to get started:
- Sharp pruning shears or a clean knife: For taking clean cuts.
- Rooting hormone (optional but helpful): A little powder or gel can give cuttings a good boost.
- Well-draining potting mix: I like a blend of equal parts compost, perlite, and peat moss.
- Small pots or seed trays: With drainage holes, of course!
- Spray bottle: For misting your cuttings.
- Plastic bag or propagation dome: To create a humid environment.
- Labels: For keeping track of your new babies!
Propagation Methods
Microseris laciniata is quite amenable to a couple of simple propagation methods.
1. Stem Cuttings: This is a fantastic way to get multiple new plants from a single parent.
- Find a healthy stem: Look for a non-flowering stem that’s about 4-6 inches long.
- Make a clean cut: Just below a leaf node (where a leaf meets the stem). This is crucial for root development.
- Prepare the cutting: Gently remove the lower leaves, leaving just the top few. If you’re using rooting hormone, dip the cut end into it now.
- Plant it up: Stick the cut end into your prepared potting mix. Make sure the leaves aren’t touching the soil.
- Create humidity: Water the pot gently and then cover it with a plastic bag or a propagation dome to keep the moisture in.
- Place it in bright, indirect light: Avoid direct sun, which can scorch the delicate cuttings.
2. Division: If your Microseris laciniata is already established and looking a bit crowded, you can divide it.
- Gently unpot the plant: Try to do this when the soil is slightly moist, which makes it easier to work with.
- Inspect the root ball: Look for natural divisions where the plant has broken into smaller clumps.
- Separate the clumps: Use your hands or a clean knife to carefully pull or cut the plant apart into smaller sections, ensuring each section has roots and a bit of top growth.
- Replant immediately: Pot each division into its own container with fresh, well-draining soil. Water thoroughly.
The “Secret Sauce” (Pro Tips)
Here are a few little tricks I’ve picked up along the way:
- Don’t let the leaves touch the water: Seriously, this is a big one for stem cuttings. If the leaves sit in moisture, they’re much more prone to rot. Keep them up and out of the soil.
- Bottom heat is a game-changer for cuttings: If you want to really speed things up and encourage root formation, pop your pots onto a seedling heat mat. It provides consistent, gentle warmth to the roots, which they absolutely love.
- Patience is key with divisions: When you divide a plant, it can take a little while for it to settle in and show new growth. Don’t be tempted to dig it up and check for roots every day. Trust the process!
Aftercare & Troubleshooting
Once your cuttings have developed a good root system (you might see roots peeking out of the drainage holes, or gently tugging on the cutting feels firm), it’s time to give them a bit more individual attention. Gradually introduce them to a less humid environment by opening the plastic bag a little more each day. Water them when the top inch of soil feels dry.
The most common issue you’ll see is rot. If your cutting turns limp and mushy, or develops blackening stems, it’s likely due to too much moisture and not enough air circulation. If this happens, sadly, it’s usually best to discard the affected cutting. Overwatering is the main culprit, so always let that soil dry out a bit between waterings.
A Bit of Encouragement
Propagating plants is such a wonderful way to connect with nature and expand your garden without spending a fortune. Be patient with your Microseris laciniata, offer it a little care and attention, and I promise you’ll be rewarded with new plants that bring you just as much joy as the original. Happy gardening!
Resource:
https://identify.plantnet.org/k-world-flora/species/Microseris%20laciniata%20(Hook.)%20Sch.Bip./data