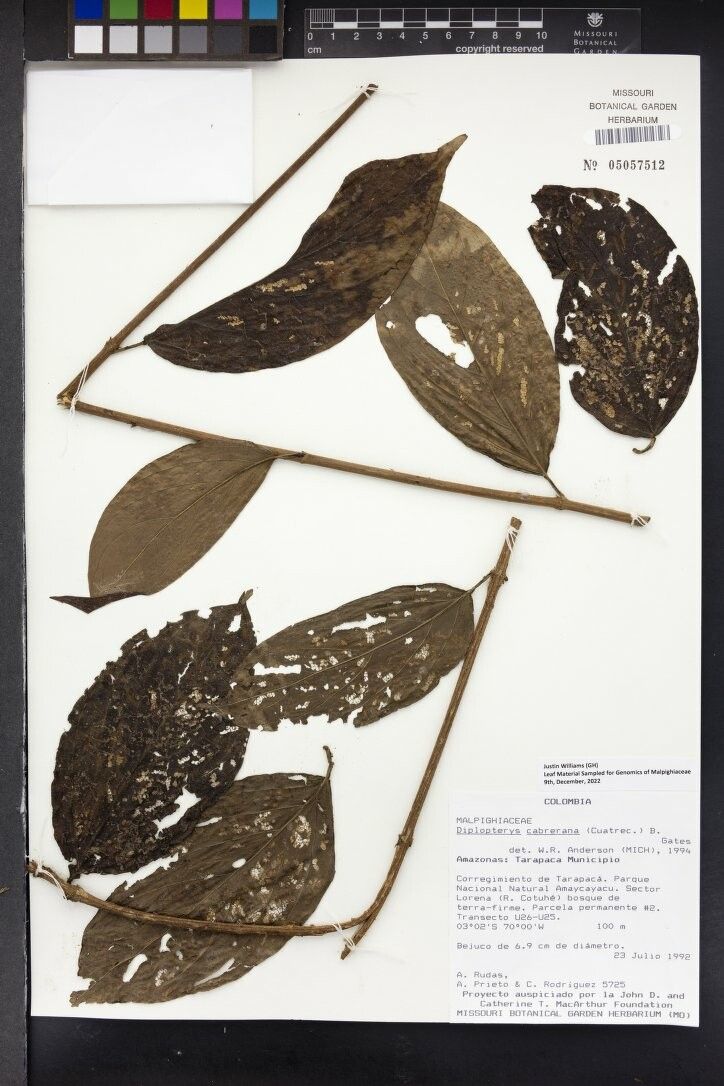
Oh, hello there! Come on in and pull up a chair. I’m so glad you’re here to chat about Diplopterys cabrerana. It’s such a captivating plant, isn’t it? The way its leaves unfurl, the subtle beauty of its growth habit – it really brings a touch of something special to any space. And the best part? You can multiply that beauty yourself! Propagating this lovely vine is a deeply rewarding experience, and honestly, it’s not as tricky as you might think. While it might not be the absolute easiest plant for a brand-new gardener, with a little guidance, you’ll be well on your way to success.
The Best Time to Start
When it comes to Diplopterys cabrerana, timing is your friend. The absolute sweet spot for taking cuttings is during its active growing season. Think late spring through summer. This is when the plant has the most energy to put into new growth, and those cuttings are more likely to root with vigor. Avoid propagating in the dead of winter when growth slows to a crawl. You want a bit of “oomph” behind your efforts!
Supplies You’ll Need
Here’s what you should gather before you dive in. Don’t worry, it’s all pretty standard garden fare:
- Sharp Pruning Shears or a Clean Knife: For making clean cuts. This is crucial to prevent damage and disease.
- Well-Draining Potting Mix: A blend of perlite, peat moss, and coarse sand is often ideal. You want something that won’t hold excess moisture.
- Small Pots or Seedling Trays: Clean pots are essential; we don’t want any lingering pathogens.
- Rooting Hormone (Optional but Recommended): A powder or gel helps encourage faster and more robust root development.
- Clear Plastic Bag or Humidity Dome: To create a microclimate around your cuttings.
- Watering Can with a Fine Rose or Spray Bottle: For gentle watering.
- Labels and a Marker: To keep track of what you’ve propagated and when.
Propagation Methods
Let’s get our hands dirty with the most effective ways to multiply your Diplopterys cabrerana:
1. Stem Cuttings: The Classic Approach
This is my go-to method for many vining plants, and Diplopterys cabrerana responds beautifully.
- Step 1: Take Your Cuttings. Select a healthy, non-flowering stem from your mature plant. Look for stems that are somewhat firm but still pliable, usually about 4-6 inches long. Make a clean cut just below a leaf node (where a leaf meets the stem). This is where rooting hormones will be most effective.
- Step 2: Prepare the Cuttings. Gently remove the lower leaves from the cutting, leaving just a couple of leaves at the top. This reduces water loss. If the remaining leaves are very large, you can even cut them in half.
- Step 3: Apply Rooting Hormone. Dip the cut end of the stem into your rooting hormone, ensuring it’s coated. Tap off any excess.
- Step 4: Plant the Cuttings. Fill your small pots with your well-draining potting mix. Make a small hole with your finger or a pencil and insert the cutting, pressing the soil gently around it to secure it.
- Step 5: Water and Cover. Water the soil thoroughly until you see a bit of water drain from the bottom. Then, place a clear plastic bag over the pot, creating a mini-greenhouse. You can also use a humidity dome.
2. Water Propagation: The See-Through Method
Some gardeners love watching the roots appear! This method works, but it requires a bit more attention to detail.
- Step 1: Take Your Cuttings. Follow the same steps as above for taking and preparing your stem cuttings, ensuring you have at least one leaf node submerged in water.
- Step 2: Place in Water. Put your cuttings in a clean jar or glass filled with fresh, room-temperature water. Make sure the leaf node that will be underwater is actually in the water.
- Step 3: Location and Change. Place the jar in bright, indirect light. It’s critical to change the water every 2-3 days to keep it fresh and prevent bacterial growth.
- Step 4: Planting. Once you see decent roots (about 1-2 inches long), you can carefully transplant your rooted cuttings into your potting mix.
The “Secret Sauce” (Pro Tips)
Now, for a few little tricks that can make all the difference:
- Bottom Heat is Your Friend: Providing gentle warmth from a heating mat under your pots can significantly speed up root formation. It mimics the warmth of spring soil and really encourages those roots to sprout. Just ensure the heat isn’t too intense; you don’t want to cook your cuttings!
- Don’t Let Those Leaves Dip: If you’re using the water propagation method, it’s not just about the node being in the water; you absolutely must avoid having the leaves touch the water. Any submerged foliage will rot quickly and can kill your cutting before it even has a chance to root.
- Humidity is Key, But Not Soaking: That plastic bag or humidity dome is there to maintain consistent humidity. However, watch for condensation build-up. If you see a lot of dripping, gently lift the bag for a few minutes to allow some air circulation. Too much moisture can lead to fungal issues.
Aftercare & Troubleshooting
Once you see new leaf growth emerging from your cuttings, that’s your cue that roots are forming!
- Acclimatization: Gradually introduce your newly rooted cuttings to the drier air of your home. This means slowly opening the plastic bag or lifting the humidity dome for longer periods over a week or two.
- Potting Up: Once established, you can pot them up into slightly larger containers with fresh potting mix. Continue to keep them in bright, indirect light and water when the top inch of soil feels dry.
- Common Issues: The biggest culprit for failure is rot. This usually happens from overwatering or poor drainage. If your cutting feels mushy and dark, it’s likely rotted. Another sign of no progress can be a cutting that looks perfectly fine but just… sits there for weeks on end. Don’t lose hope! Sometimes they just take their sweet time. If a cutting looks truly dead (crispy brown, no life), it’s probably time to try again.
A Little Patience Goes a Long Way
Taking cuttings and nurturing them into new plants is a beautiful dance with nature. It requires a bit of observation, a dash of patience, and a whole lot of encouragement. Don’t be discouraged if your first few attempts aren’t perfect. Every gardener has had their share of cuttings that didn’t make it. Just keep trying, learn from your experiences, and celebrate those moments when tiny roots begin to appear. Happy propagating!
Resource: